This lesson is partly based on teachcomputing.org lessons.

Today, you are going to….
- continue making the homepage for your website
- learn how to insert text on a webpage
- learn how to insert images on a webpage
- learn about image copyright
- decide which other pages you want to include in your website
1.
Your website have a URL name, a catchy header and you have chosen an attractive style. Now you need to work through the rest of the list…
2.
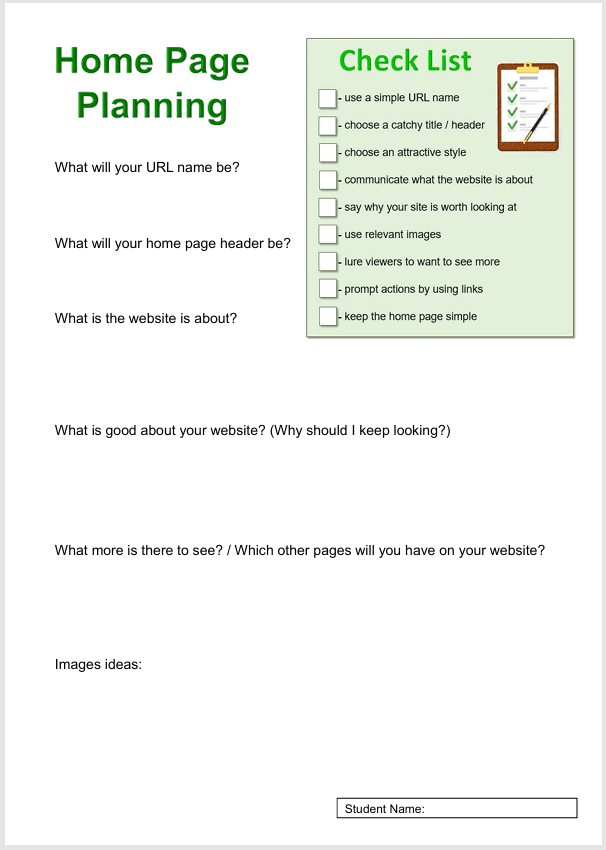
Have you completed the worksheet (to plan what next to put on your home page)?
3.
It is time to put text and images on your home page, to tell your viewers more about your website.
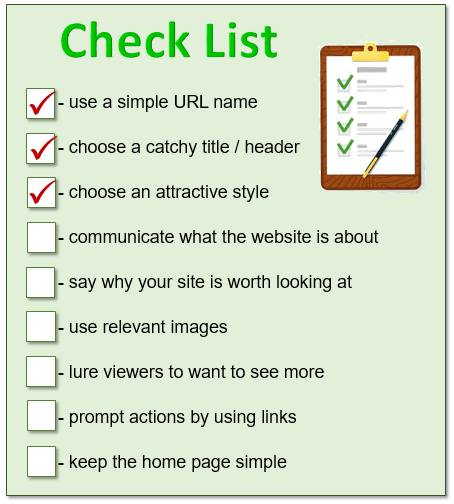
The following are important to keep in mind when creating a website and its home page:
4.
The video below explains briefly how to insert text on Google Sites.

Google Sites: Adding Text. (2:54 minutes long)
Google Sites: Inserting Images. (2:17 minutes long)
6.UNDER CONSTRUCTION
Include info from “lesson 3” about copy right of images….
7.
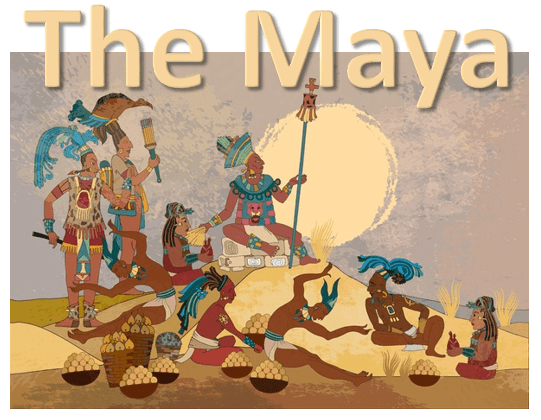
Consider carefully “exactly what about the Maya” your website will cover…
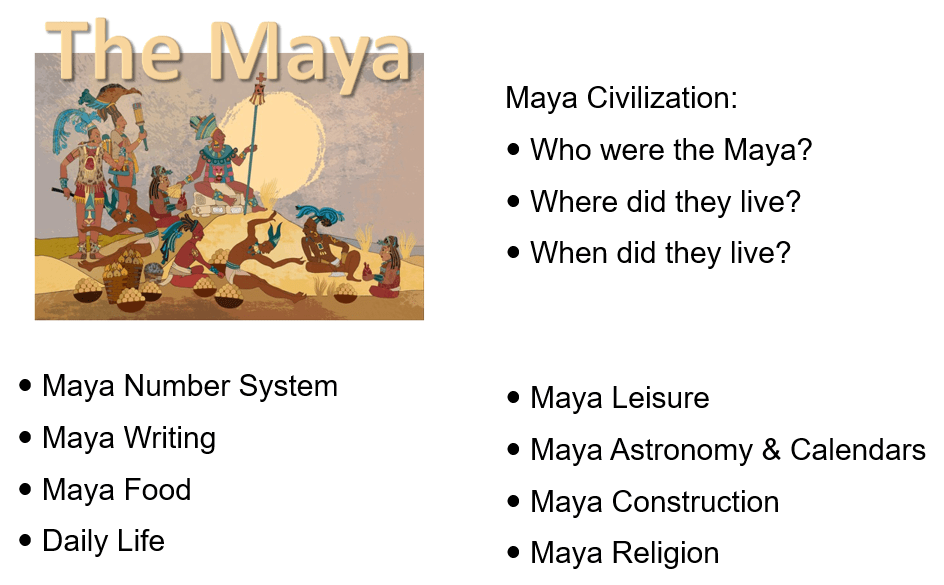
8.
Apart from “who the Maya was”, “where they lived”, and “where they lived”, include six other categories about the Maya in your website. (Use the sheet below to choose which categories you will include.)
9.

Use Google Sites to continue working on your homepage.
Sign into your Google account. Click on this icon to sign into the account:
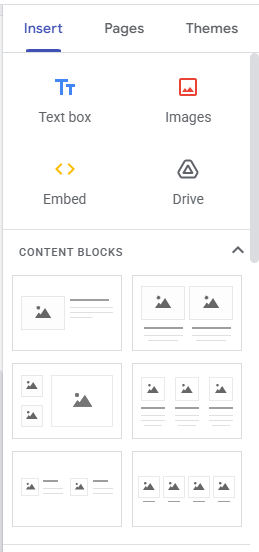
You need to use the panel on the right to insert text and images on your homepage.
(To make it even easier, you can simply use the “content blocks”!)
10.
The text below could be useful when deciding what text to include on your homepage.
11.

Sign out of your Google account.
This is VERY important, because everybody can log into the computers in the ICT room with the primary password!!!
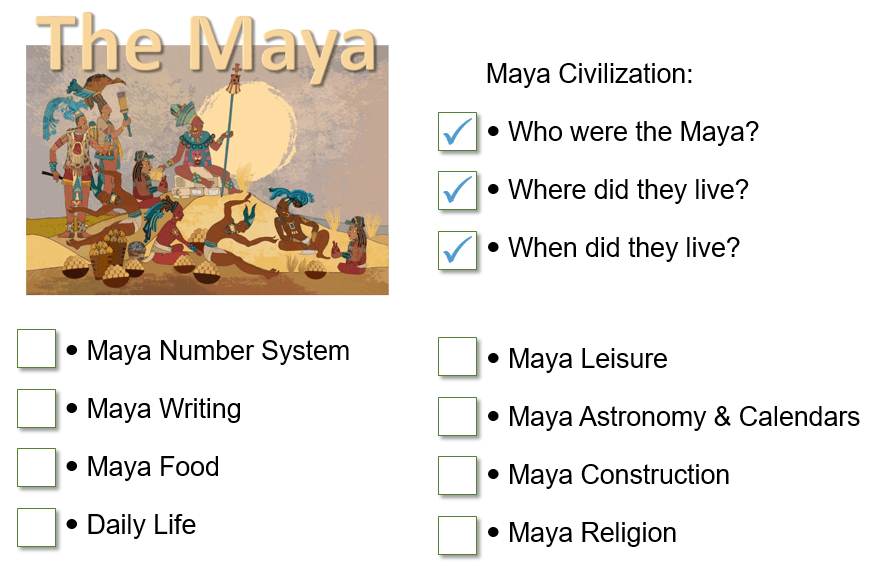
12.
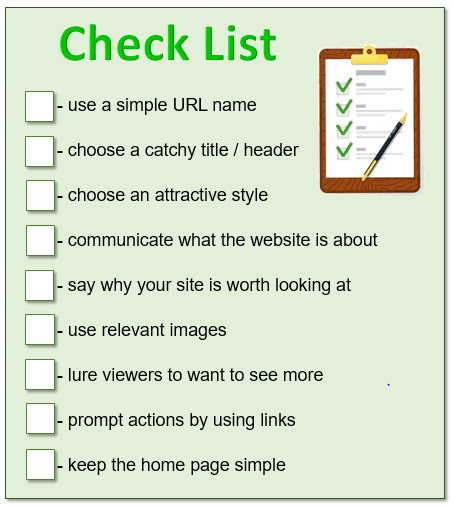
You should now be able to tick more boxes on your tick list!

(WordPress advertisements may appear below.)
