Watch the short video below. It explains “How Hitler became Leader”, or Chancellor, of Germany.
Hitler became Leader. (2:22 minutes long)
3.
Now, let’s see what your Workbook has to say about how Hitler became leader of Germany.
p.15-16
4.
Watch the short video below. It explains “How Hitler became Dictator” of Nazi Germany.
Hitler became Dictator. (1:57 minutes long)
5.
Once he had the Enabling Law passed, Hitler had to make sure that there is no chance that he will ever be removed from his position as dictator. Hitler, therefore, set out to secure his position. The video below explains just how Hitler did that and how he became führer of Germany.
Hitler became Führer. (2:42 minutes long)
6.
Now, let’s see what your Workbook has to say about how Hitler became dictator and führer of Germany.
p.18-19
7.
Use the information from pages 15,16,18, and 19 to make these 3 flow charts:
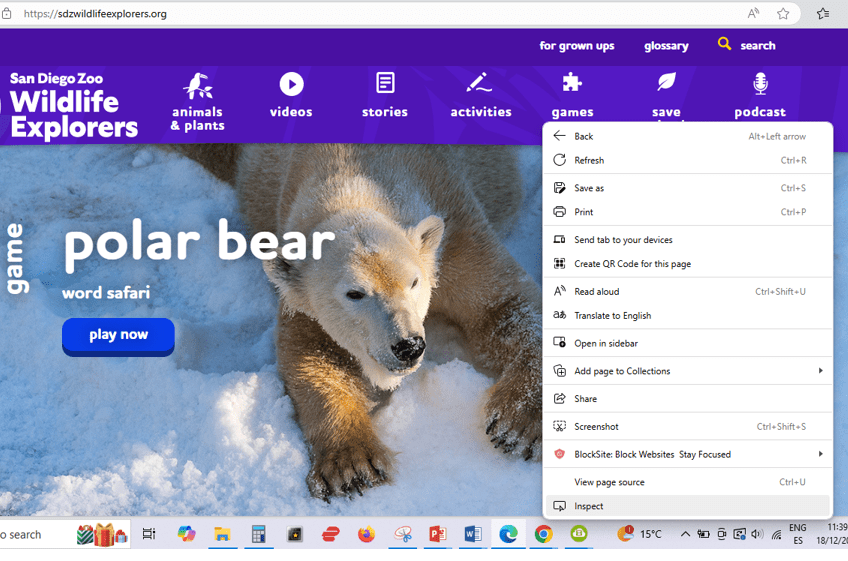
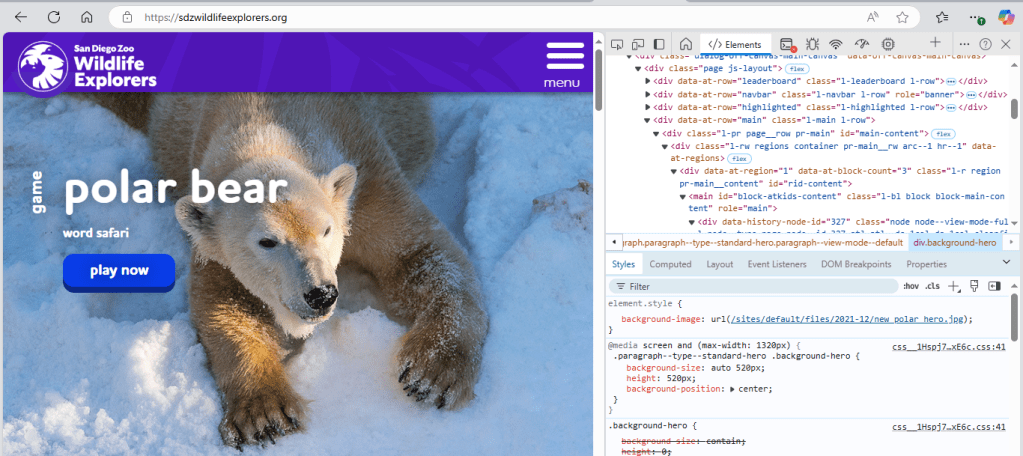
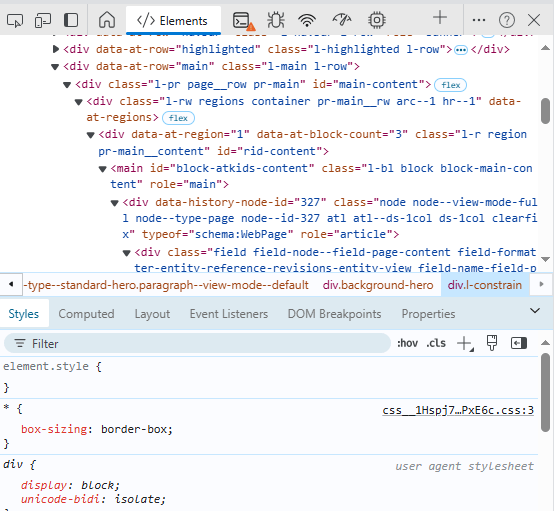
You can see the code for any website by following these easy steps in Google Chrome:
Go to a website
Right-click on a section of the website e.g. an image
Click Inspect
Now you can see the HTML code.
The code defines what the website will look like.
10.
So, what does HTML stand for?
(Choose the correct answer below.)
How To Make Layouts
Hypertext Make Up Language
How To Move Lines
Hypertext Markup Language
Can you explain what HTML is?
ANSWER
Websites are made up of code, called Hypertext Markup Language, or HTML for short.
11.
The video below will give you an idea of how HTML is used to create a website.
HTML coding for kids and caveman – HTML, Title and Tags. (3:20 minutes long)
12.
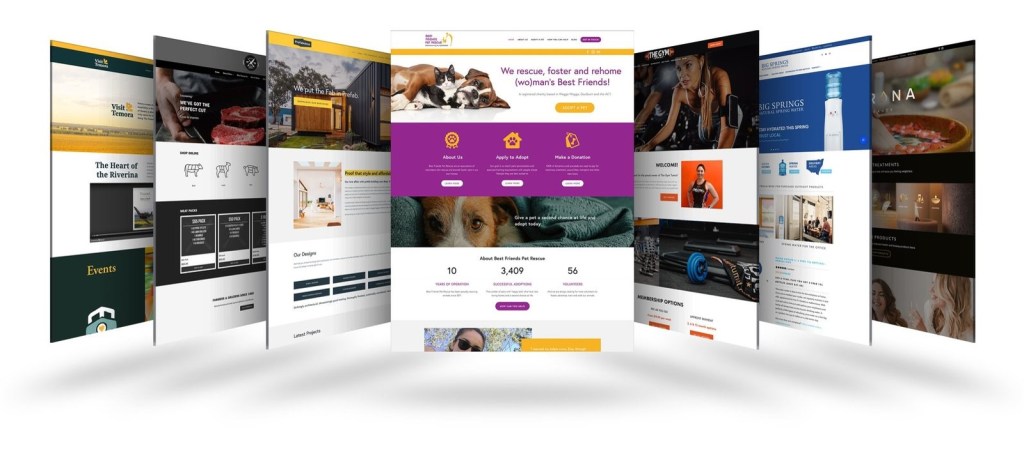
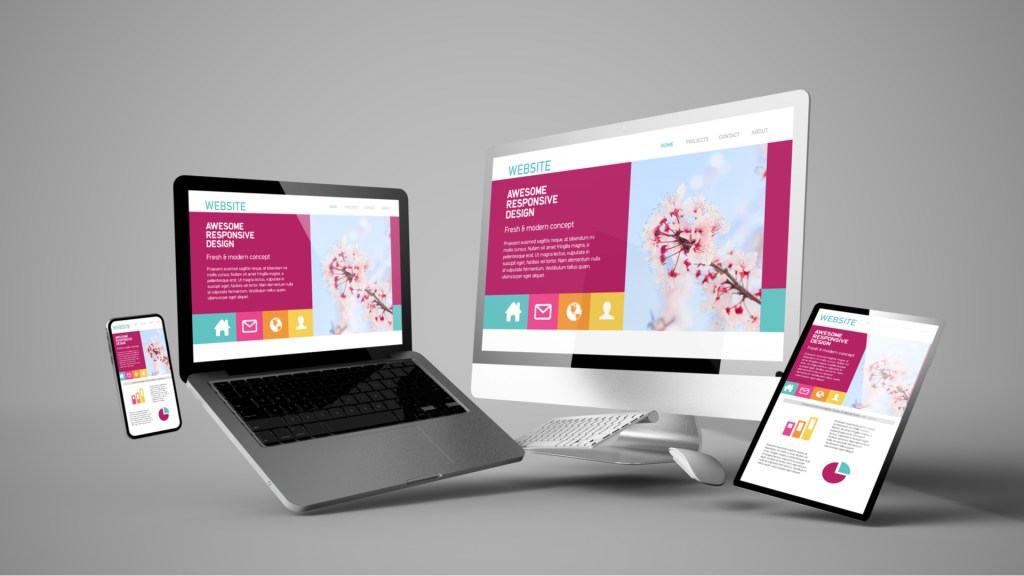
So, what makes a website?
Here are the key components that make up a website:
Domain Name & Web Hosting, Content & Web Pages, Frontend & Backend, Content, Management System (CMS), Design and User Experience (UX/UI), SEO (Search Engine Optimization), Analytics and Tracking, Security
By combining these elements effectively, a website can achieve its intended purpose, whether it’s for personal blogging, e-commerce, or corporate branding.
This lesson is based on teachcomputing.org lessons.
Today, you are going to….
explain how data is transferred over networks in packets
identify and explain the main parts of a data packet
examine how these packets work
1.
Revision
What is the internet? – BBC What’s New. (3:36 minutes long)
2.
Click on the link below to look at the first ever website!
3.
Data Packets
Computers send data across the internet in packets. This is a example.
4.
Data Transfer
The video below give a simple explanation of the sending of packets of information / data across the internet.
How the Internet Works – BBC. (1:45 minutes long)
5.
Parts of a packet
6.
Data packets are similar to letters…
The envelope is like the header. It contains the address. The header also contains other key information, including the sender’s address.
The letter inside is similar to the data payload.
7.
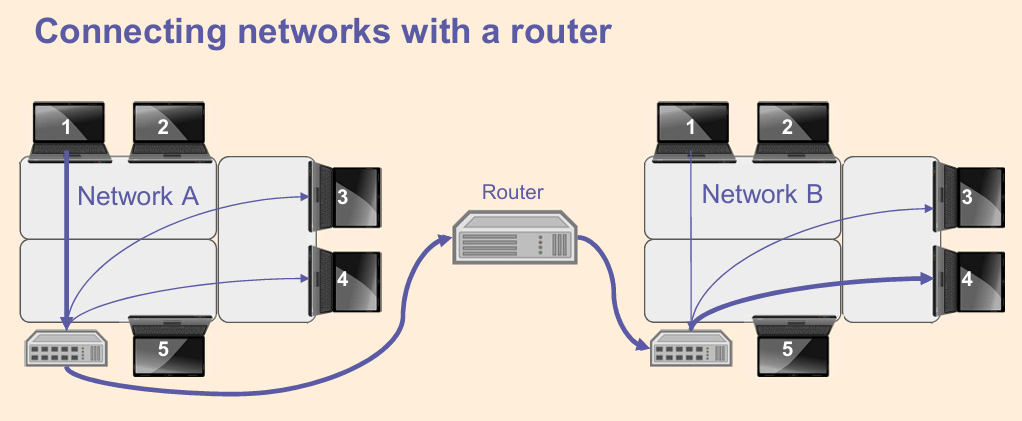
The first two parts of the IP addresses in the header relate to the location of networks. If they are different, the devices are not on the same network.
8.
Packets of a message
Transferring media So far you have seen how messages can be transferred as data in packets. Everything that is transferred through the internet is transferred in packets.
Data you send or receive cannot fit in a single packet, so it is split into multiple packets, like this example of a message. The packet number and total number of packets is contained in the header.
Why are packets numbered? They tell the receiving computer the total number of packets it should expect to receive. If the message is incomplete, the receiving computer can send a notification back to the sending computer.
9.
This shows how data is split into multiple packets.
Each packet needs to be numbered, because each packet contains only a small amount of data. This enables the receiving computer to arrange the packets in the correct order.
10.
A Packet’s Tale. How Does the Internet Work? (3:25 minutes long)
11.
How Does The Internet Work? – BBC Click (4:44 minutes long)
This lesson is based on teachcomputing.org lessons.
Today, you are going to….
learn about domain names and URLs
Learn about IP addresses, and DNS
explain that internet devices have addresses
describe how computers use addresses to access websites
1.
Let’s investigate further how the internet works!
How The Internet Works? | What Is Internet? | Dr Binocs Show | Kids Learning Video | Peekaboo Kidz. (6:29 minutes long)
How does the internet works? | Kids Educational Video | What is the internet | Smartie Alpaca Learn. (2:22 minutes long)
2.
Internet data transfer
Computers can share a variety of different media types over the internet.
Every time you access a website, send a message, or watch a video online, your computer sends and receives data from another computer.
You use a website address, also known as a domain name or an URL
A system called DNS matches the website’s address to its IP address
So, computers communicate with each other over the internet!
3.
PROTOCOL
Digital devices have certain rules (protocols) for how they communicate with each other. (A protocol is an agreed way of doing something.)
We can also say that a “protocol” specifies the method of communication, or indicates how the resource will be accessed.
For example, a message may be send as HTTP, or as HTTPS.
4.
What on earth is HTTP and HTTPS?
HTTP is a protocol used to send data between a web browser and a website.
HTTP stands for Hypertext Transfer Protocol.
HTTPS stands for Hypertext Transfer Protocol Secure.
HTTP messages are sent as plaintext, which means unauthorized people can easily access and read them over the internet.
In contrast, HTTPS is a secure version of HTTP. (HTTPS is encrypted in order to increase security of data transfer.)
5.
So, how does a computer know where to send data? Computers use special addresses!
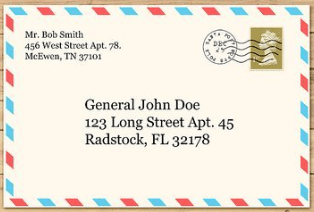
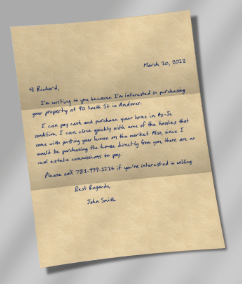
It works similar to when we send a letter from one person to another person.
All of the information in the address is needed to make sure the letter gets to the right place, and to the right person.
Correct addresses on letters include a name, street name, town, and postcode.
Which of these letters do you think will reach the person at their destination?
ANSWER
This one definitely will!
It has a name, street address, town, and postcode.
6.
Domain Names
A website’s address is also known as a domain name.
URL
The address of a specific page on a website is known as theURL. (It is the detailed address for accessing a specific web page, file, or video.
IP Addresses
Each device, each website, and each server has an address, called an IP address.
So, IP addresses tell us where a device is, where a website is hosted, and where a server is.
Humans use domain names, but computers use IP addresses!
DNS
A special computer matches the IP addresses to the domain names.
This computer is called a Domain Name System, or DNS.
7.
Domain Names
A website’s address is also known as a domain name.
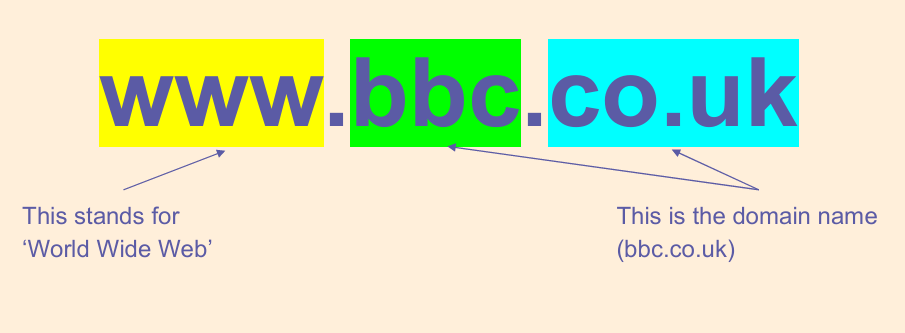
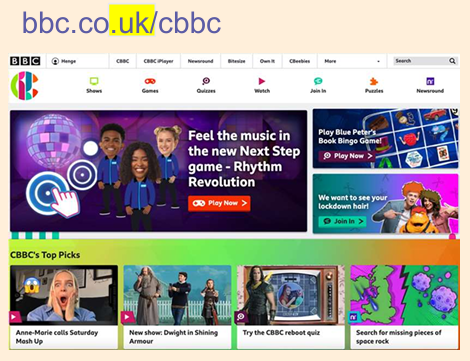
Look at this web address:
The address of the website tells you where it was created.
Where were these websites created?
UK
United Kingdom
Fr
France
8.
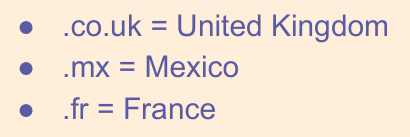
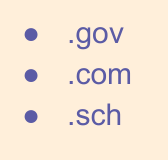
Here are the ends of some web addresses. Some tell you where the website may originate from. Where do you think these are from?
Some tell you more about the content of the website. What do you think these mean?
9.
URLs
A website’s address is called the domain name, but a website’s address can also be a URL.
One of the major differences between URLs and domains is that URLs are specific while domains are general.
A URL describes a single page on the internet.
A domain refers to many web pages that connect to form an entire website.
URL (Uniform Resource Locator)
A URL is the complete address used to access a specific resource on the internet, such as a web page, file, or video. (It tells a browser where to go to find a specific page or file.)
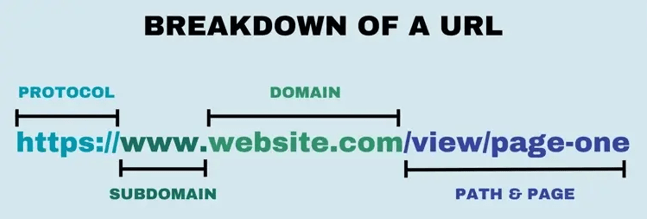
A URL is made up of several parts:
The Protocol indicates how the resource will be accessed. (It specifies the method of communication.) (e.g., http://, https://)
The Domain Name identifies the website. (It is the human-readable name of the resource’s host.) (e.g., www.example.com)
The Path specifies a specific page or file on the website. (It gives the exact location of the resource on the host server.) (e.g., /about/page1)
10.
IP Addresses
Each device, each website, and each server has an address, called an IP address.
So, IP addresses tell us where a device is, where a website is hosted, and where a server is.
Humans use domain names, but computers use IP addresses.
Computers use special addresses called IP addresses, which are structured like this:
(IP stands for Internet Protocol.)
Computers use IP addresses to identify each other on a network.
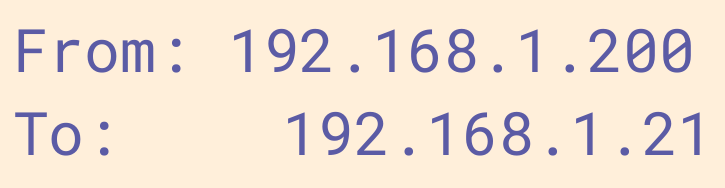
When computers send messages, they have the address they’re sending TO, and the one it’s coming FROM.
When a message is sent from one computer to another over a network, both the destination and start addresses are included.
Why do you think that is?
ANSWER
So that the computer knows where to reply!
11.
By now you should know that:
A website’s address is known as its domain name
A specific page (or file) on a website has an address known as the URL
Each website also has an IP address
Each website is hosted on a web server
(Each server, and each device, also has an IP address.)
12.
DNS
A special computer matches the IP addresses to the domain names.
This computer is called a Domain Name System, or DNS.
Humans use domain names, but computers use IP addresses. A special computer matches IP addresses to the domain names. This computer is called a…
Domain Name System (DNS)
(So, a Domain Name System is a computer that works like an address book: it matches IP addresses to the domains!)
Do you remember what a Data Centre is?
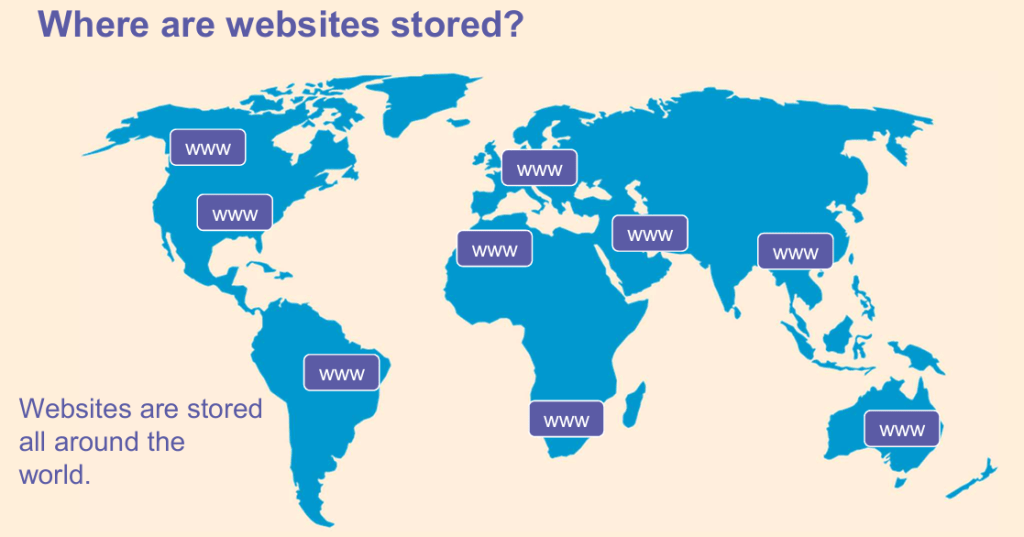
A Data Centre is where data gets stored. A Data Centre hosts websites, as well as the “phonebook” (or DNS).
13.
The DNS is like the “phonebook” of the internet!
Humans use domain names (like www.example.com) to identify a website, but computers use IP addresses (e.g., 192.0.2.1).
A DNS finds the IP address (e.g., 192.0.2.1) of the human-readable domain name (e.g., www.example.com).
Without the DNS, you would need to remember the numerical IP address of every website!
14.
a websites address is known as its domain name
we know websites by their domain names
a webpage has a specific address called the URL
every website is hosted somewhere on a web server
every website also has its own IP address
a DNS (Domain Name System) matches the website’s domain name with its IP address
When you go to the website http://www.raspberrypi.org, a DNS server looks up the IP address of this website and directs your computer to the website’s server.
15.
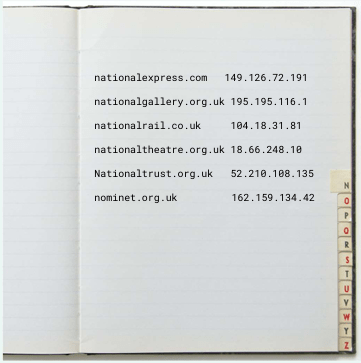
Find the IP addresses of the websites on the activity sheet.
You need to look up the IP Addresses by clicking on the link below. When you enter the domain name, you will be provided with the corresponding IP address.
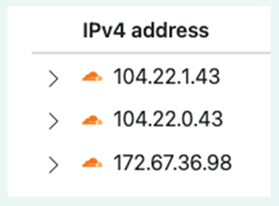
You will get results that looks like this:
What do you notice about the IP addresses for google.com and youtube.com? Can you explain what you have noticed?
ANSWER
The IP addresses of google.com and youtube.com are similar. The IP addresses of these 2 websites show us that they are both in the same location! That is because YouTube is owned by Google – so, it is hosted on Google servers.
16.
DNS
DNS stands for Domain Name System. It turns domain names into IP addresses. This allows browsers to get to websites and other internet resources. Every WEBSITE AND EVERY device on the internet has an IP address, which other devices use to locate each other.
The DNS, or the domain name system , is the phonebook of the Internet, connecting web browsers with websites. The DNS matches human-readable domain names (e.g., www.example.com) with IP addresses (e.g., 192.0.2.1), which are used by computers to identify each other on the network.
IP Address
IP address stands for Internet Protocol Address. It is a unique address for a device connected to a network (like the internet). It enables devices to communicate with each other by addressing packets of data to the correct destination.
IPv4: The most common format, consisting of four sets of numbers (e.g., 192.168.1.1).
IPv6: A newer format designed to handle more devices, using hexadecimal notation (e.g., 2001:0db8:85a3:0000:0000:8a2e:0370:7334).
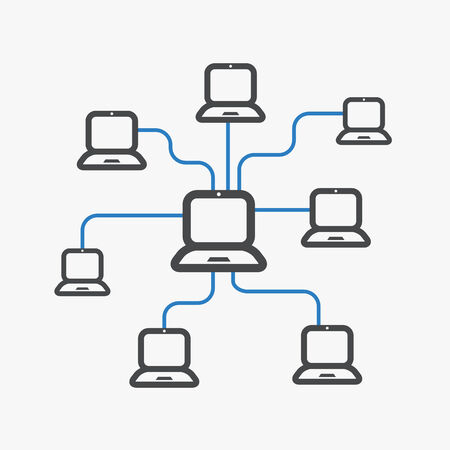
LAN
LANstands for Local Area Network. It is a network that connects computers and devices within a localized area, such as a home, office, or building.
WAN
WAN stands for Wide Area Network. It is a network that covers a large geographical area, often connecting multiple LANs. The internet itself is the largest example of a WAN.
URL
A URL stands for Uniform Resource Locator. It is the complete address used to access a specific resource on the internet, such as a web page, file, or video. It tells a browser where to go to find a specific page or file.
Create a Christmas Picture in Paint… Task: Use a simple drawing tool like Microsoft Paint or a tablet app to draw a Christmas scene (snowman, tree, presents, etc). Skills Developed: Digital art, mouse control, creativity. Tools: Microsoft Paint, Paint 3D, Procreate.
OR
Create a Christmas Story with Stickers and Animations… Task: Use apps like Toontastic 3D or ChatterPix Kids to create simple Christmas stories by adding stickers, voice recordings, and animations. Skills Developed: Storytelling, basic animation, creativity. Tools: Toontastic 3D, ChatterPix Kids. (These apps need downloading…)
OR
Make a Christmas Collage… Task: Use apps like Pic Collage to make a fun Christmas collage with family photos, stickers, and text. Skills Developed: Creativity, basic digital manipulation. Tools: Pic Collage, Adobe Spark for Kids. (These apps need downloading…)
OR
Build a Christmas Scene in a Block-Based Game… Task: In simple block-based building games like Toca Blocks or Lego Builder, kids can create a Christmas-themed world. Skills Developed: Spatial awareness, creativity, basic problem-solving. Tools: Toca Blocks, Lego Builder. (These apps need downloading…)
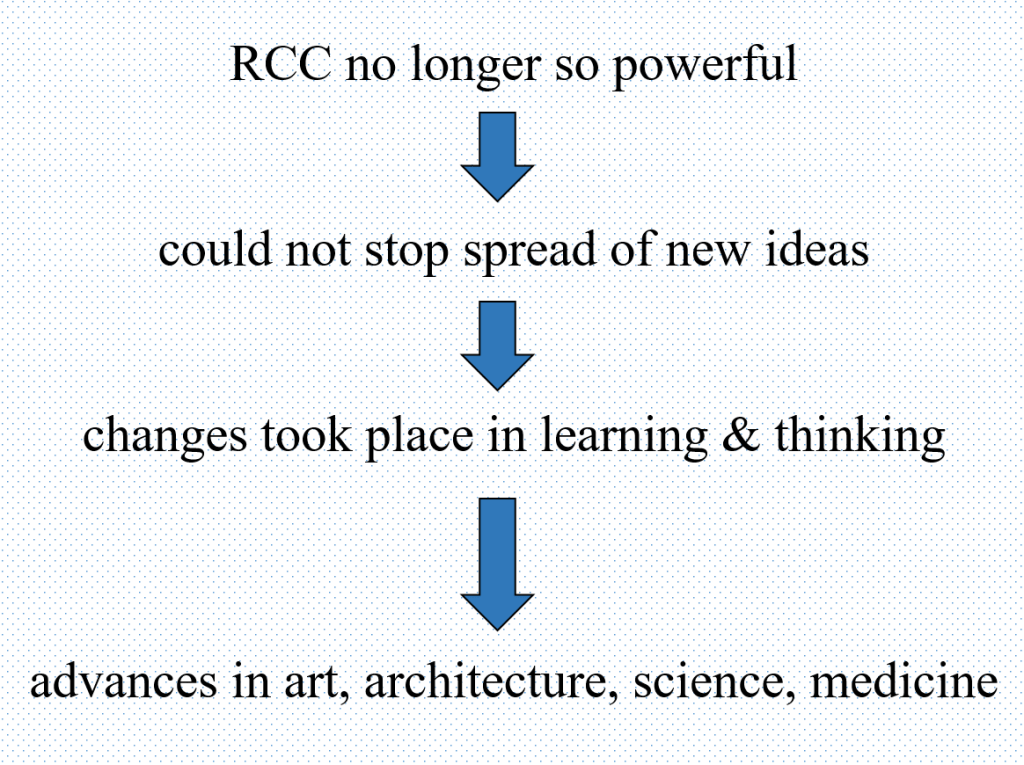
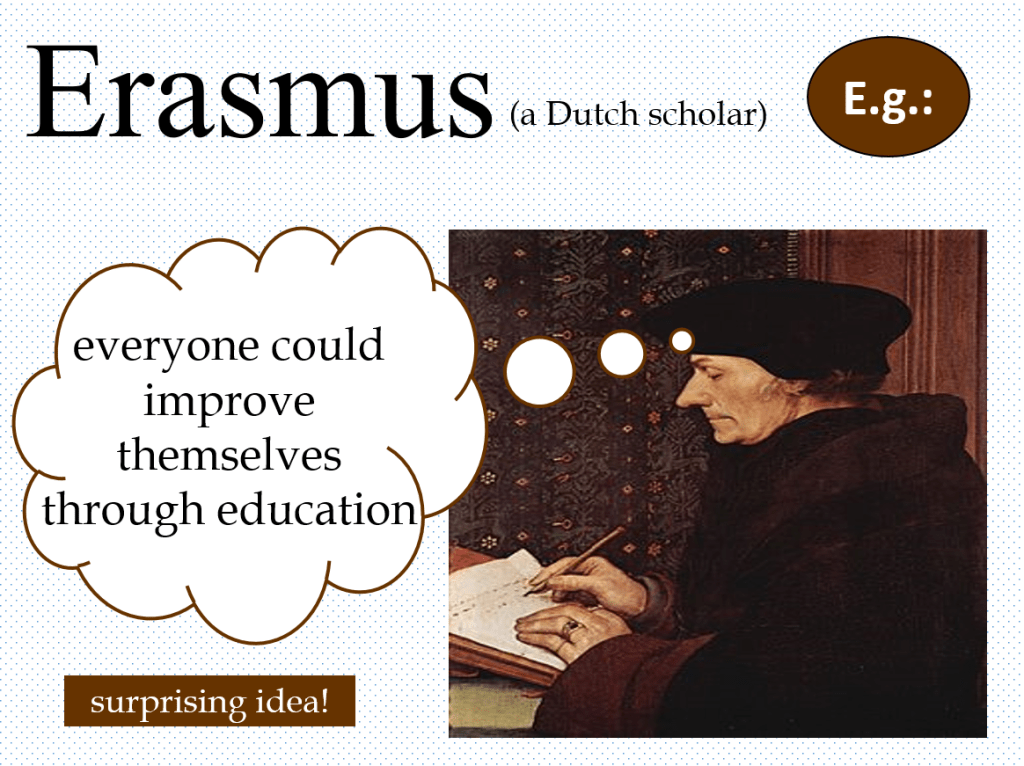
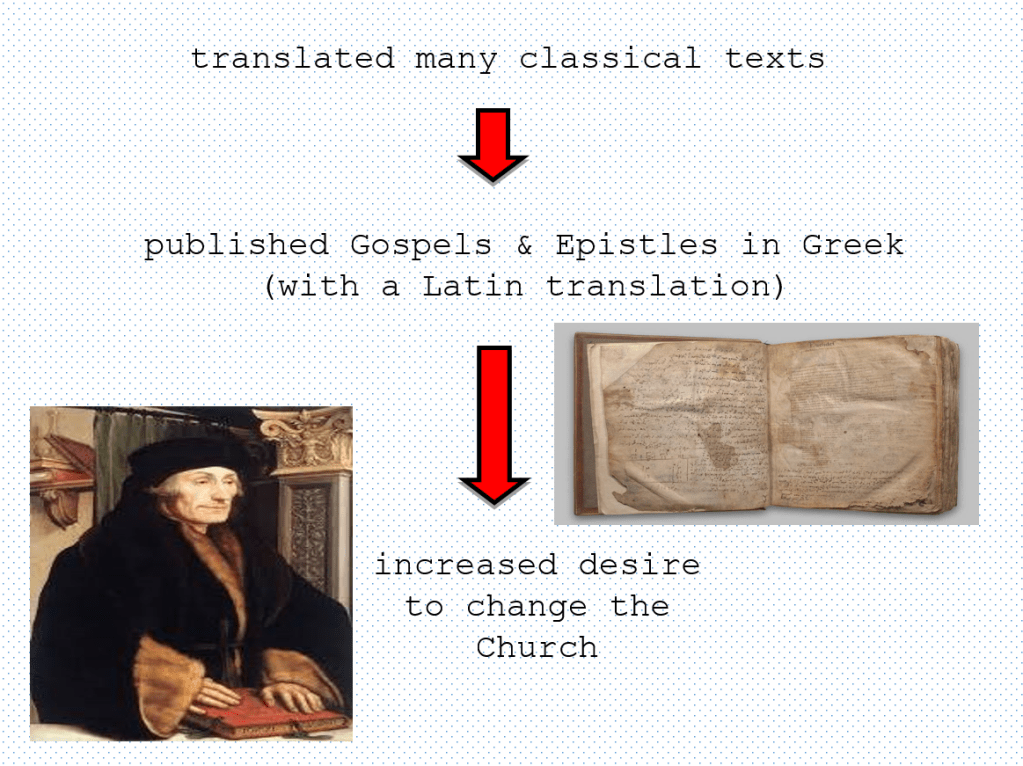
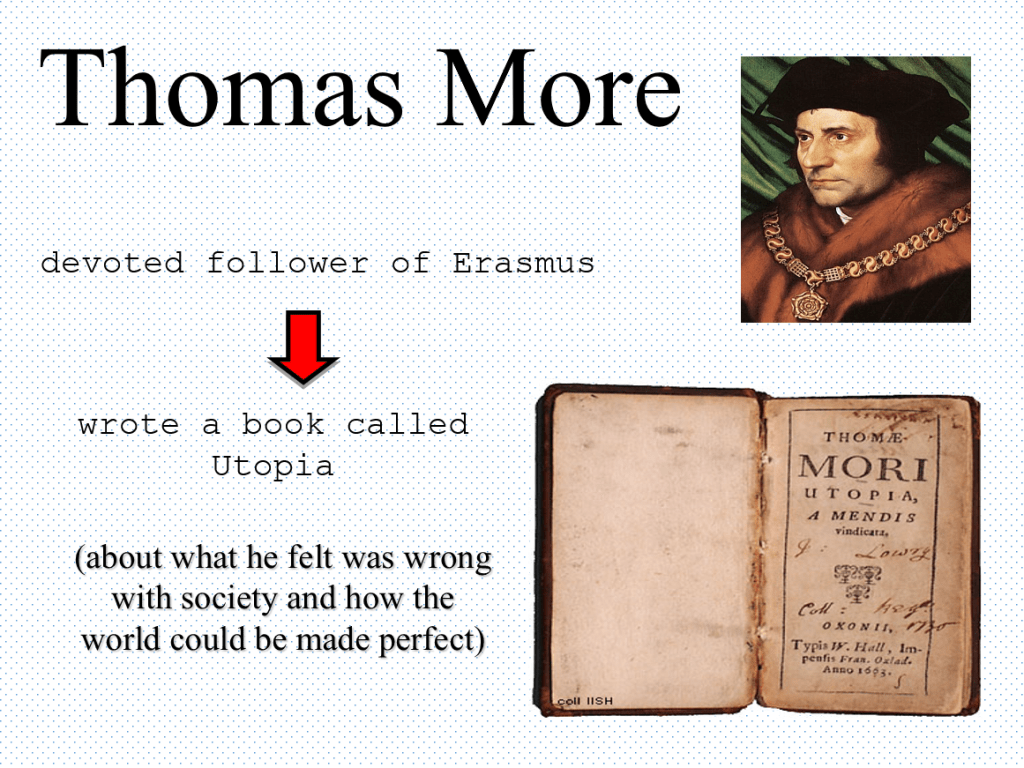
Today you are going to learn about the spread of new Italian Renaissance ideas… thanks to the invention of the printing press! (You will be watching some videos during this lesson to learn about the Spread of new Ideas – pay close attention!)
Follow the instructions step by step:
1.
First, look at your test result (Homework-6) and also see where you have perhaps lost marks:
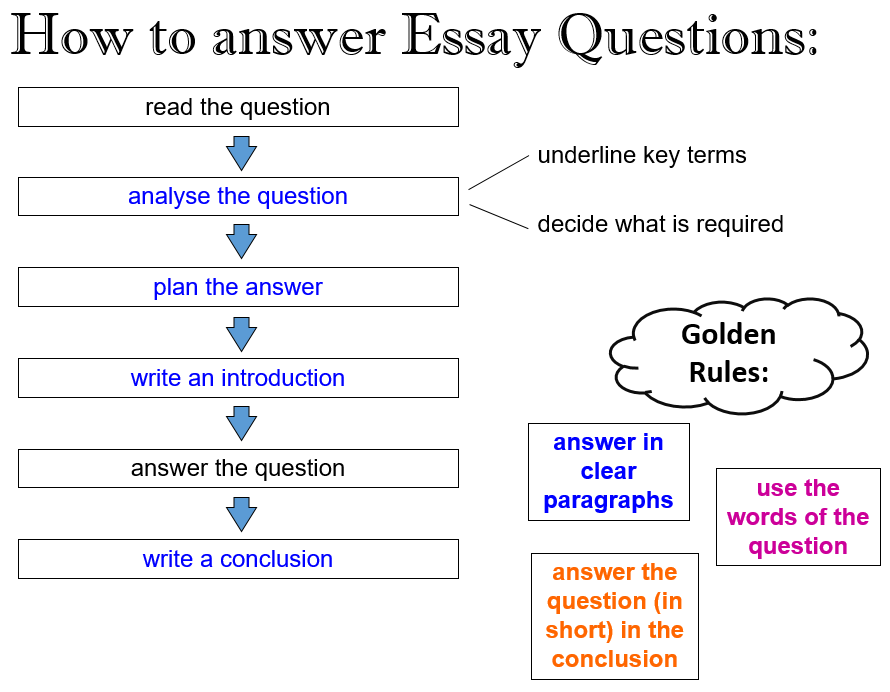
Essay Writing is the main way by which your knowledge and skills will be tested in History. It is therefore very important that you know how to tackle a history essay question. Watch the following video to see how one should approach an essay question:
How to answer an Essay Question. (0:57 minutes long)
2.
Complete the flowchart (provided) in the front of your Essay Writing book by filling in the missing information.
3.
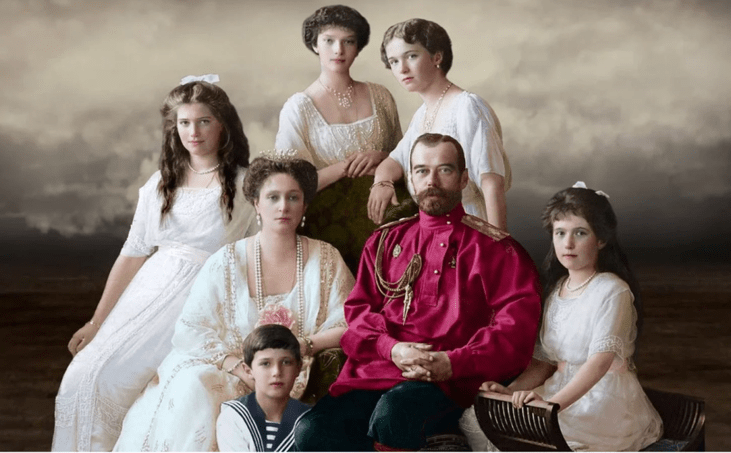
Here is the first essay question that you are going to answer in this course:
How did Tsar Nicholas rule his empire, at the beginning of the 1900’s, before he allowed the Russian people to have a Duma?
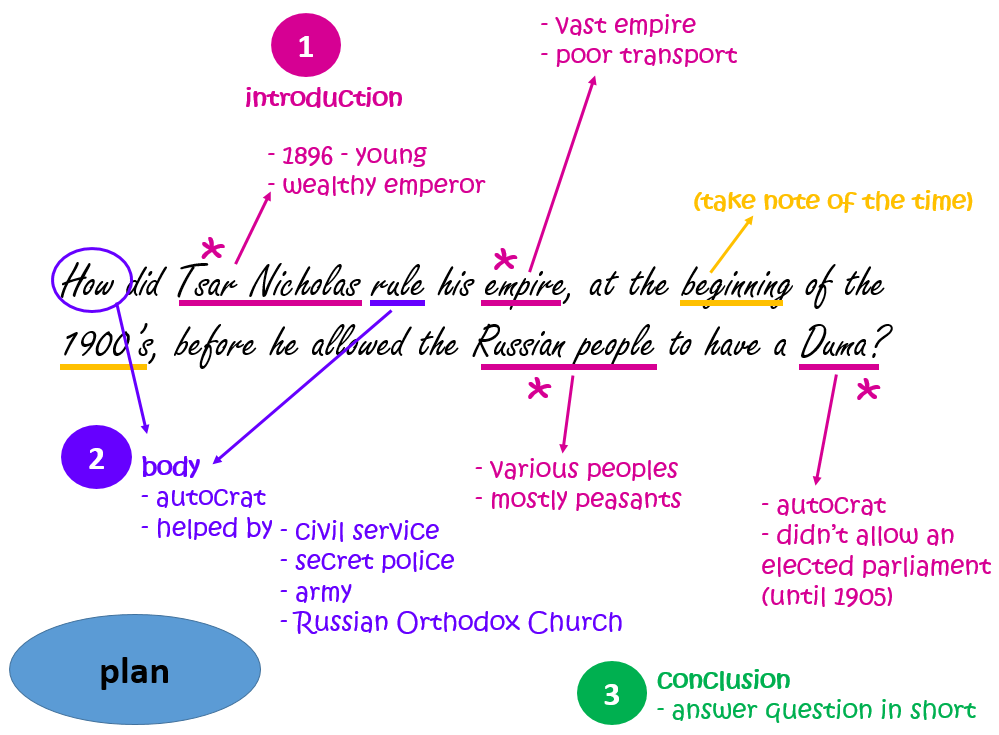
It is of vital importance that you analyse and plan essay questions before you start writing the answer. This is how the question can be analysed and planned:
Tsarist Rule Essay Planning. (2:43 minutes long)
4.
Write the essay question in the middle of a page in your essay writing book and then analyse and plan your own answer.
How did Tsar Nicholas rule his empire, at the beginning of the 1900’s, before he allowed the Russian people to have a Duma?
If you get stuck, look at the example again:
5.
Then, write the essay answer, starting on a new page in your essay writing book. Remember to answer in clear paragraphs!
Use the internet, online tools, or word processing programmes to create something else related to Christmas…
1.
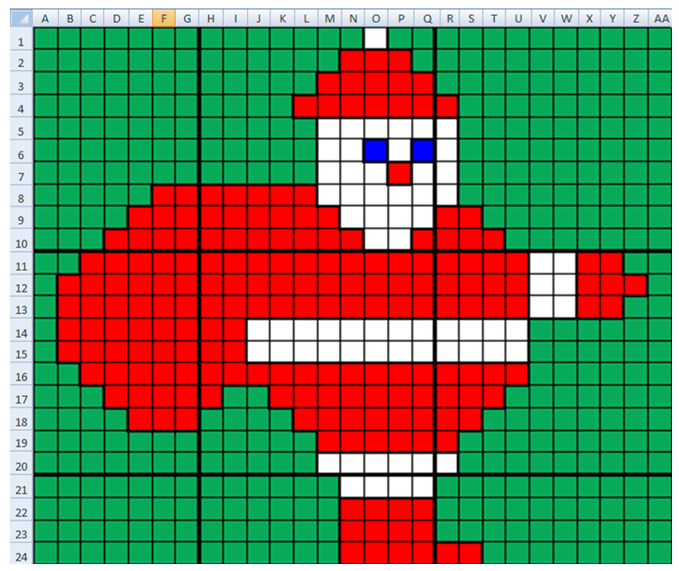
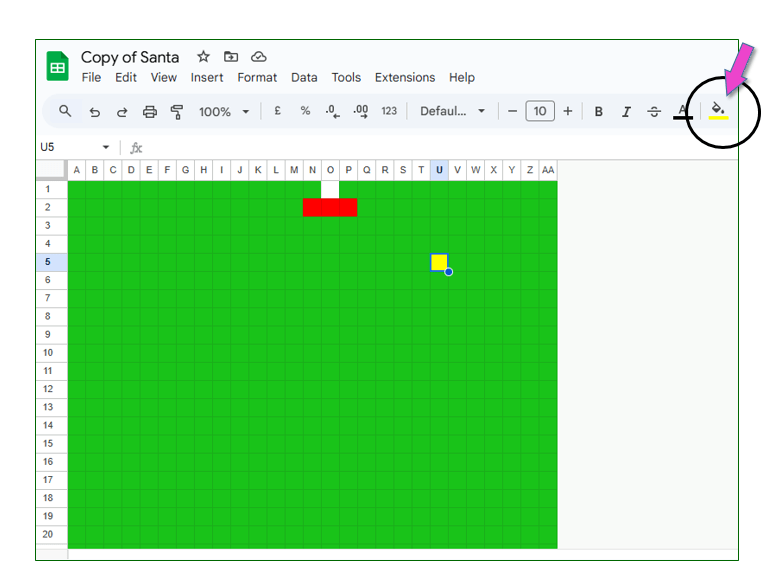
Use Google Sheets to create the following images of Santa:
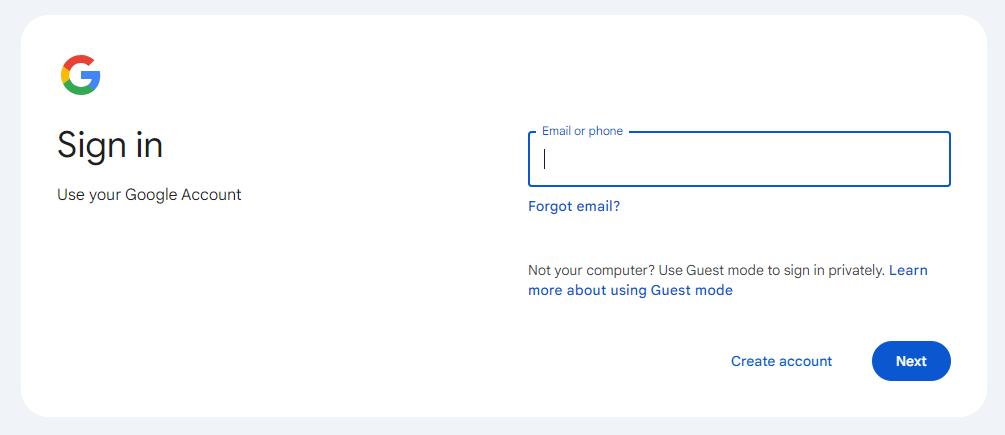
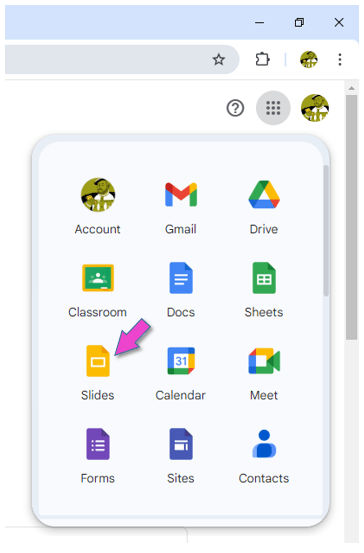
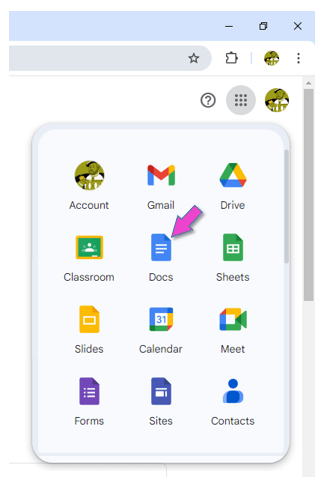
Sign into your Google account.
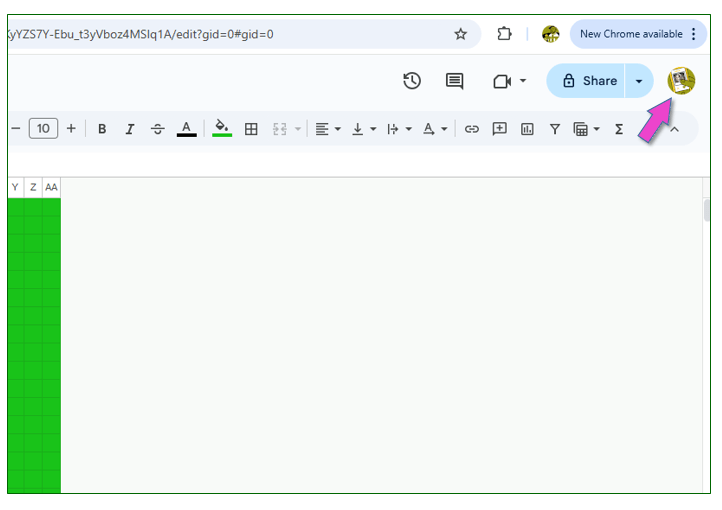
Click on this icon to sign into the account:
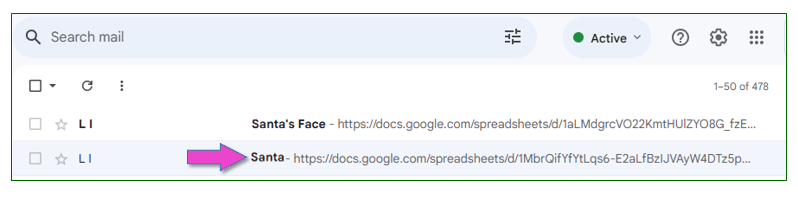
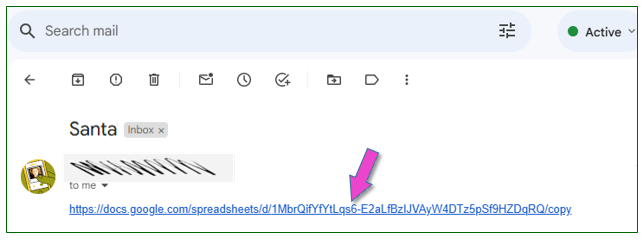
In G-mail, open the “Santa” document sent to you by your teacher.
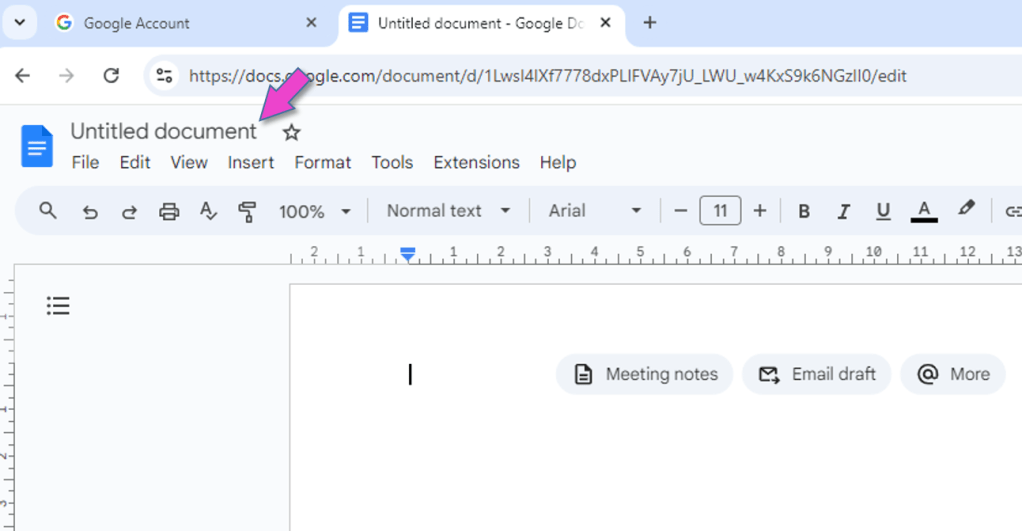
Click on the link to access the document needed for this task.
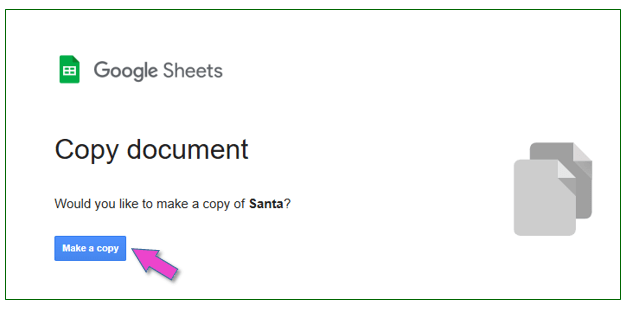
Click on: “Make a copy”.
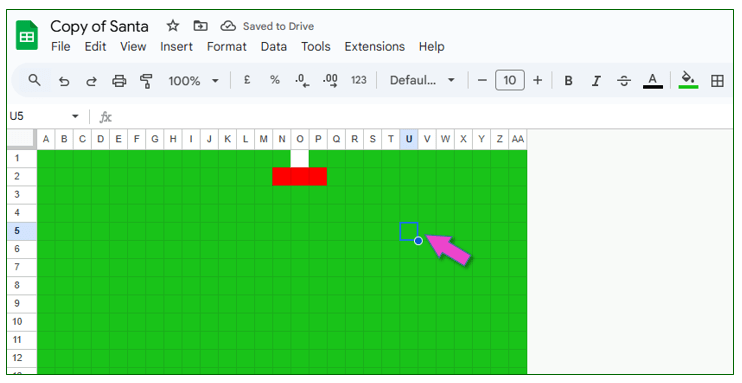
Now, use this document to create an image of Santa.
(Use cell heights, widths and background colours to make the Santa Clause image. To change the colour of the cells, you need to use the “fill tool”.)
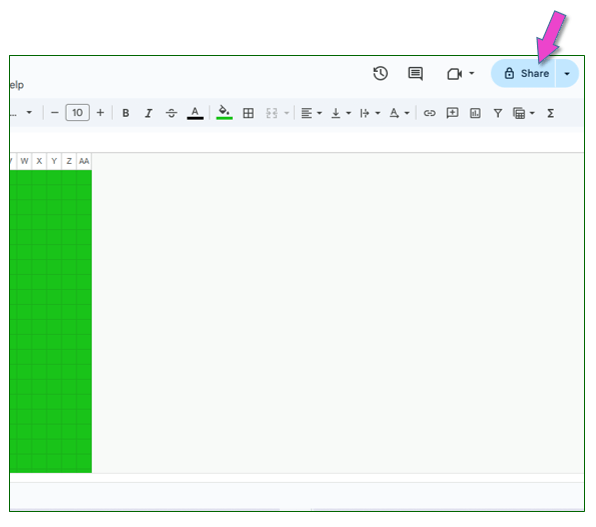
Once completed, share your document with your teacher.
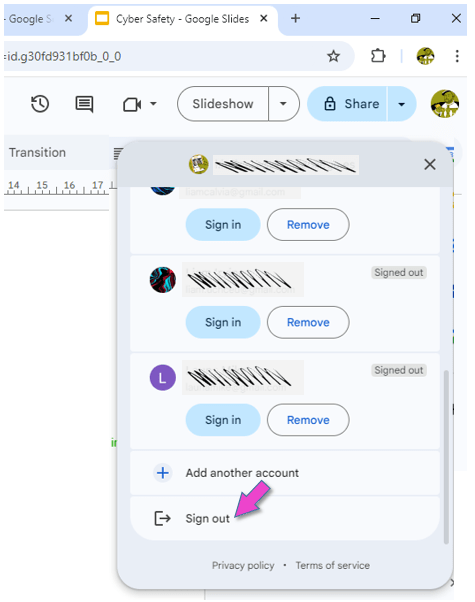
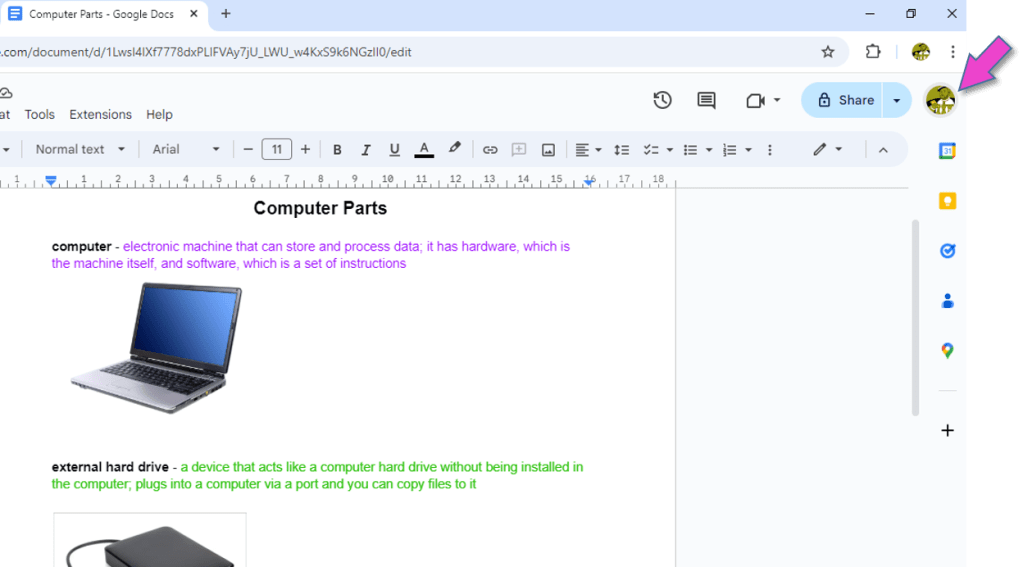
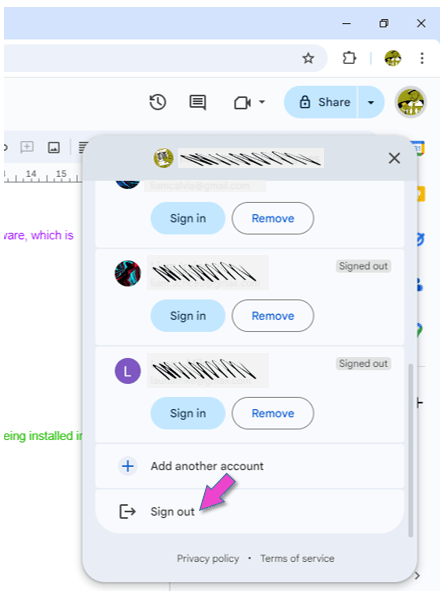
Sign out of your Google account.
This is VERY important, because everybody can log into the computers in the ICT room with the primary password!!!
You may be asked to do this second task as well:
Sign into your Google account.
Click on this icon to sign into the account:
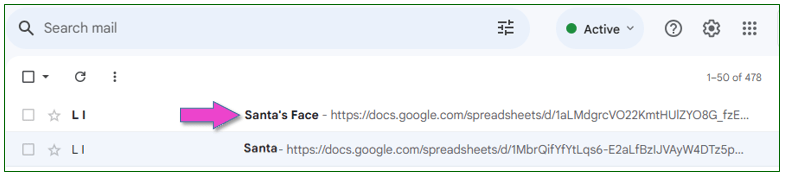
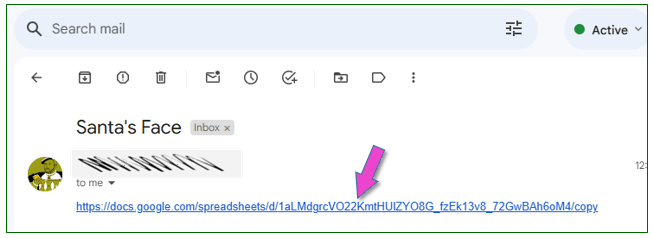
In G-mail, open the “Santa’s Face” document sent to you by your teacher.
Click on the link to access the document needed for this task.
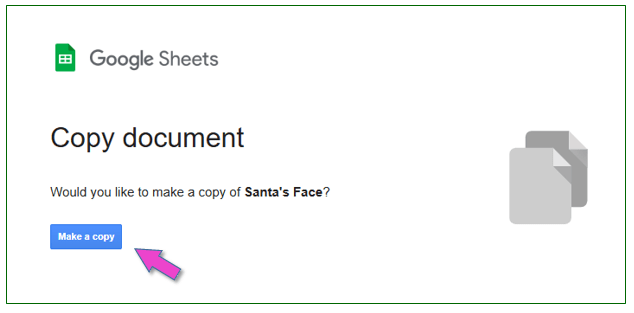
Click on: “Make a copy”.
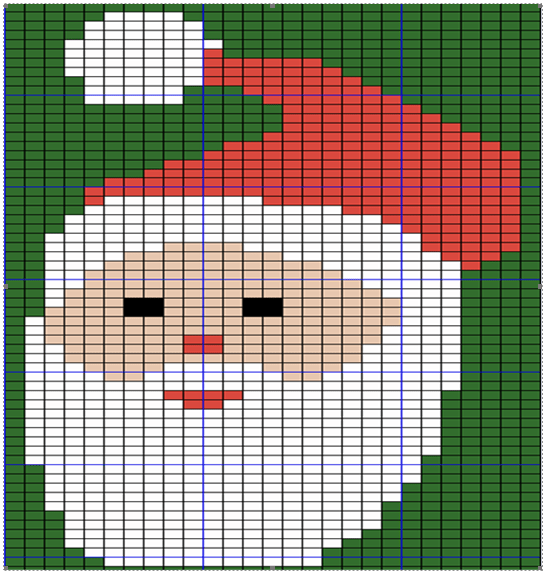
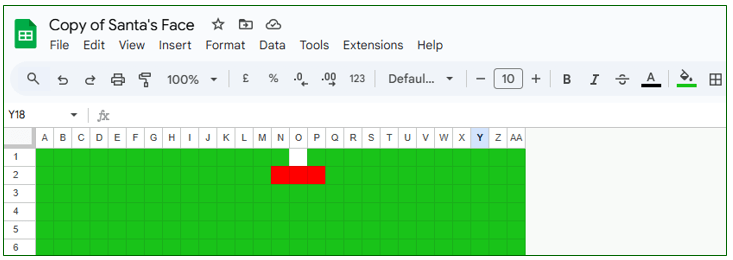
Now, use this document to create an image of Santa’s face.
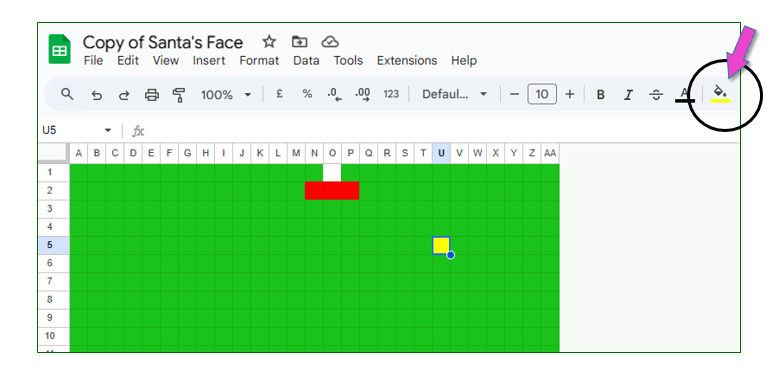
(Again, you will use cell heights, widths and background colours to make the image of Santa’s face. Work out how many cells there are and then use cell heights, widths and background colours to make a Jolly Santa. To change the colour of the cells, you need to use the “fill tool”.)
Once completed, share your document with your teacher.
Sign out of your Google account.
This is VERY important, because everybody can log into the computers in the ICT room with the primary password!!!
2.
ICT Tasks for Christmas….
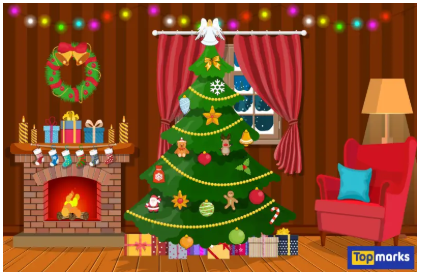
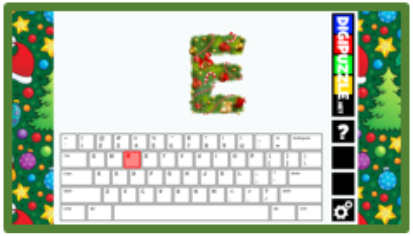
Decorate a Virtual Christmas Tree
You need to decorate the virtual Christmas tree by dragging ornaments.
Create a Christmas Picture in Paint… Task: Use a simple drawing tool like Microsoft Paint or a tablet app to draw a Christmas scene (snowman, tree, presents, etc). Skills Developed: Digital art, mouse control, creativity. Tools: Microsoft Paint, Paint 3D, Procreate.
OR
Create a Christmas Story with Stickers and Animations… Task: Use apps like Toontastic 3D or ChatterPix Kids to create simple Christmas stories by adding stickers, voice recordings, and animations. Skills Developed: Storytelling, basic animation, creativity. Tools: Toontastic 3D, ChatterPix Kids. (These apps need downloading…)
OR
Make a Christmas Collage… Task: Use apps like Pic Collage to make a fun Christmas collage with family photos, stickers, and text. Skills Developed: Creativity, basic digital manipulation. Tools: Pic Collage, Adobe Spark for Kids. (These apps need downloading…)
OR
Build a Christmas Scene in a Block-Based Game… Task: In simple block-based building games like Toca Blocks or Lego Builder, kids can create a Christmas-themed world. Skills Developed: Spatial awareness, creativity, basic problem-solving. Tools: Toca Blocks, Lego Builder. (These apps need downloading…)
look at important guidelines for making a good slides presentation
see how to make a slide presentation in Google Slides
practise using Google Docs
1.
You will often use Google Slides in your school career. Below is a video that explains briefly how to use Google Slides.
How To Use Google Slides. (5:21 minutes long)
2.
Creating an effective Google Slides presentation is all about clarity, design, and flow. Go through these guidelines and tips for creating a presentation with Google Slides. This a step-by-step guide to help you make a good presentation!
USING GOOGLE SLIDES
Decide on key points: Before you start, list the main points or sections you want to cover.
Keep it Short and Focused: Each slide should ideally cover just one idea to keep things clear.
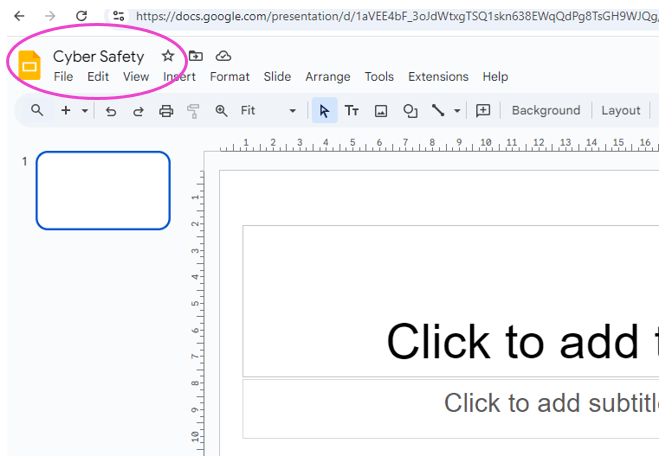
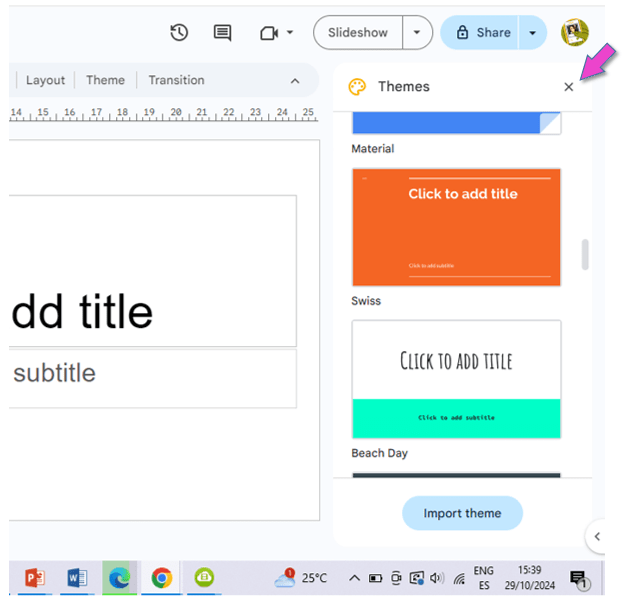
Select from Google’s Templates: In Google Slides, there are various templates under “Theme” that are clean and easy to work with.
Stay Consistent: Use the same template throughout.
Blank Slides: Alternatively, use blank slides to create your own design from scratch.
Title Slide: Include a clear title, and your name.
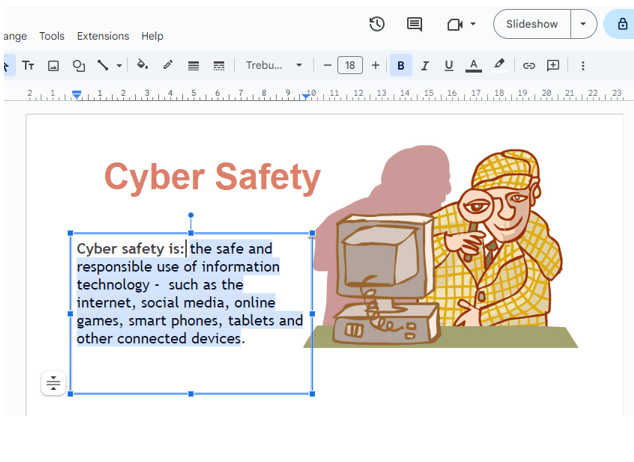
Minimal Text: Aim for 5–6 lines of text per slide, with no more than 6–8 words per line. Use bullet points to make reading easier.
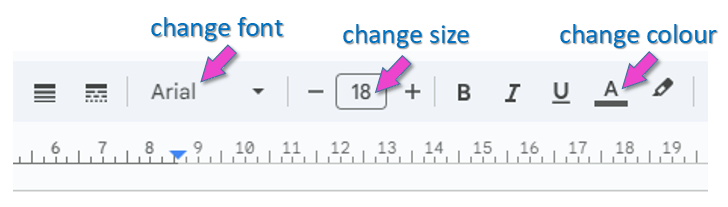
Font Choices: Stick to simple, readable fonts (e.g., Arial, Calibri). Avoid fancy fonts that may be hard to read.
Font Size: Titles should be around 30–36 pt., and body text around 18–24 pt.
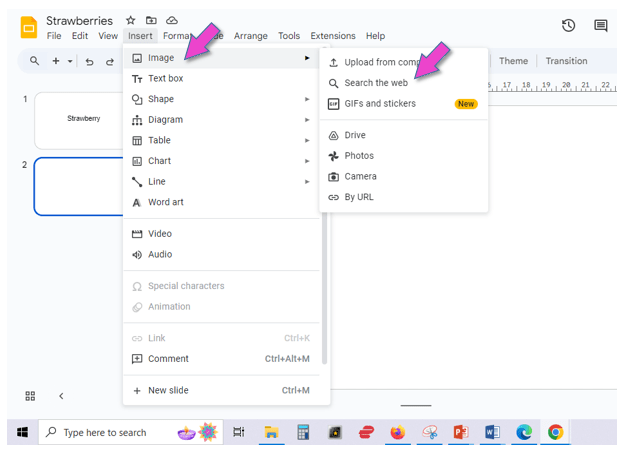
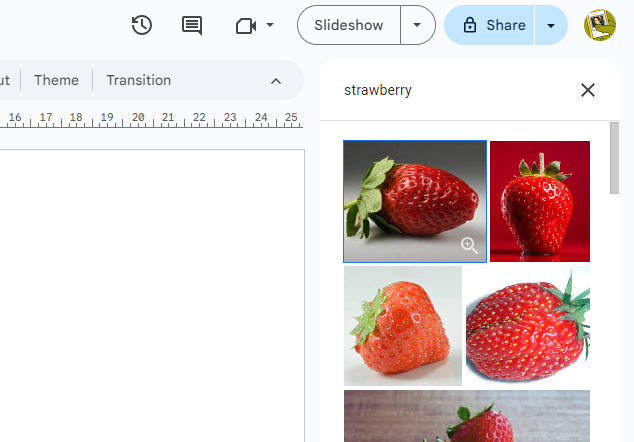
Add Images, Charts, and Icons: Visuals help communicate your points and keep the audience engaged. Use Google’s “Insert” menu to add images, shapes, and charts.
Limit Animations and Transitions: Stick to subtle transitions if you use any at all; too many can be distracting.
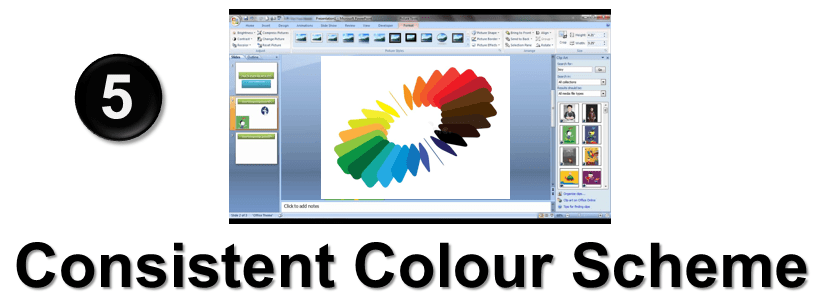
Limit Your Colours: Choose 2–3 colours, to use for the background and for fonts, for a professional look.
High Contrast: Make sure text colour contrasts well with the background for easy readability (e.g., dark text on a light background or vice versa).
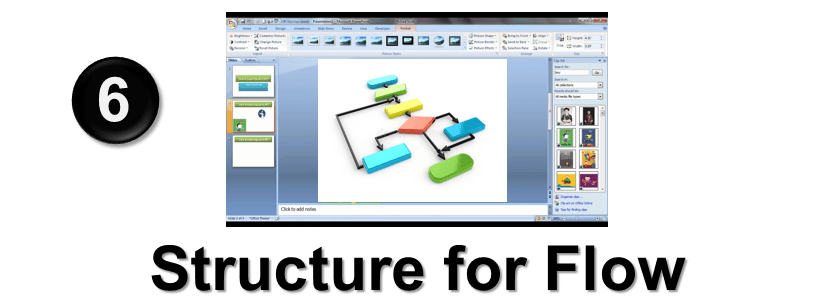
Logical Order: Arrange slides so each one naturally leads into the next.
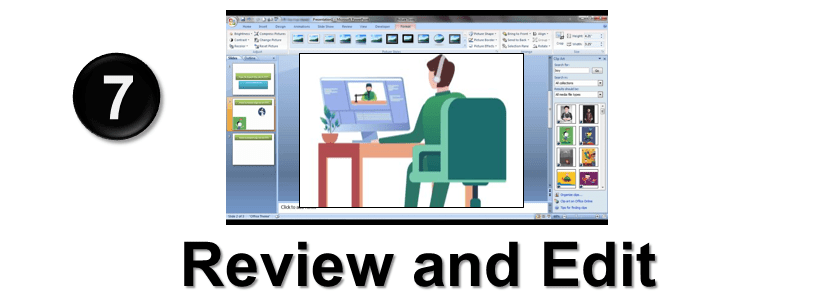
Proofread: Check for spelling and grammar errors.
Final Check: Go through each slide to ensure it flows well and makes sense.
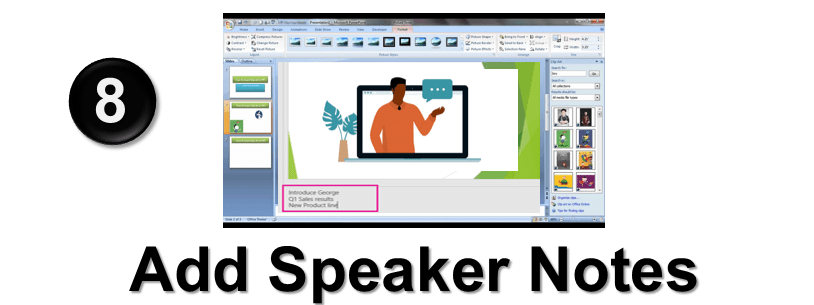
Use Notes for Extra Detail: Add notes at the bottom of each slide in the “Speaker notes” area to remember what you want to say or to keep detailed info without overcrowding the slides. (This is only necessary of you need to present your slides in front of an audience.)
3.
You are going to familiarize yourself with the basics of using Google Slides. This is just a “practise-run”. In another lesson you are going to do a project, creating your own set of slides!
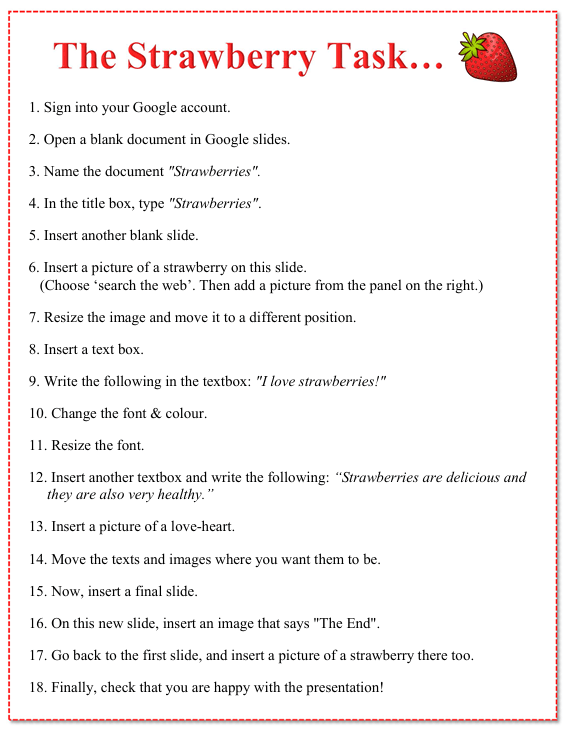
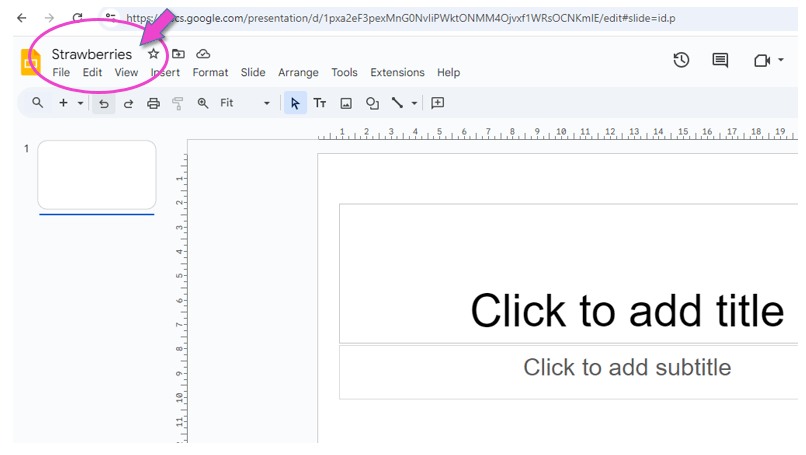
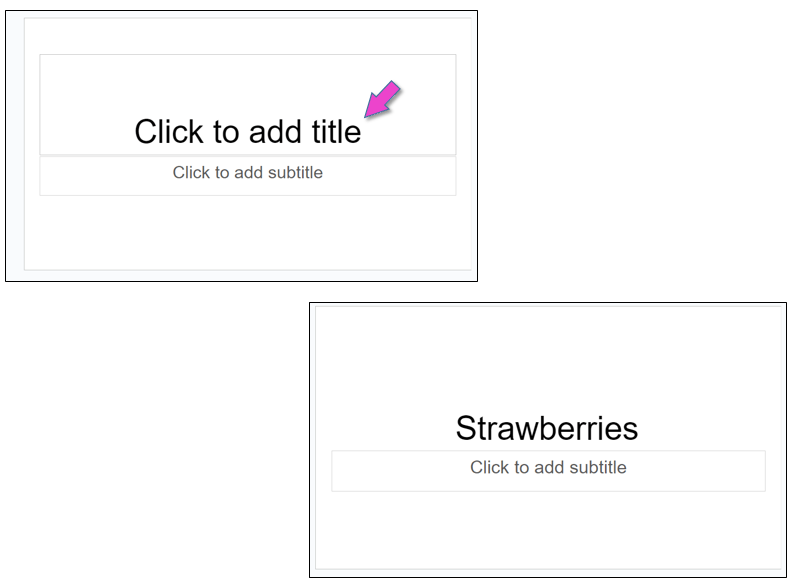
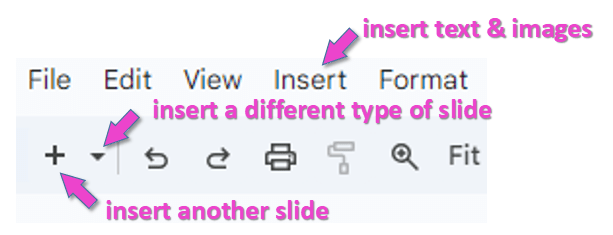
For this “practise -run”, follow these steps precisely:
(For your convenience, your teacher will give you a paper copy.)