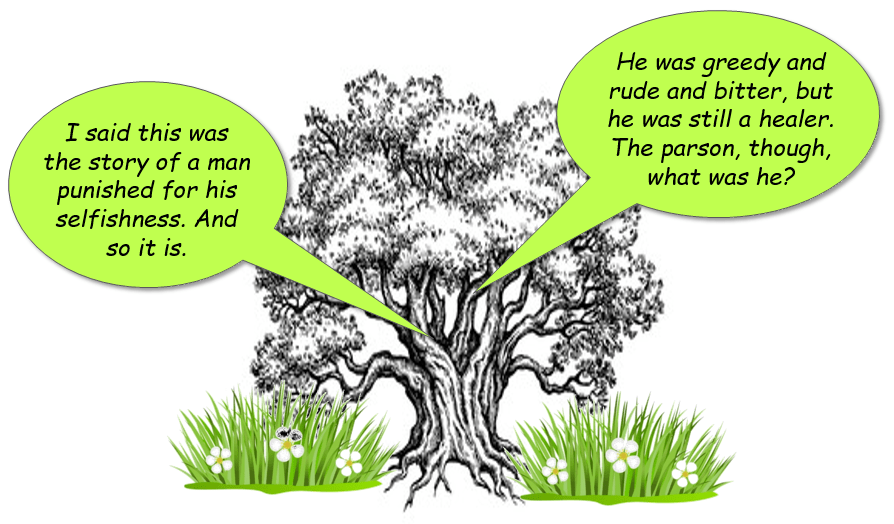
“The importance of this story is just how complicated humans can be; the true moral message of the Monster’s second tale is that there is no moral message. Both the apothecary and the parson are in the wrong, yet they are also both in the right: so where does that leave us in determining the relevance of this tale? …it’s not realistic to say that every situation will always have one good guy and one bad guy. It is, however, realistic to point out that we can be good or bad or both or neither, and there’s no clear criteria for any of them. The Monster’s message is brutally truthful- human nature is so complex that it would be impossible to have a one-rule-fits-all morality lesson.”
6.
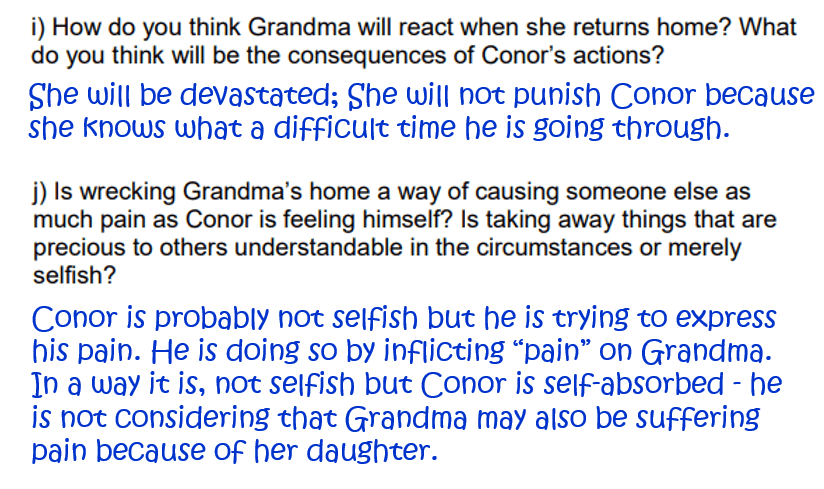
Now Conor is probably in even more trouble! Consider what will happen to him… Share your ideas with the person next to you.
2. How is ‘The Second Tale’ an allegory for Conor’s life?
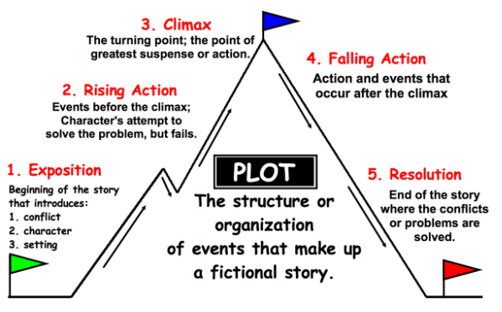
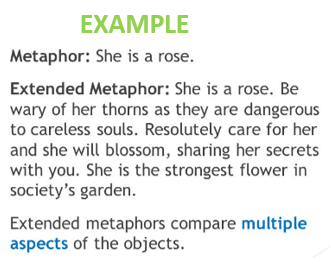
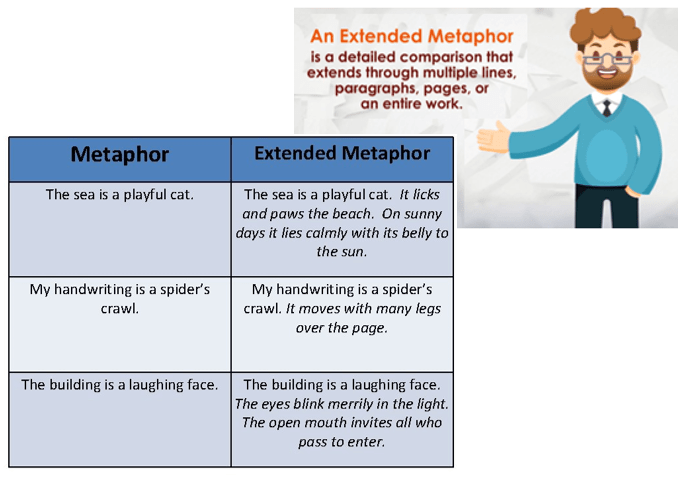
Remember this? Have you copied the information below into your book?
Allegory is a narrative, a poem or story, that can be interpreted to reveal a hidden meaning. A moral lesson is often presented in the form of an allegorical story.
Symbolism is a literary device that presents one particular item, like a dove, to represent something else (peace).
In other words, an allegory is a whole story, poem, or book. Symbolism can be just a part of the story, poem, or book.
7.
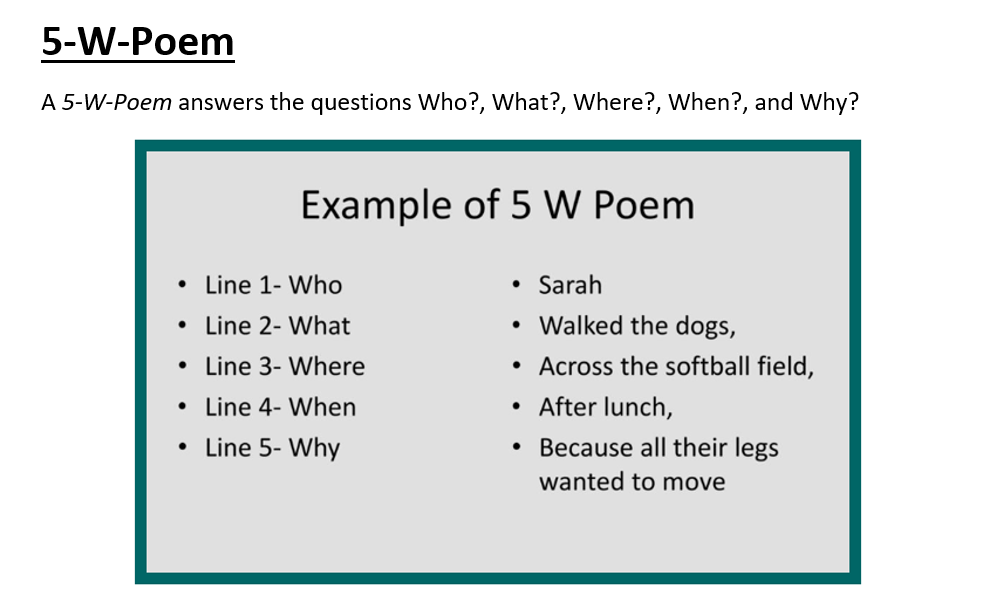
Write a 5-W Poem for each of the following Characters from the Second Story:
Today we are going to prepare for the speech delivery!
to get advice and tips on public speaking
to begin to practise your speech delivery
1.
You need to prepare yourself to deliver your informative speech on “Literary Devices”… Therefore a number of useful videos on public speaking has been included in this lesson.
-1-
The Importance of Public Speaking Skills. (3:39 minutes long)
view anxiety as energy and excitement
memorize at least the beginning & the end of the speech
pause during the speech – it focuses attention & shows authority
-2-
How to deliver a perfect speech. (3:11 minutes long)
make eye contact!
don’t fidget
don’t fade out at end of sentences…
don’t uhm and aaah
-3-
Four essential body language tips… (2:27 minutes long)
keep your body open to the audience
show your palms (“open palms” helps the audience to connect with you)
know your stage – get comfortable with it
don’t cling to (or lean on) the podium
-4-
Be a more confident Public Speaker. (4:39 minutes long)
prepare! prepare! prepare!
posture & physicality
keep it natural
-5-
Public Speaking Tips. (2:00 minutes long)
know your audience
know your material
know the room
keep eye contact
speak up
concentrate on the message – not the medium
don’t appologize
remember that the audience want you to succeed
2.
Let’s also consider these important tips on Public Speaking!
“Know what you want your audience to do immediately after hearing your speech. If nobody does anything different than they would have done before you spoke – the value of your speech is zero.”
“A personal story, a quote from an expert or a shocking statistic – something that takes a hold of your audience and gets them hooked and opens their mind to your message. Give the audience a chance to see your personal connection to the topic.”
“Structure your material in three sections – grabber, middle, close. Know your material. Get really interested in the topic. Find good stories.”
“Rehearse out loud with all equipment you plan on using. Work to control filler words; Practice, pause and breathe. Use a clock to check your timings and allow time for the unexpected.”
“Try to speak to one or two people in the audience as they arrive – they will be your allies in the audience – it is easier to speak to friends than to strangers.”
“Arrive in good time to check out the speaking area and get practice using the microphone and any visual aids.”
“Begin with a well prepared grabber. A relevant personal story is a great start. It establishes your credibility. It connects you to the audience and creates the right emotional atmosphere (and calms your nerves).”
“See yourself at the end of the speech surrounded by people asking questions, visualize the applause.”
“Include 3-8 second pauses at key moments – just before key statements or just after a story – this really brings the audience into the speech.”
“Don’t apologize – the audience probably never noticed it (when you made a mistake.”
“Look like the content matters to you – if the audience don’t feel that it is important to you, it will be really hard for them to feel that it should be important for them.”
“Take every opportunity you can get to speak (and listen to other speakers). Prepare well ahead of time. Experience builds confidence, which is the key to effective speaking.”
3.
Six more helpful tips!
And, here are a few more tips, taken from an article that you can access here.
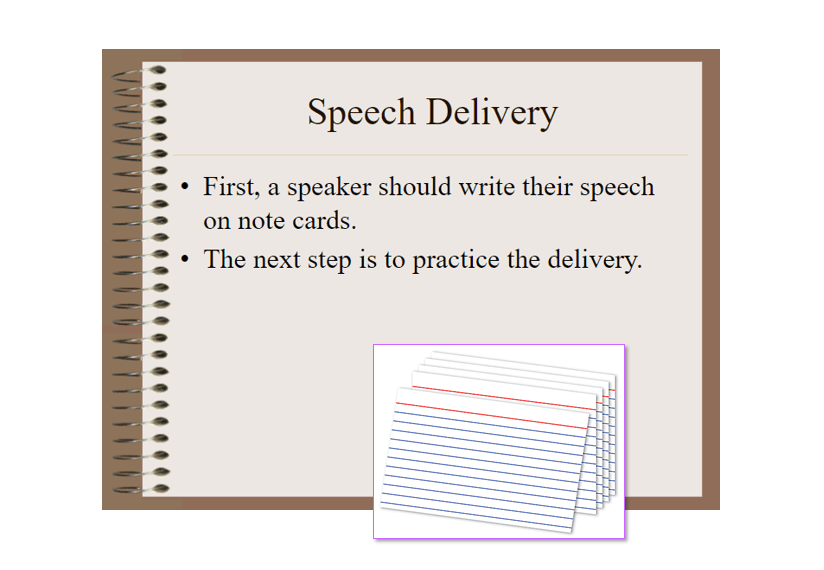
1. Write down important points and convey spontaneously
“You can write down small notes that only contain important material points. In making these notes, do not let you write a long narrative. It can be explained naturally and spontaneously, because by dealing with the conversation, it is attempted not to look stiff. It is enough to write a few important points. This will help you remember what you are going to say so you don’t get blank in the middle of the conversation. Keep in mind the order of the points that you will convey.”
2. Deepen Interaction with Your Audience
“You should try to keep your communication alive even when you are speaking in front of many people. Because this also affects your confidence and spirit. You can include a few brief questions for the audience, to encourage them to interact with you. You can also include jokes that are still ethical so that they do not become too stiff. The audience will be interested in the topic of conversation, if you can attentively interact with them.”
3. Speak clearly and with a different intonation
“Before you speak in public, it would be better if you practice first. You can ask friends for help to assess speech style, appearance, intonation, and so on. The intonation when speaking is varied so as not to bore the audience. Each word, you must pronounce it loud and clear so that the material can be conveyed well.”
4. Utilize body language and eye contact
“You can use your body language, especially your hands, to emphasize the material presented. But don’t let your hands move too much, because it can distract the audience. What needs to be noted is, you must pay close attention to the eye contact of the audience. This is so you can control the focus of the audience. If you lose control, then your conversation will go to waste, not being noticed by the audience.”
5. Avoid the words “emmmm” or “ehhhh”
“If you can adjust the pause, for example slow or fast. Then you can set the control of the conversation to be delivered. Because most of them are confused about what to say, so they say “emmm/ehh” that shouldn’t be said. If these words come out, then your level of professionalism will decrease. For example, you need time to think, try not to say the words above.”
6. Get rid of pressure and self-confidence
“It is okay to feel nervous and anxious. Surely almost everyone has felt this way, when speaking in public, but don’t let your nerves and worry get the better of you. In public, you have to show good self-confidence. You don’t have to be concerned about making mistakes, because humans are nature to make mistakes. Therefore, calm yourself and convey as comfortably as possible.”
Now it is time to practise your speech. Work with a partner and go over your speech in preparation for the delivery!
5.
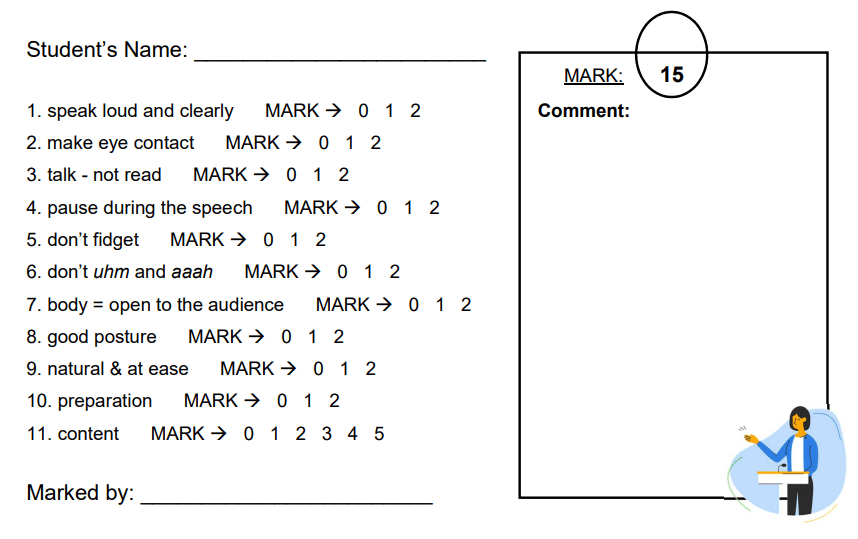
You need to deliver your speech on a date specified by your teacher. Your speech will then be assessed (by your teacher as well as by some class mates) using the criteria below:
Below is a link to a very detailed article on Public Speaking. If you really want to become a pro you may want to read it carefully. (The article also has useful videos to watch.)
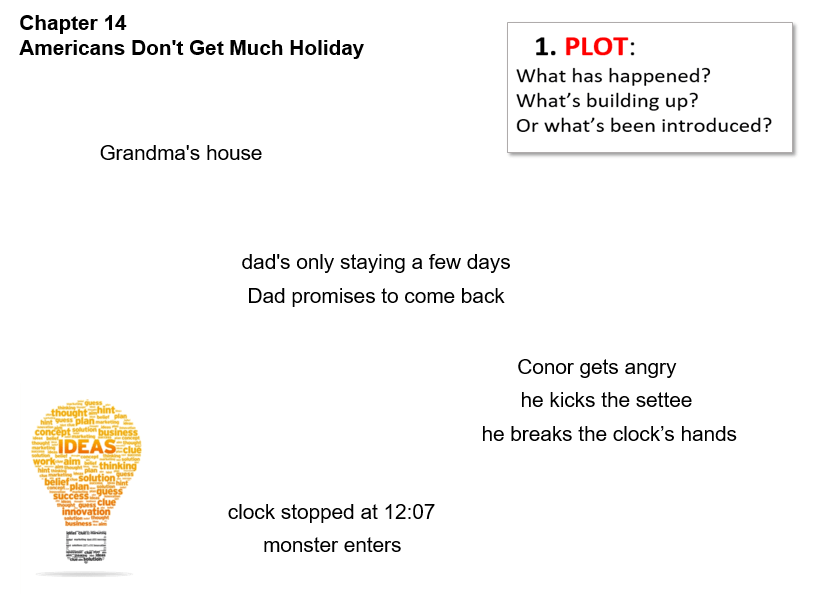
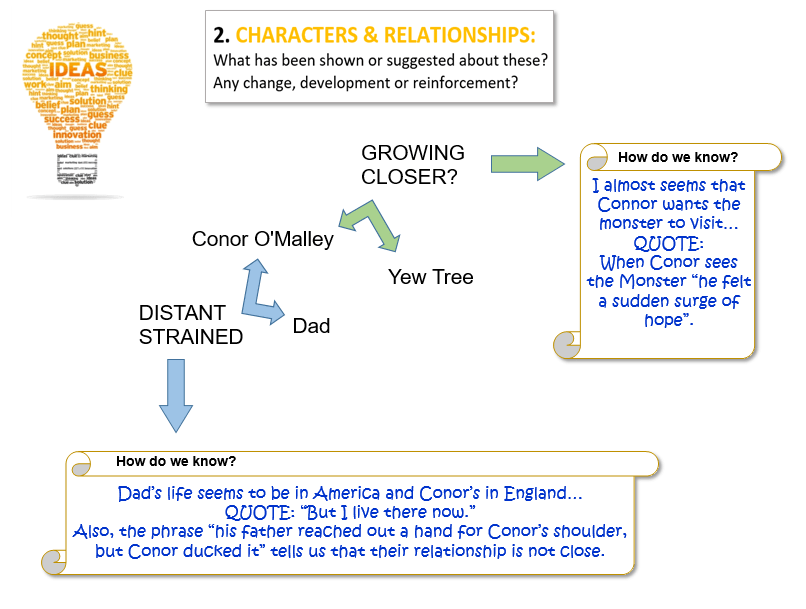
Today we are going to read Chapter 14 of “A Monster Calls”.
to consider the plot of Chapter 14
to consider the characters so far
to record relevant information for Chapter 14
1.
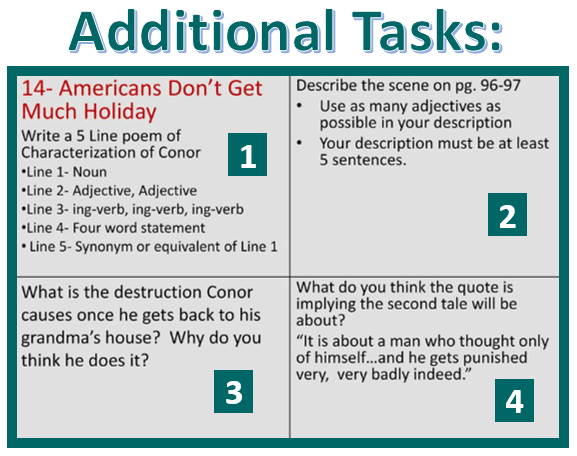
“Americans Don’t Get Much Holiday.”
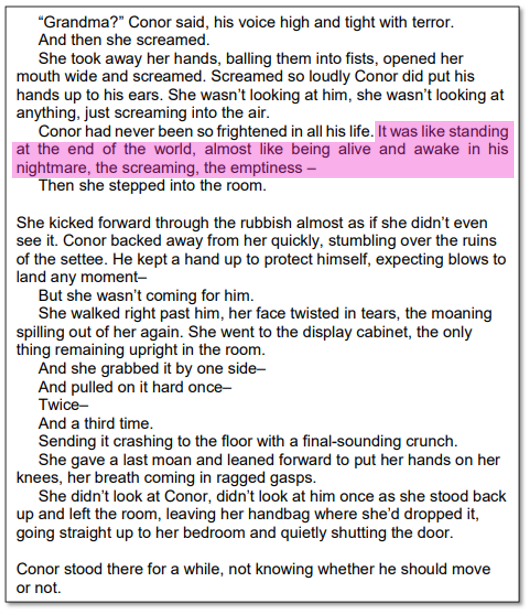
Read Chapter 14.
2.
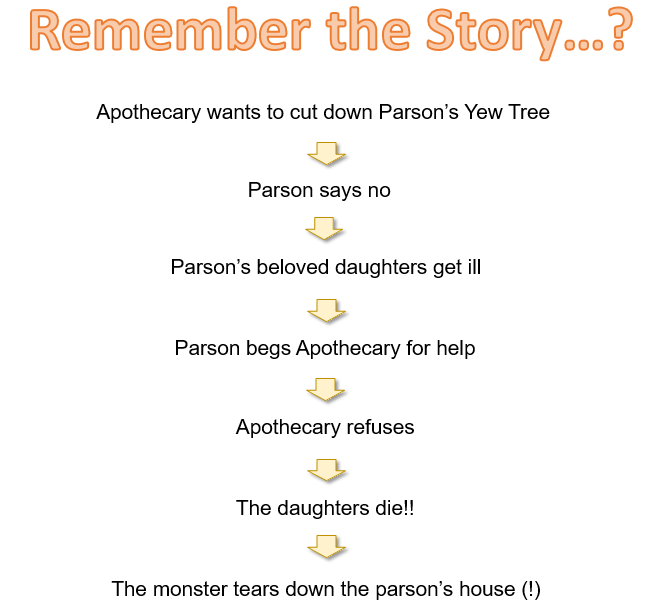
This is what we’ve read in Chapter 14…
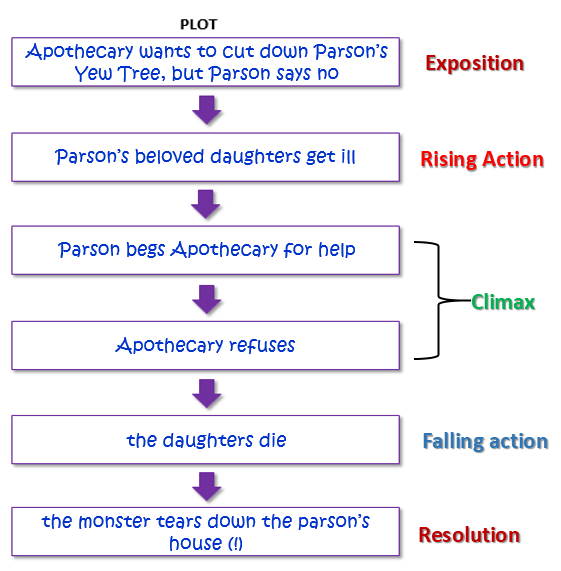
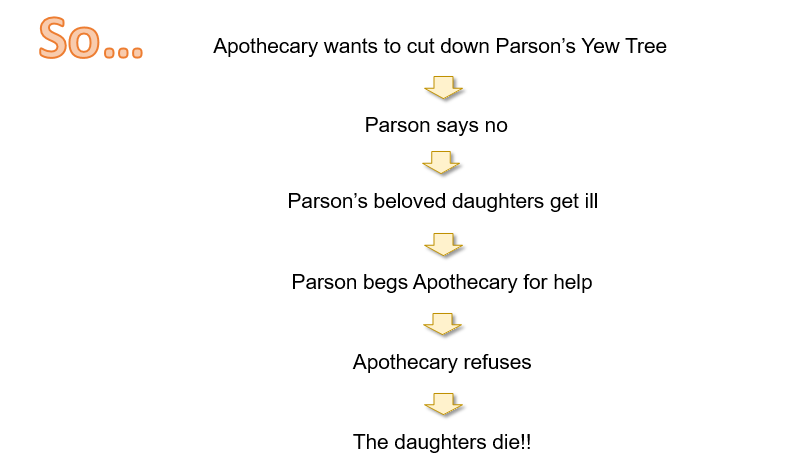
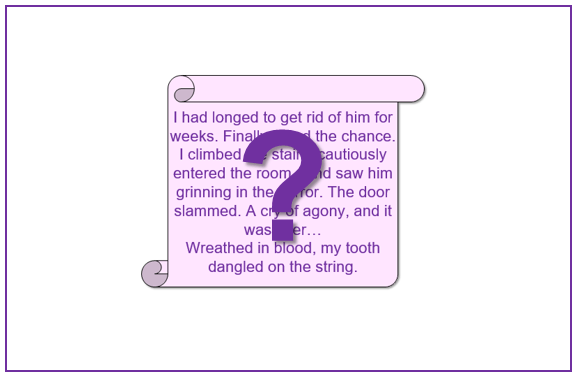
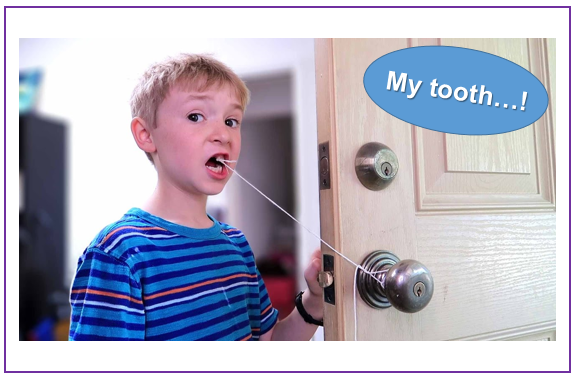
“Conor goes inside alone and then kicks the settee a few times. Then Conor looks up and sees the clock. He reaches up to turn the hands toward the 12, but he accidentally breaks the clock, and it stops. Immediately, he knows he’s done something really, really bad…
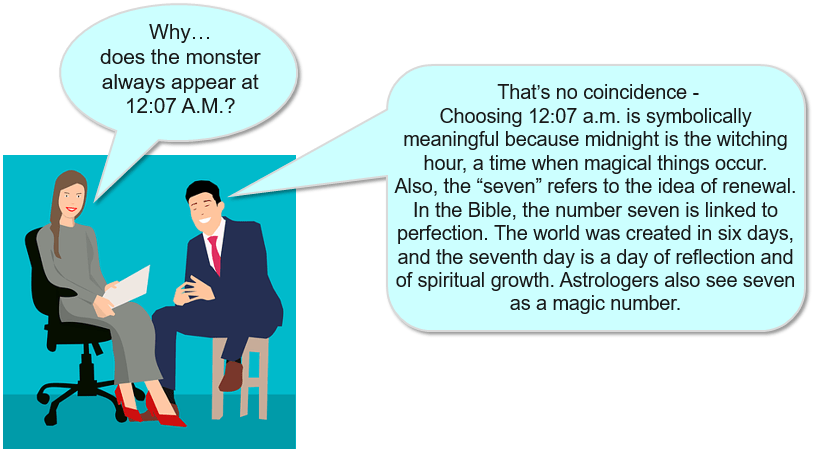
Also, he’s stopped the hands at 12:07… So, the monster shows up, right there in the living room. He’s there to tell Conor a story about a man who thought only of himself.”
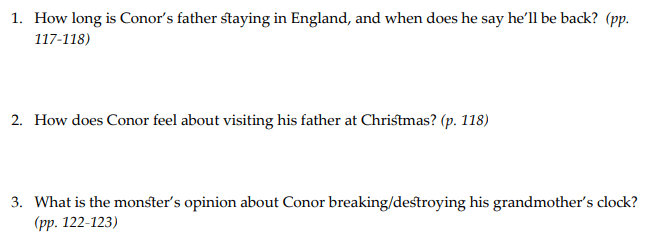
So, back at Grandma’s house, Conor’s dad says he’s only staying a few days, because “Americans don’t get much holiday”. Conor reminds his dad that he is not an American… Dad says he cannot stay, but he promises to come back “when he needs to”. This makes Conor angry because he knows what it means…
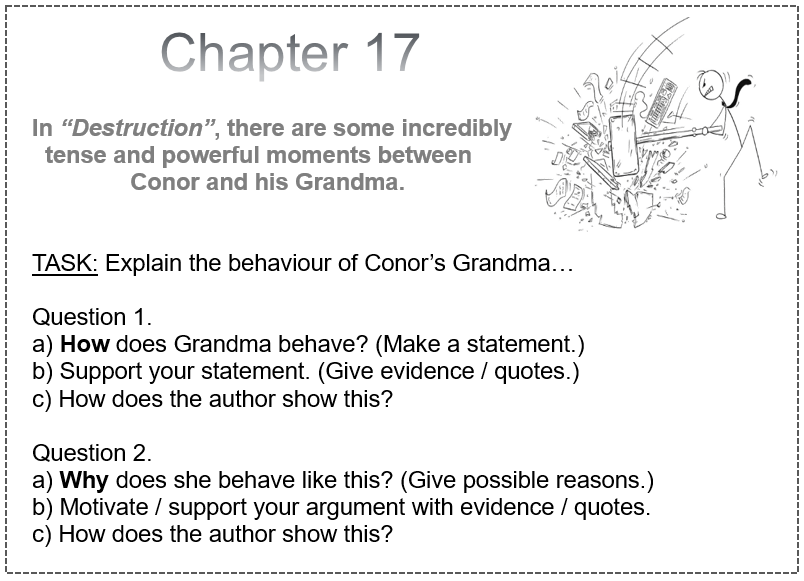
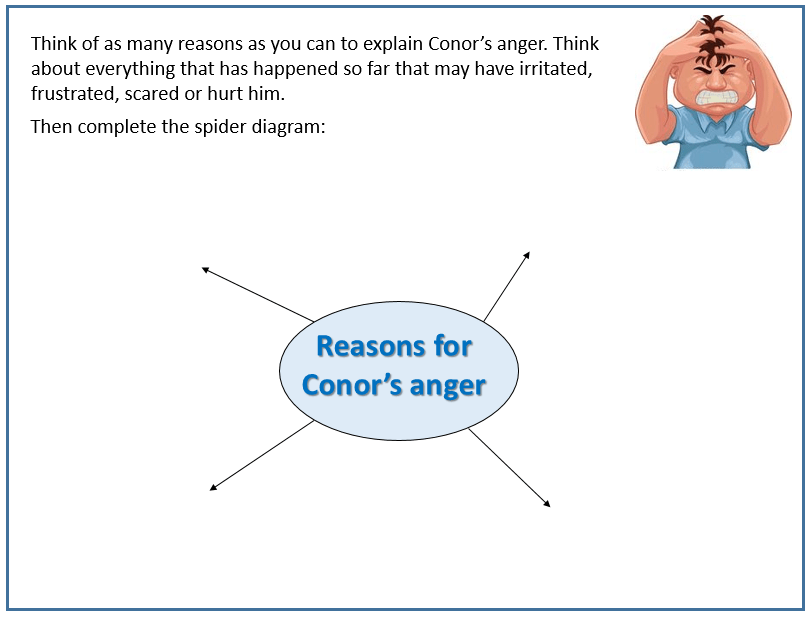
How does the writer show that Conor is angry?
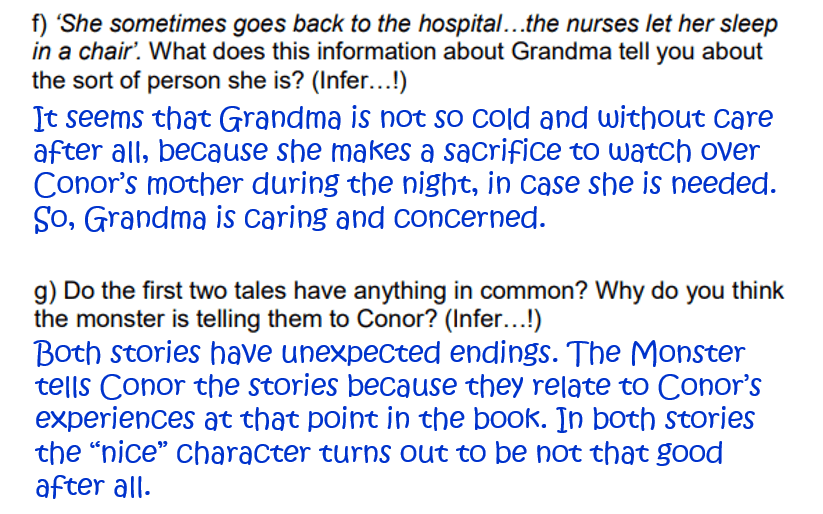
The writer shows Conor’s anger in Conor’s actions: Dad asks if Conor wants company; Conor says no and goes into Grandma’s house alone. Inside, he kicks the settee a few times, leaving “satisfying scratches” on his grandma’s perfect floor.
3.
So… Conor broke the clock! Complete the “think sheet” to predict what will happen next!
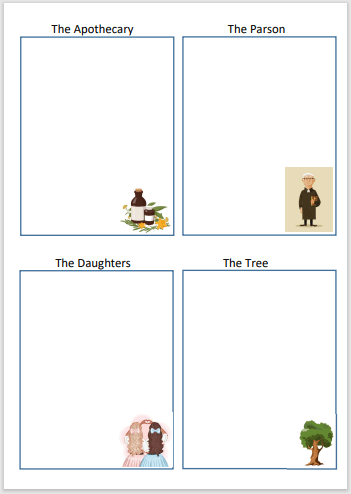
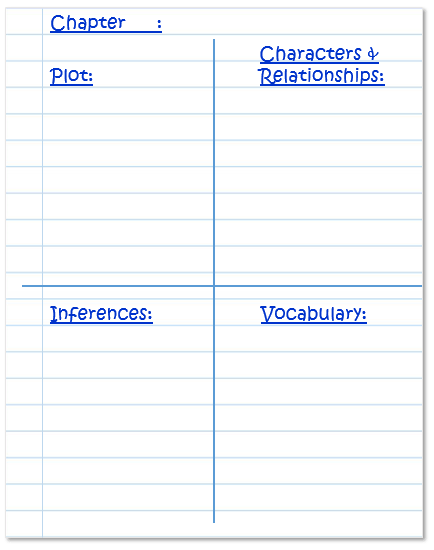
Remember, this is how we can record our focus for reading:
Divide a new page in your book into quadrants, add the titles (as shown below) and record your ideas about Chapter 14:
SOLUTION
To be added…
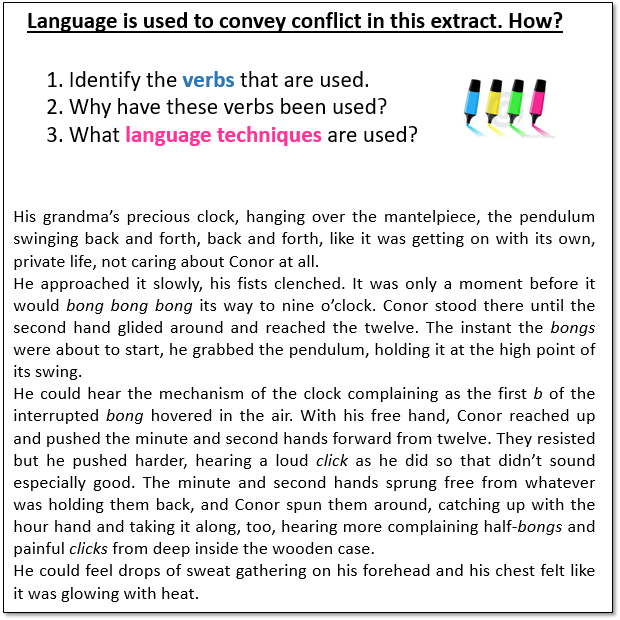
5.
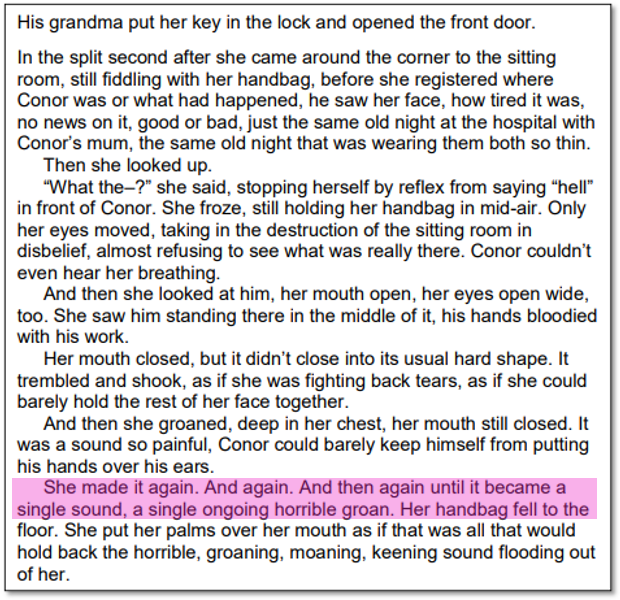
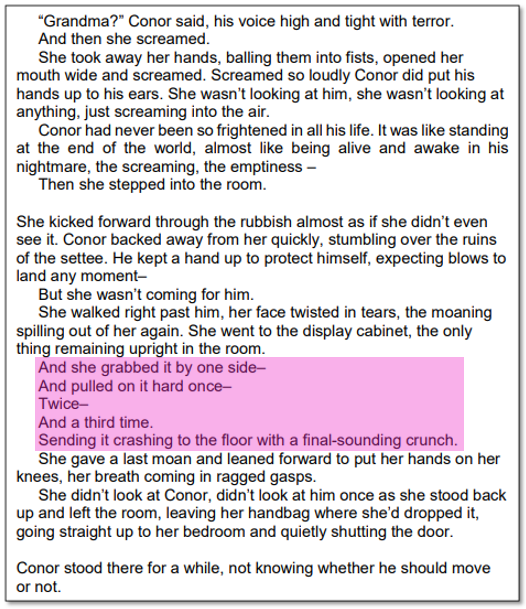
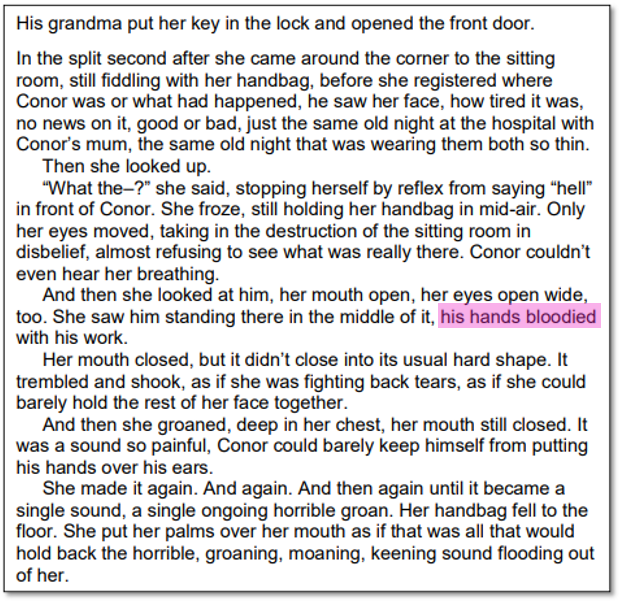
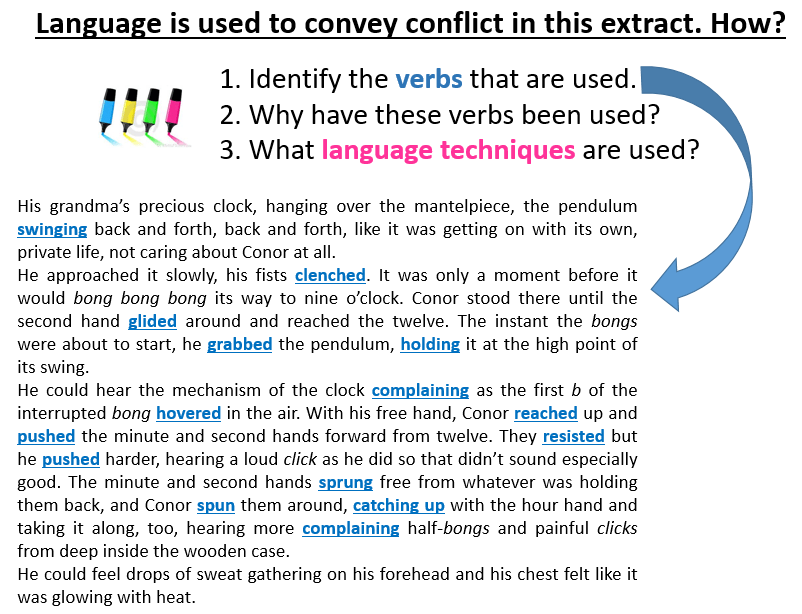
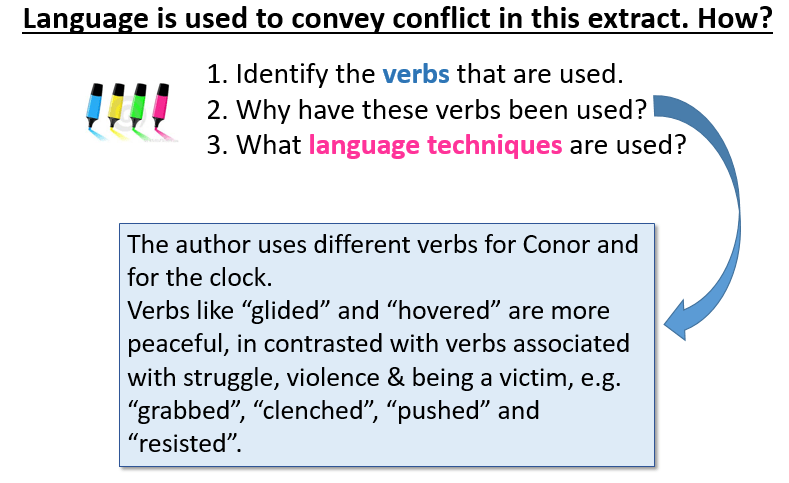
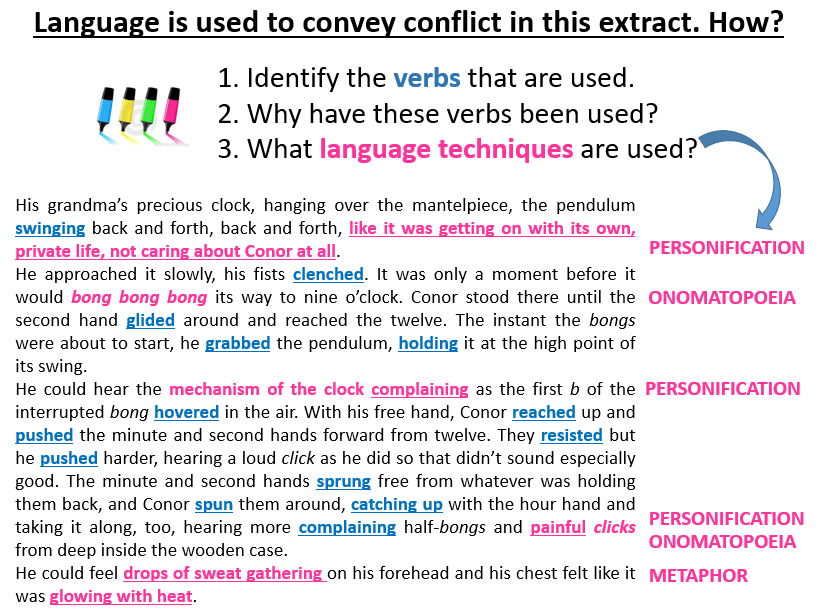
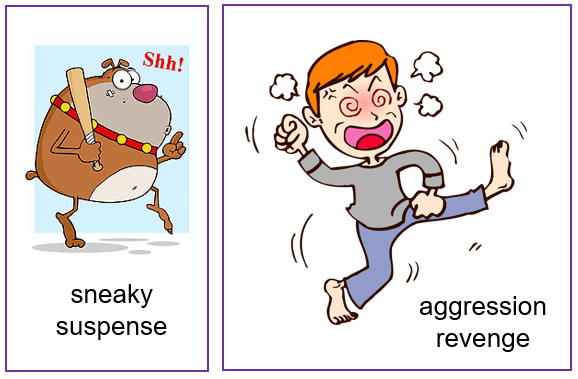
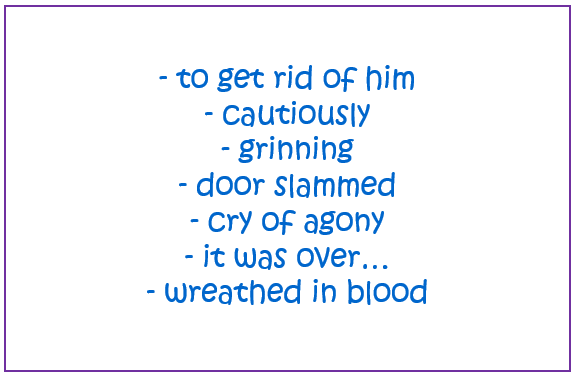
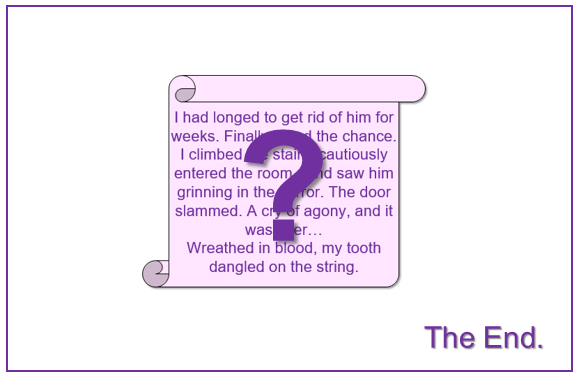
The ways in which an author achieve certain atmospheres in a story is very relevant to your study. Complete this task to investigate how the author makes use of verbs and language techniques…
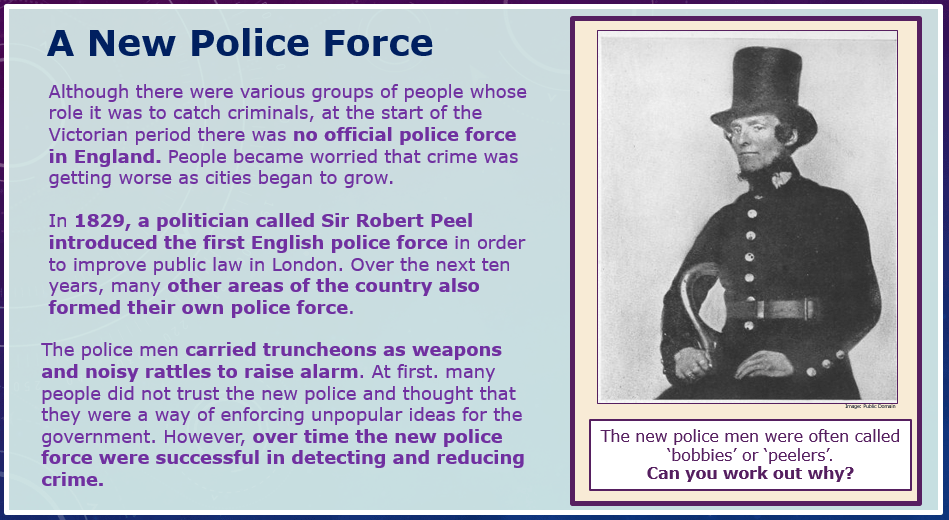
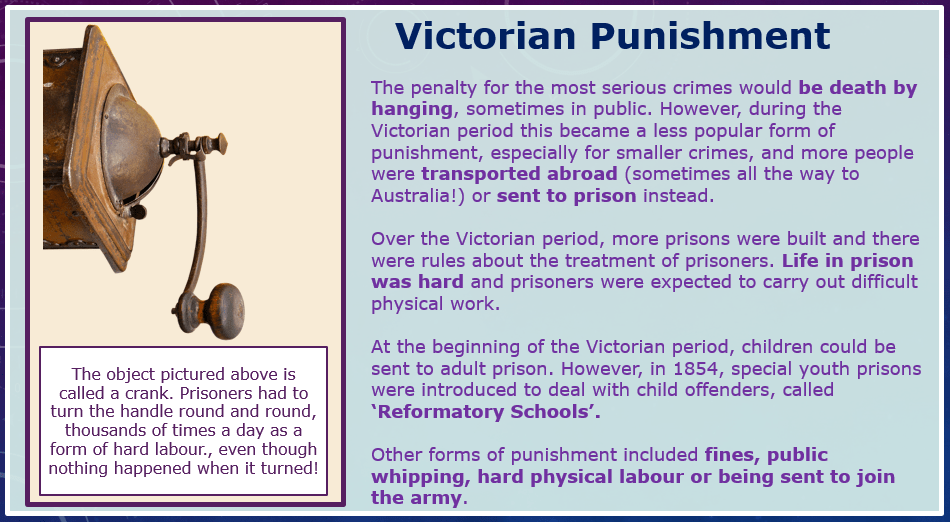
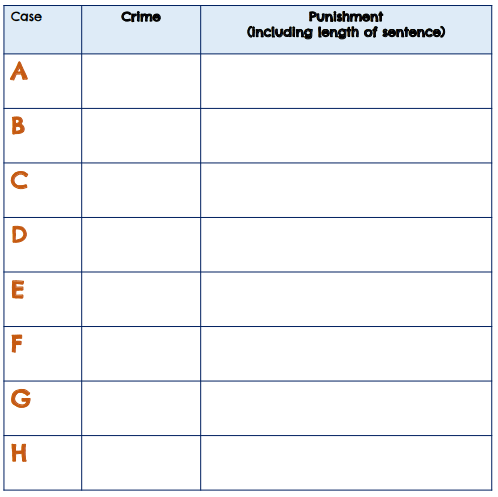
to find out about typical crimes and punishments in the Victorian period
to compare Victorian punishments to the modern day justice system.
to …record relevant information for Chapter 2
1.
What happens to people when they break the law in today’s society? How many modern day punishments for people who break the law can you think of? Which of the punishments are most severe, and which are least severe?
SOLUTION
to be added
End
What do you think today’s society would be like if we did not have these things?
SOLUTION
to be added
End
Begin
2.
The instruction
End
Begin
Begin
SOLUTION
to be added
7.
The
Crime and Punishment in Victorian Times. (1:45)
3.
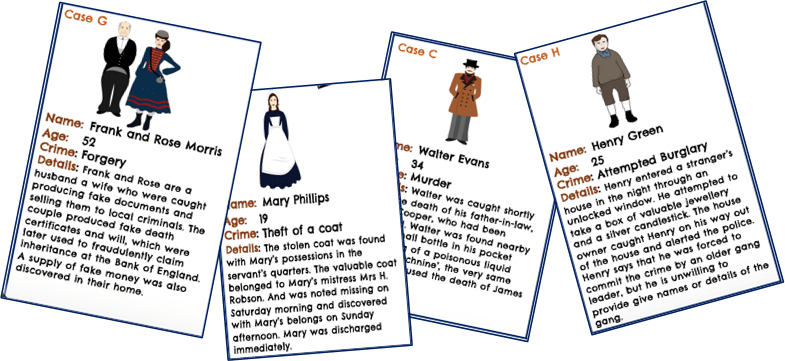
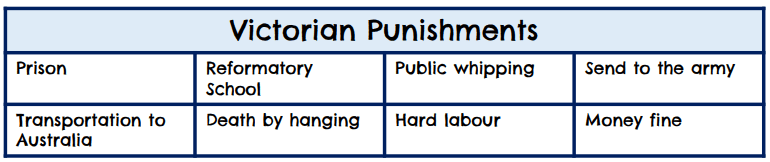
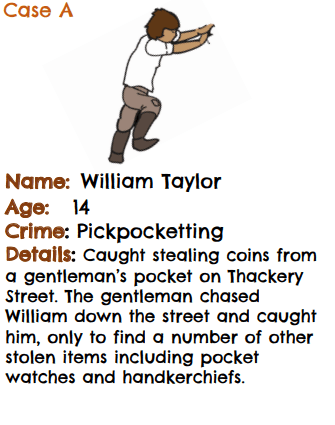
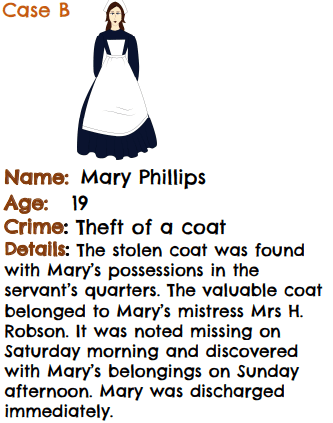
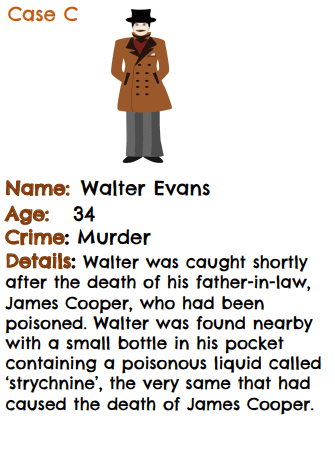
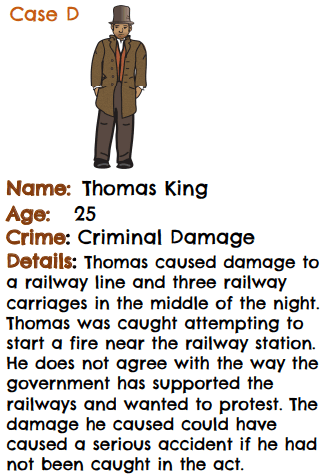
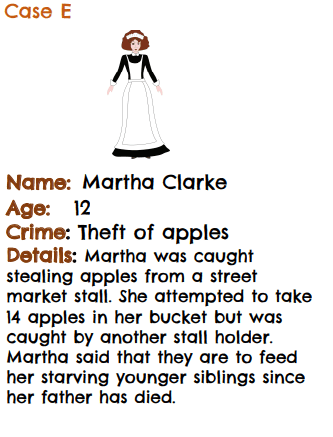
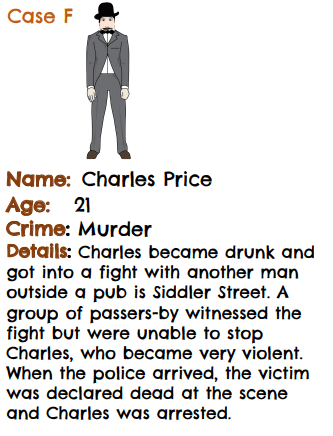
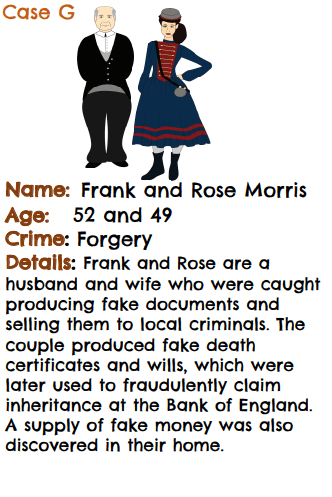
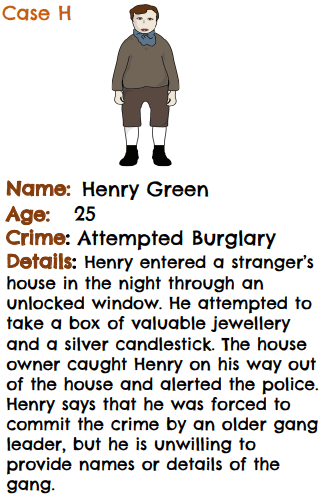
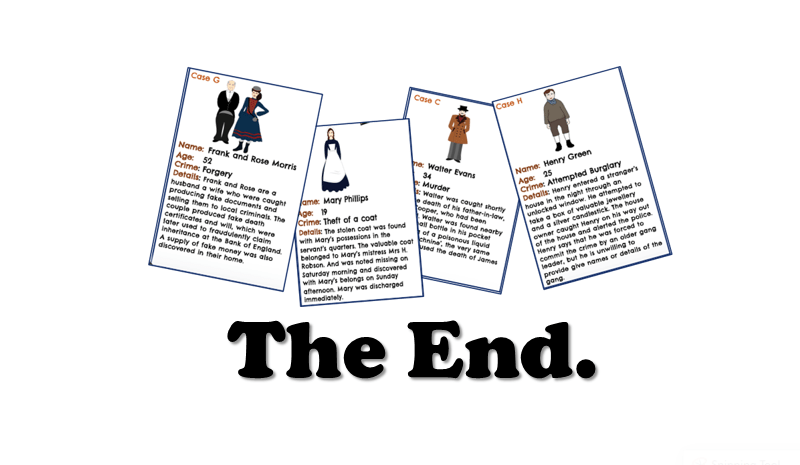
The instructionYou are now a judge in a Victorian court of law!With your group, you are in charge of deciding which punishments should fit each of the crimes on your Crimebusters cards.
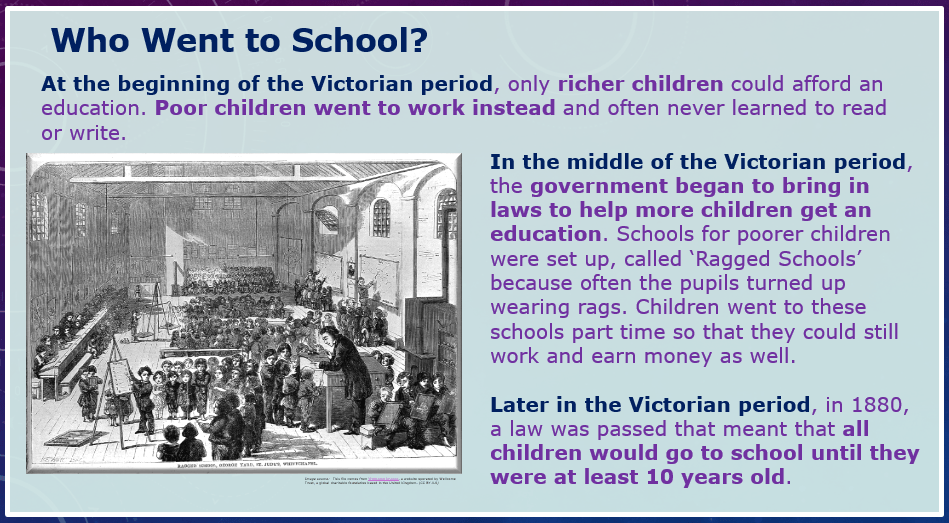
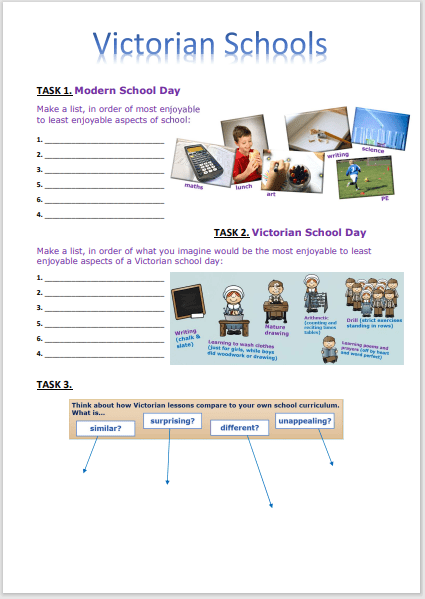
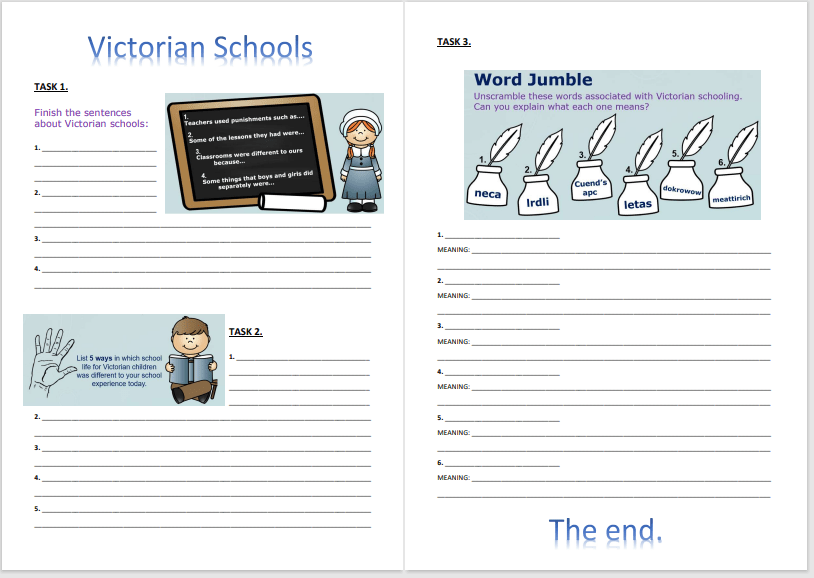
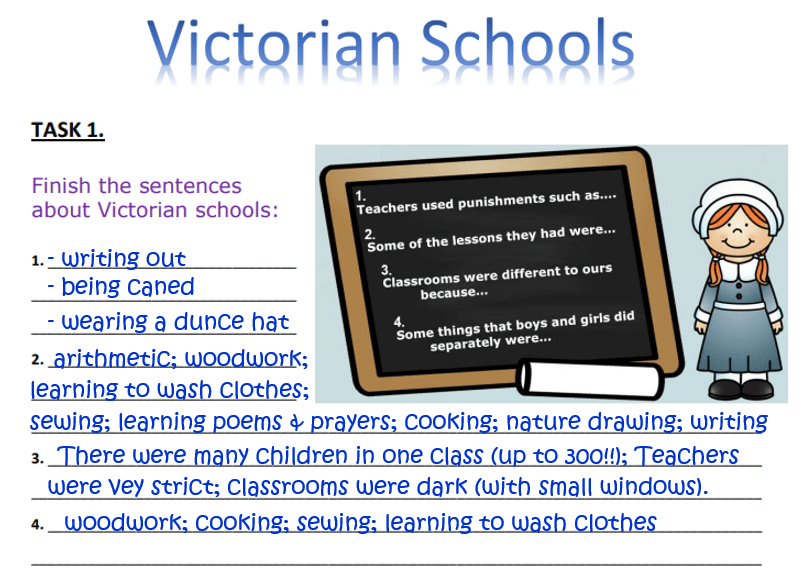
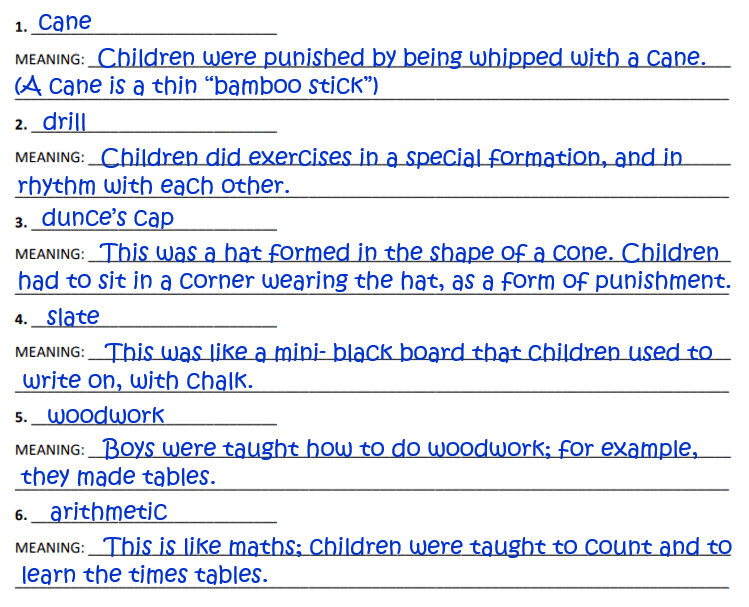
to find out how rules about who could go to school changed over the Victorian period
to compare Victorian schools with modern day schooling
to …record relevant information for Chapter 2
1.
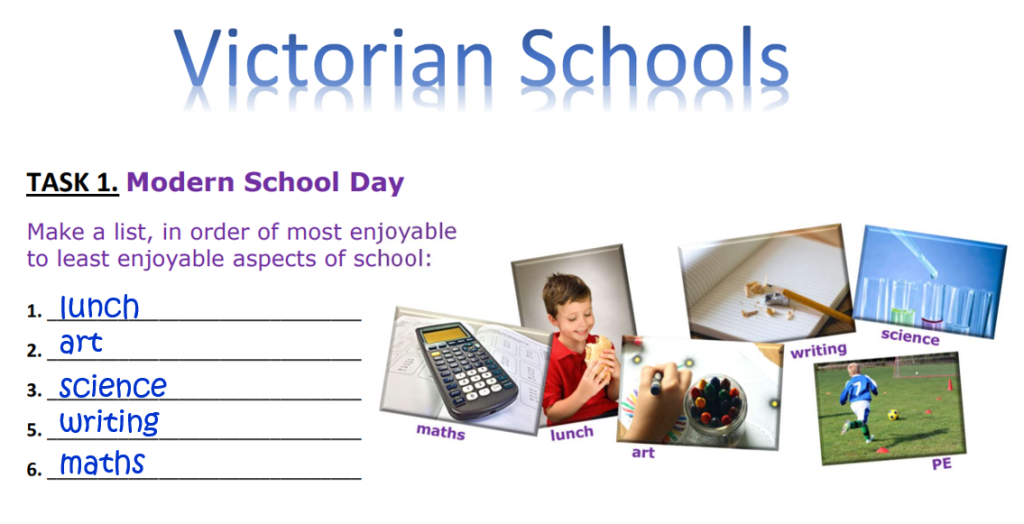
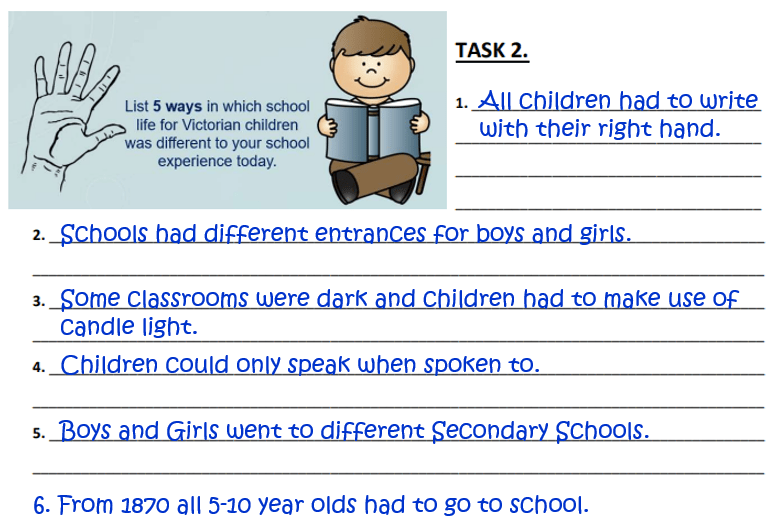
Think about your school day… Think about these aspects of your experience of school. Make a list, in order of most enjoyable to least enjoyable aspects of school.
End
Begin
2.
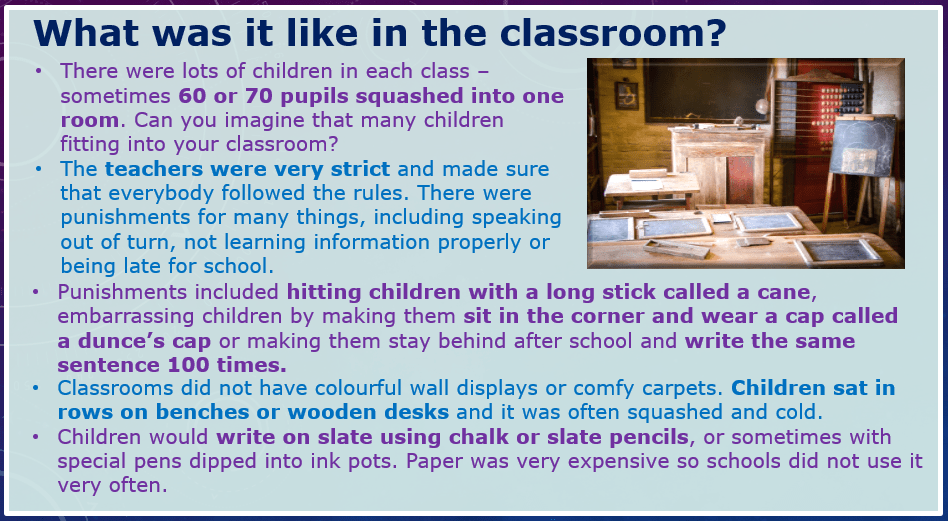
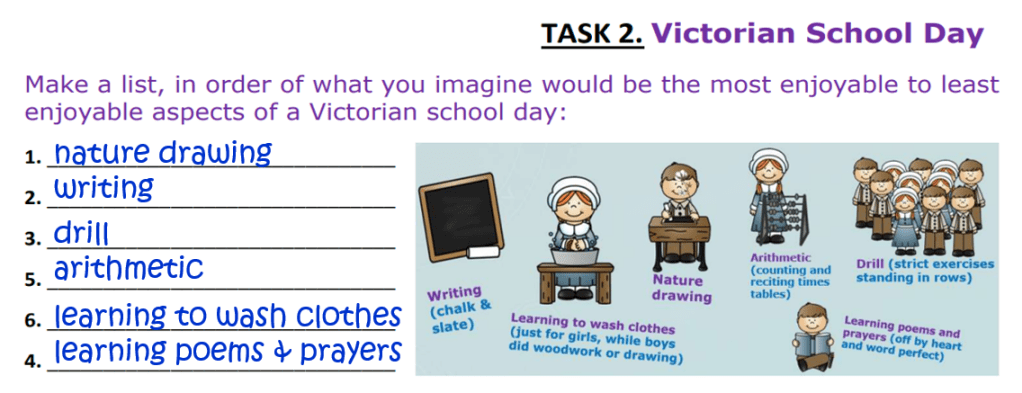
Now have a look at these aspects of a school day for Victorian children. List them in order of what you imagine would be most enjoyable to least enjoyable.
End
Begin
Begin
SOLUTION
to be added
The Victorians – The School Room. (3:18 minutes long)
3.
The instruction
End
Begin
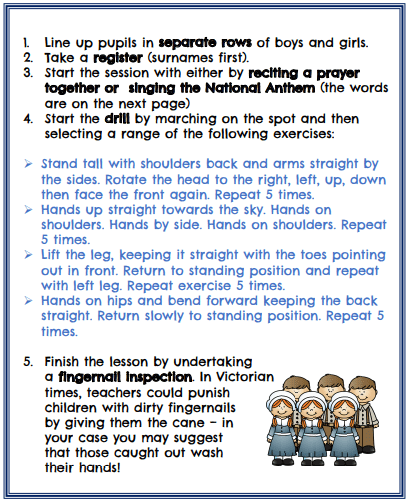
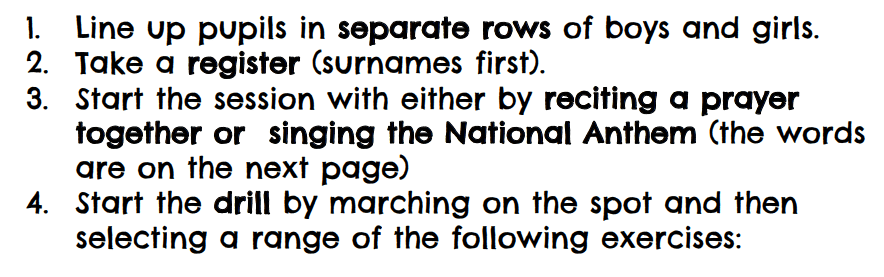
4.
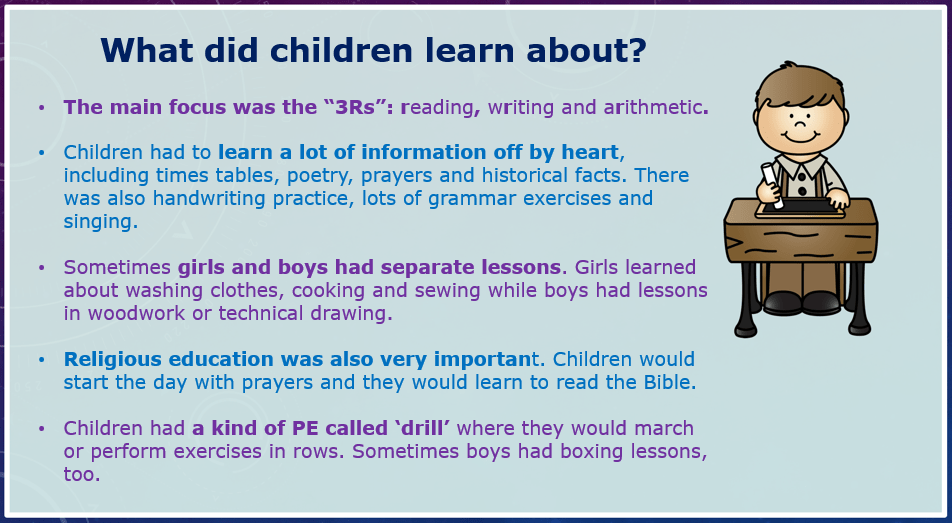
Time for School!
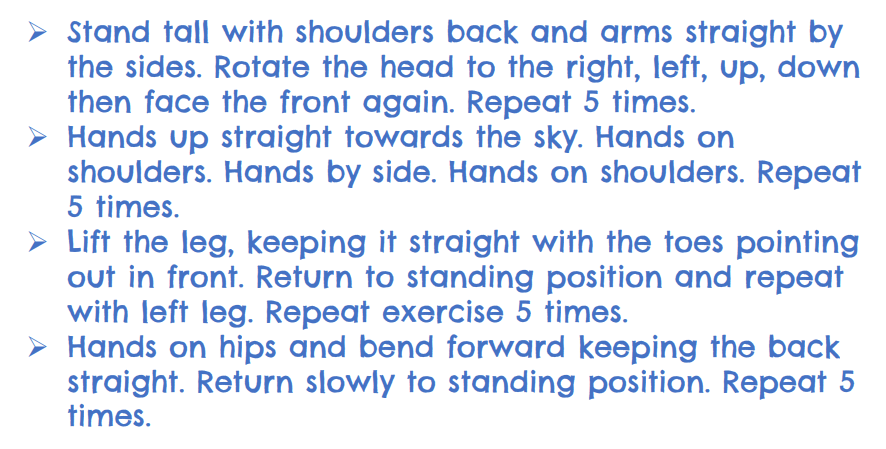
Imagine you are part of a Victorian school. Today you are going to try out three different Victorian lesson activities:
•Drill
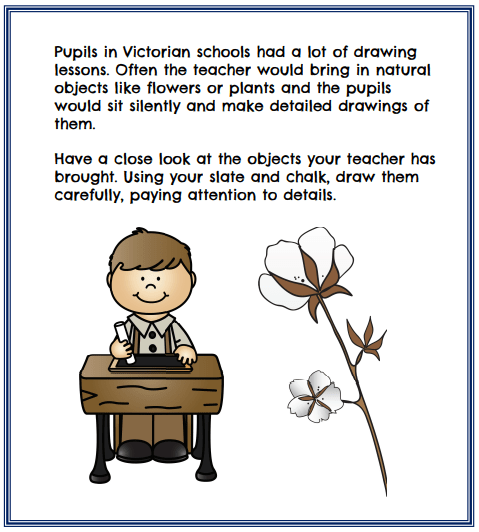
•Nature drawing
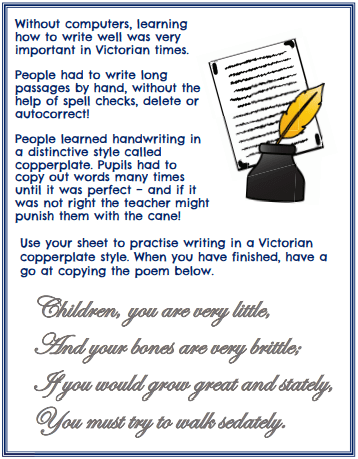
•Handwriting lesson
•
Remember to try your best and obey your teacher – after all, you would not want to end up with a Victorian punishment like the cane!
to find out how rules about who could go to school changed over the Victorian period
to compare Victorian schools with modern day schooling
to …record relevant information for Chapter 2
1.
Think about your school day… Think about these aspects of your experience of school. Make a list, in order of most enjoyable to least enjoyable aspects of school.
End
Begin
2.
Now have a look at these aspects of a school day for Victorian children. List them in order of what you imagine would be most enjoyable to least enjoyable.
End
Begin
Begin
SOLUTION
to be added
3.
The instruction
End
Begin
4.
The instruction
Victorian Schools and Education. (2:08 minutes long)
Begin
5.
The instruction
End
Begin
6.
The instruction
End
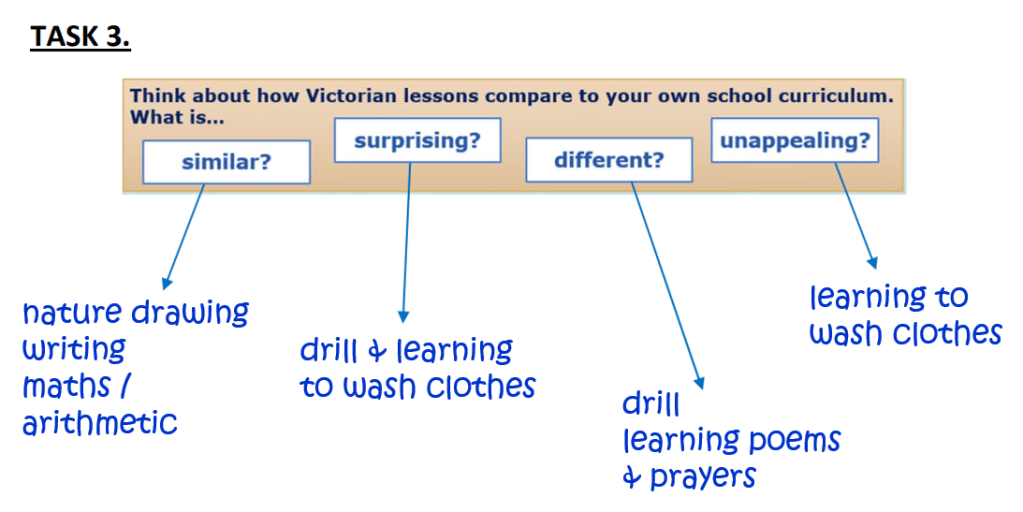
4.
Tell your partner:
3 reasons why
3 reasons why
Begin
7.
The
7.
The instruction
Victorian. (7:41 minutes long)
End
7.
The instruction
What was a Victorian school day like? (2:31 minutes long)
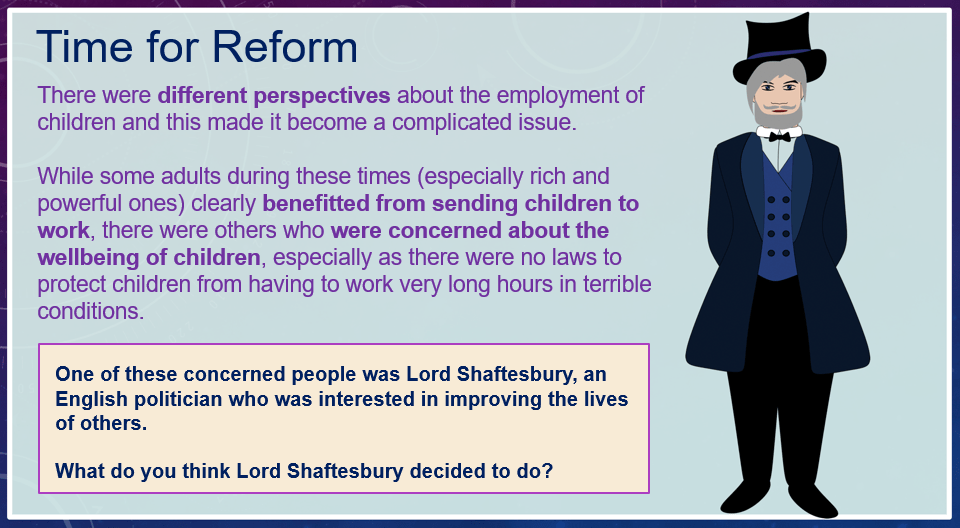
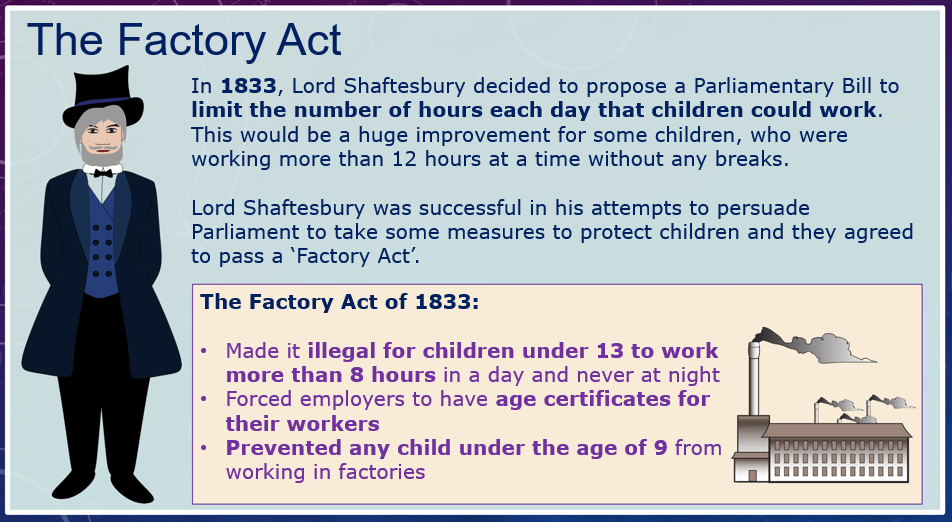
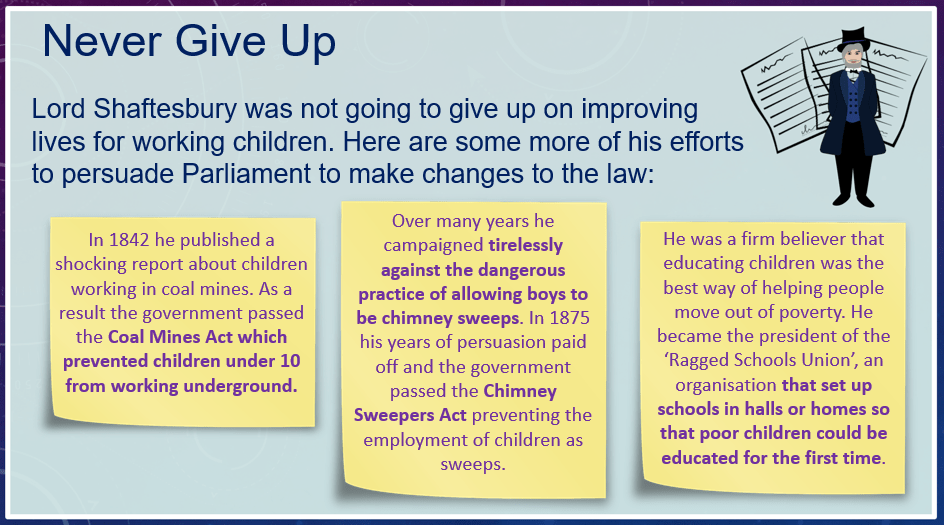
to explore why Lord Shaftesbury was an important figure
to find out how Lord Shaftesbury’s campaigns improved children’s lives during the Victorian period
to …record relevant information for Chapter 2
1.
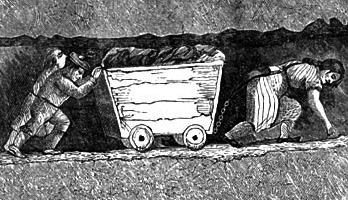
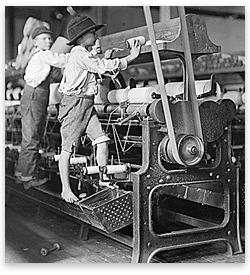
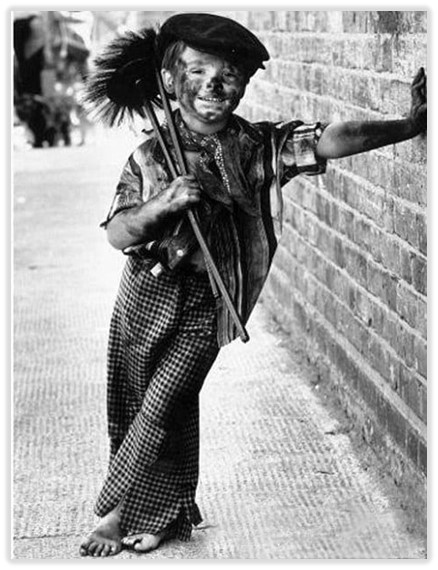
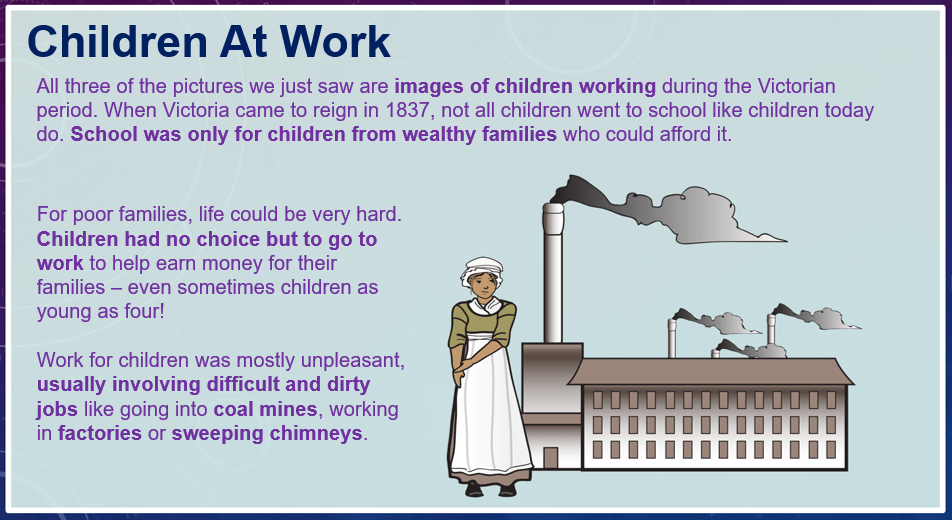
Large numbers of children in Victorian times had to go to work from a young age, often in unpleasant conditions like noisy factories or dark and dangerous coal mines. Watch this video to remind yourself about what it was like for children working in the coal mines:
Horrible Histories Work Terrible Work. (3:45 minutes long)
End
Why did children work? (Jobs from The Past) (5:08 minutes long)
2.
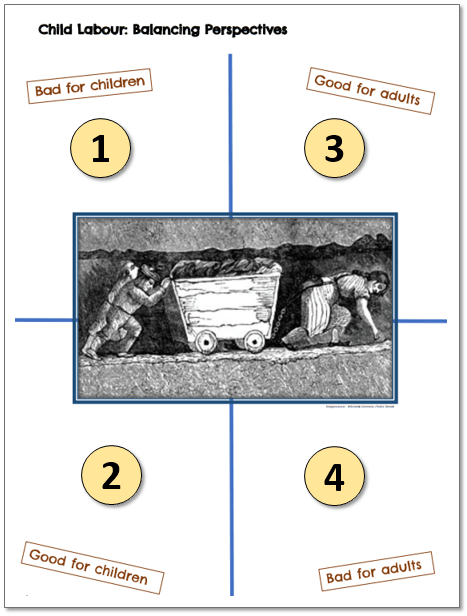
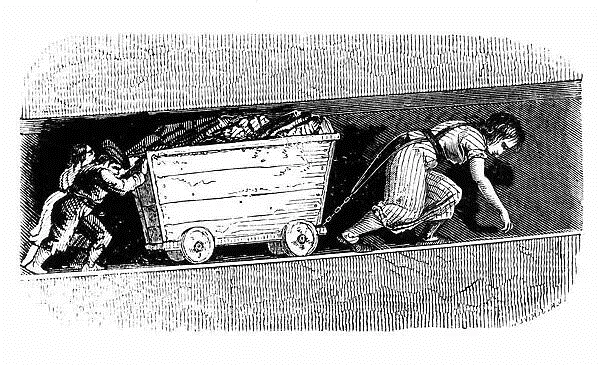
Look at the picture of children working in the coal mines during the Victorian era.
Make a list of reasons why this kind of work might have been unpleasant for children. Think about the effects of the work on their health, happiness and life opportunities.
Make a list of reasons why this kind of work might have been beneficial for children. Think about how the work might have helped them to support their families and whether there are aspects that some children enjoyed.
Make a list of reasons why this kind of work might have been beneficial to adults employing children cheaply to do jobs that are harder for adults to do.
Make a list of reasons why this kind of work might have been concerning to adults sending their children into mines, or how other adults might feel about the long term effects for this generation of children when they grow up.
to find out what sort of jobs were done by Victorian children
to explore what life was like for Victorian working children
to …record relevant information for Chapter 2
1.
Child Labor in the Industrial Revolution. (6:30 minutes long)
Victorian child labour: all work and no play. (3:11 minutes long)
Horrific Working Conditions … During The Industrial Revolution. (4:10 minutes long)
1.
4.
Watch these videos to find out more about what it was like for children working in the coal mines, factories, cotton mills (factories) and on the fields.
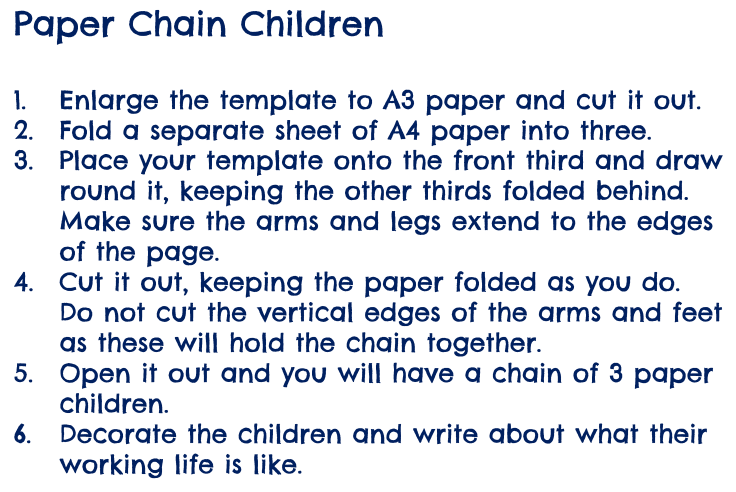
Make a paper chain of three Victorian working children. Each child in your chain represents a different child worker from Victorian times. On each one, write a few sentences about what their work is like. Also decorate their faces and clothes.
Watch these videos to find out more about what it was like for children working in the coal mines, factories, cotton mills (factories) and on the fields.
Factories in Victorian Britain. (4:09 minutes long)
The. (4:44 minutes long)
Begin
5.
The instruction
End
4.
Discuss with your partner:
Why did lots of children have to work in Victorian times?
Which type of children did not go to work?
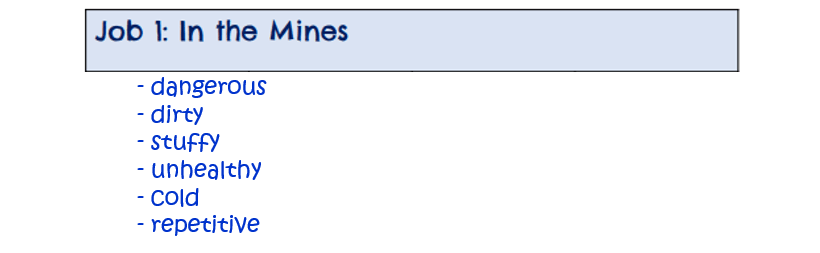
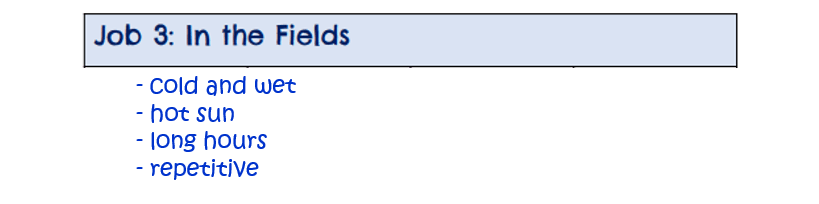
What sort of jobs did children do?
Begin
6.
Who will sit in the hot-seat to pretend to be a working child from Victorian times?
The rest of the class will ask the child worker questions about who they are, what they do for work and what it is like to do this job.
Today we are going to learn a bit more about the Victorian railways.
to see what people thought of the new railways(to explain different viewpoints about the new railways)
to examine how people were affected by the new railways
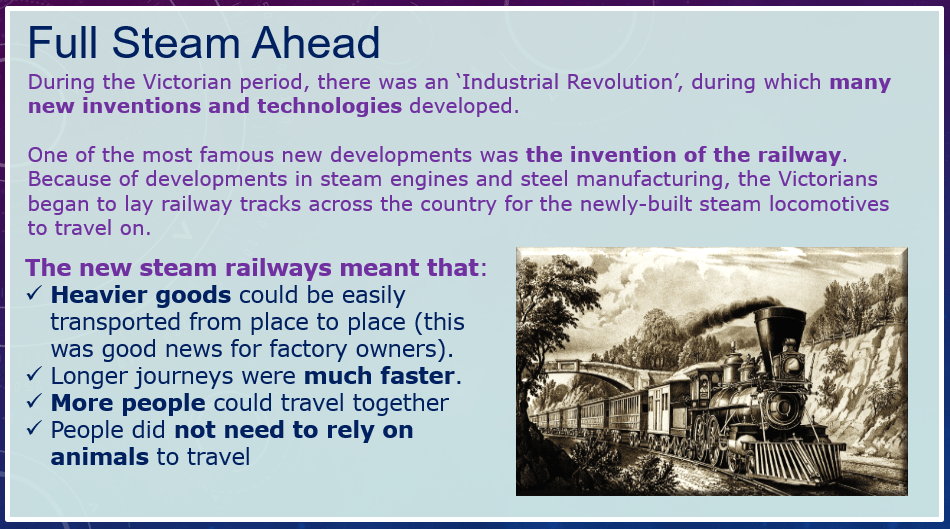
to find out how the introduction of the railways changed travel and trade
1.
Discuss the following:
When was the last time you went on a train and where did you go?
What was the longest train journey you have ever been on?
Where is the nearest railway station to your school?
2.
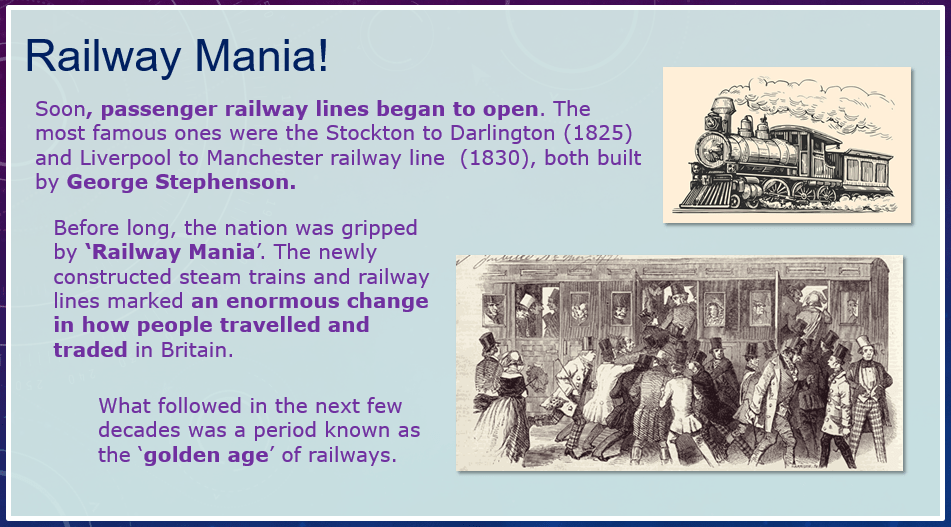
Let’s see what we can learn from the following information sheets about Victorian Railways!
3.
Make a list of reasons why the development of railways was a positive change in Britain. (Use the ‘positive’ column on the table.)
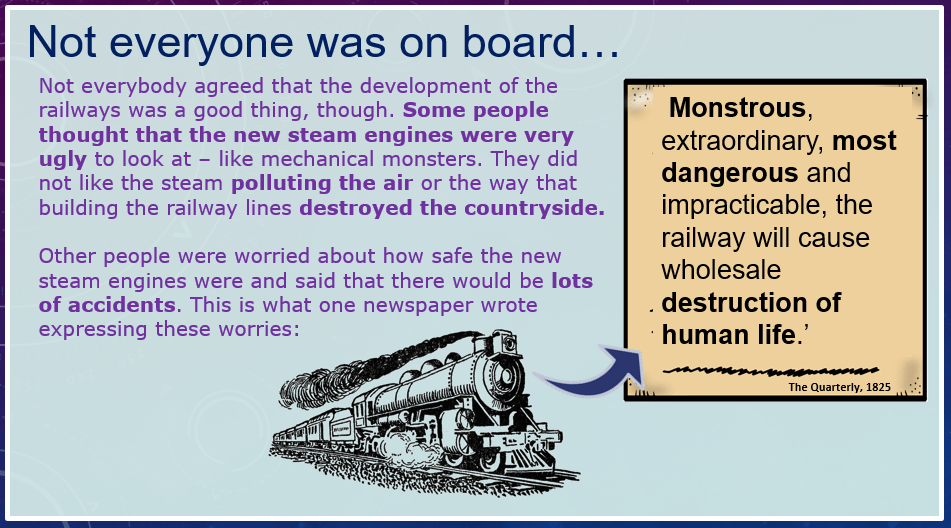
Then also make a list of reasons why people might not have thought that railways were a great change in Britain. (Use the ‘negative’ column on the table.)
SOLUTION
4.
What else can we learn about the new railways in Britain?
…Railways somehow made people go insane… (5:48 minutes long)
5.
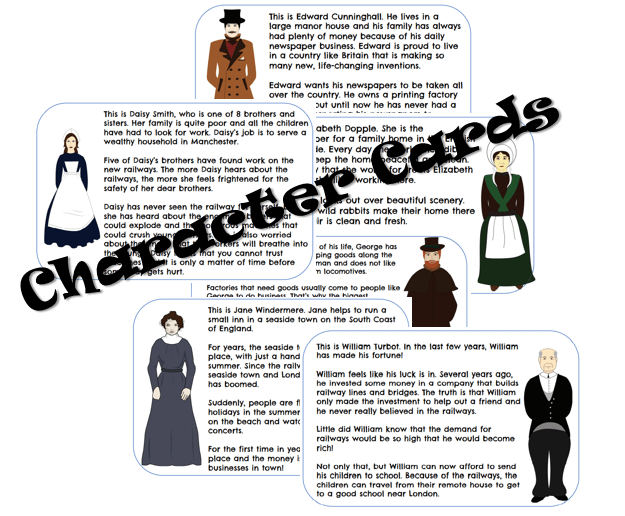
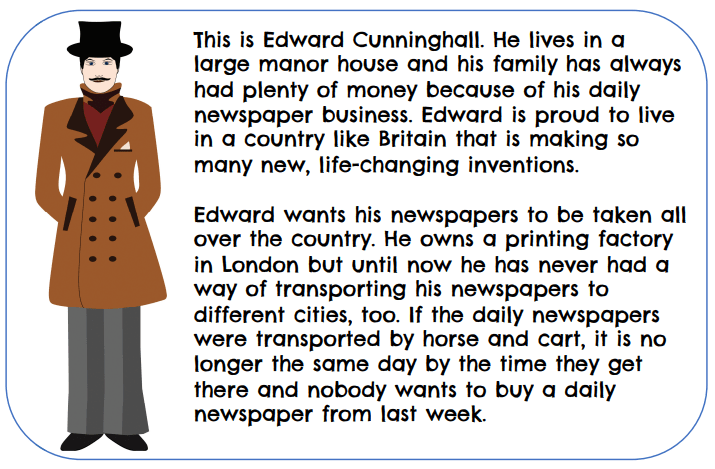
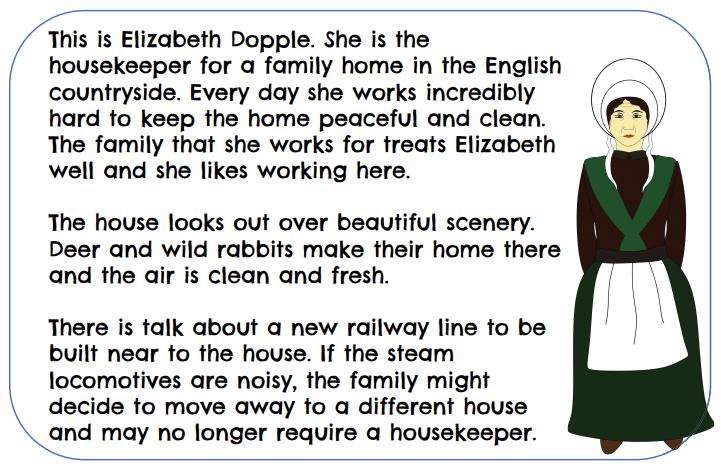
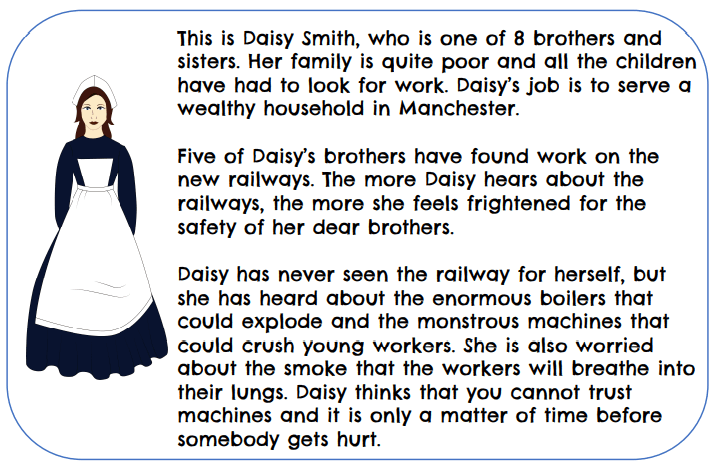
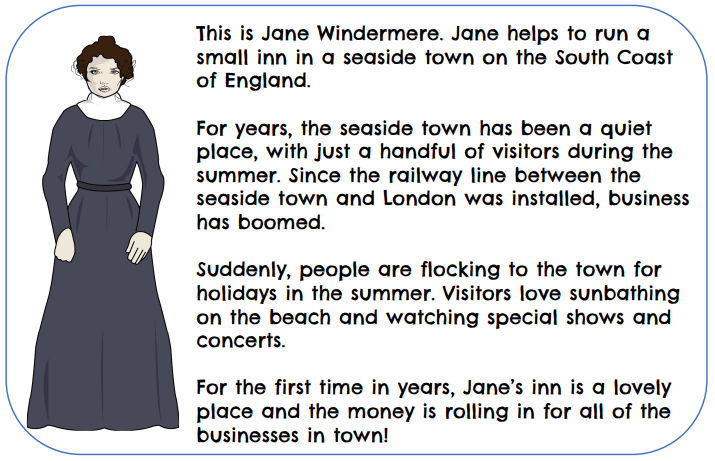
You will each get a character card. Read about your character and try to imagine how they might feel about the railways.
Explain to the rest of your group who you are and what your opinion of the railway is.
If you want, appoint someone in your class to be the interviewer. He / she needs to ask the interviewee (person who is being interviewed) the following questions:
Ask the interviewee (person who is being interviewed) what his / her name is.
Ask interviewee to give the audience a bit more background about himself / herself.
Ask interviewee what hey / she thinks of the railways (and why).
Ask interviewee how the railways has affected him / her.
Ask the interviewee if he / she has any other comments about the railways.
3 reasons why some people thought the railways was a great development
3 reasons why some people did not like the railways
7.
Do you agree?
In role as your character, think about whether you agree with the statement in the speech bubble. Arrange yourself into two sides of the classroom; agree and disagree.Take it in turns for somebody from each side to make a new point that explains why they agree or disagree.
8.
Can you perhaps now add even more information to your worksheet to show different opinions about whether the railways had a positive or a negative impact?
9.
How to ride a train the Victorian way. (12:43 minutes long)
Today we are going to perfect your speech on “Literary Devices”…
to familiarize ourselves with different types of speeches
to look at the writing of an effective introduction
to get tips on how to write the body of the speech
to look at the writing of an effective conclusion
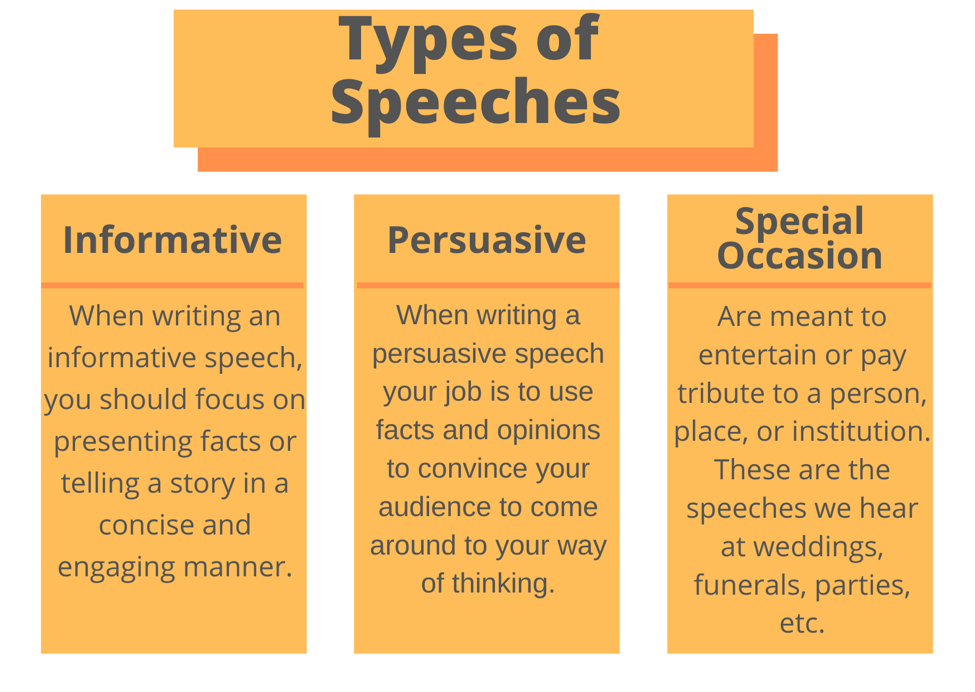
1.
Here is an infographic about the different types of speeches you need to be able to write:
2.
You are going to continue writing your speech on “Literary Devices”.
(The ultimate aim is that you deliver an informative speech on “Literary Devices”…)
Here is a reminder of what you have to do:
Write a speech on “Literary Devices”. The aim is to give the class mates useful information about the use of Literary Devices in writing. (Use the information and examples that you copied into your book.)
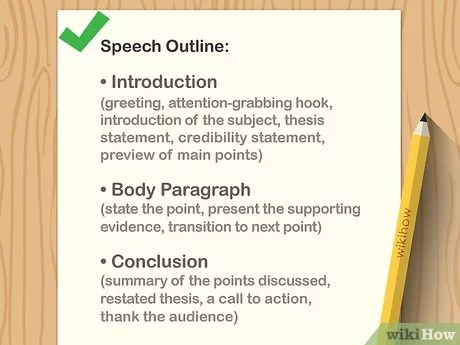
3.
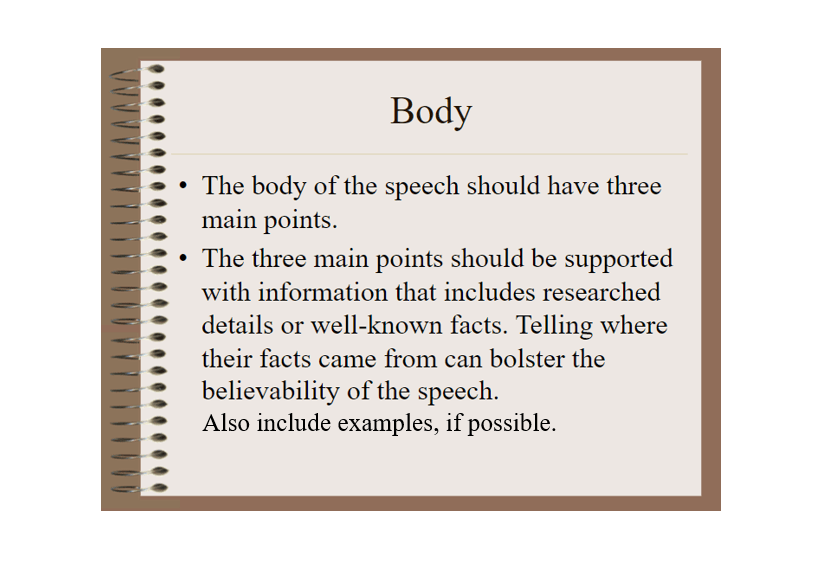
Here are a few useful speech-writing tips…
4.
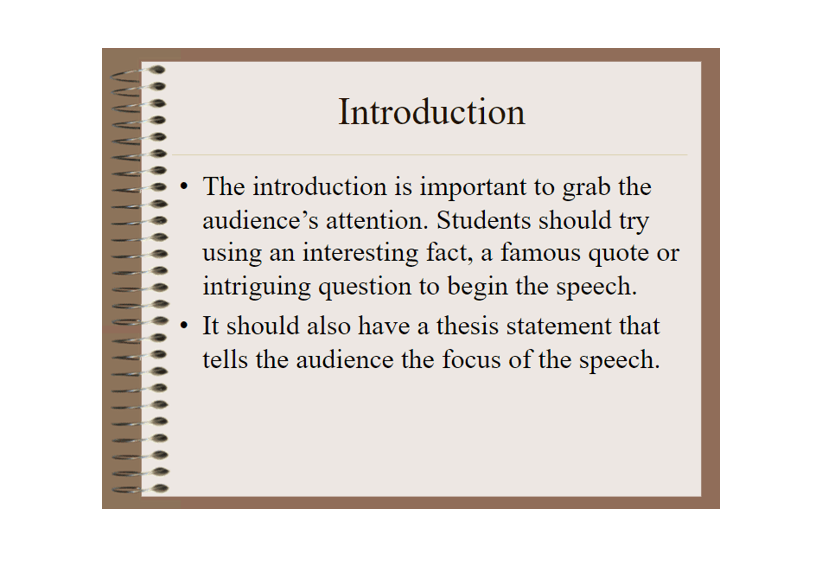
Tips for writing the Introduction:
5.
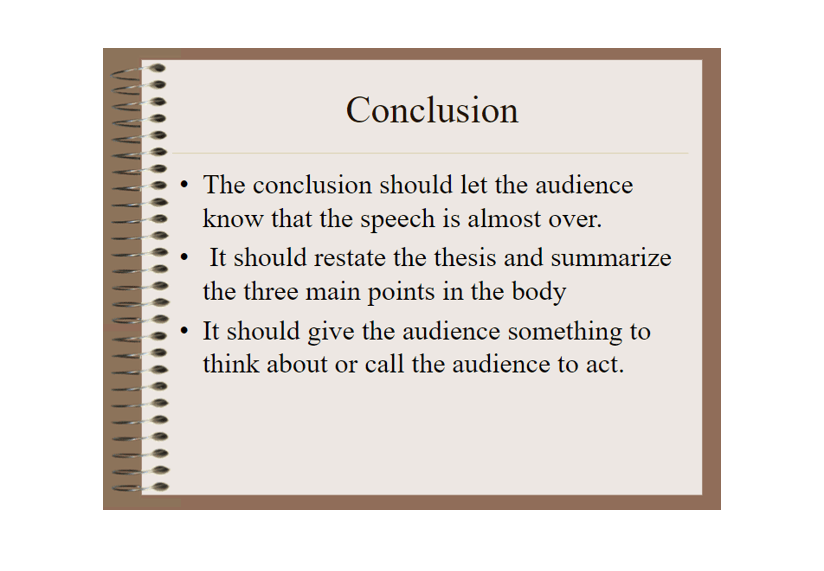
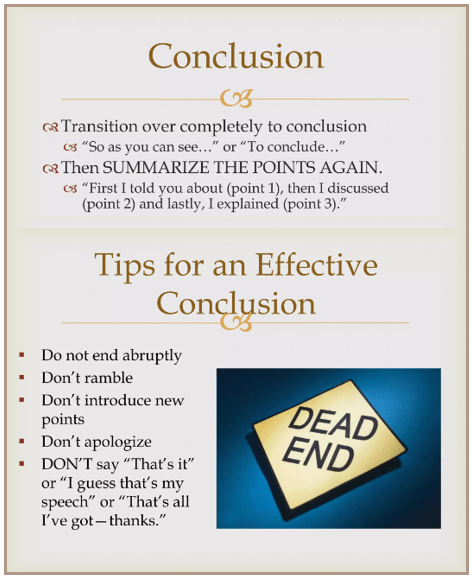
Tips for writing the Conclusion:
6.
Here is a useful summary…
7.
The video below gives some useful information for public speaking.
(In your speech you will not be making use of visual aids as your’s is only a short speech.)
Tips for Public Speaking. (1:35 minutes long)
8.
Now, continue to perfect your speech!
—TEXTBOOK—
You can access useful information in the Year 7 textbook!
Today we are going to investigate Literary Devices in more detail!
to recap Figures of Speech
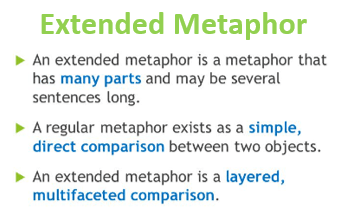
to learn about more Literary Devices
to learn about Literary Techniques
to gather information for an informative speech on Literary Devices
1.
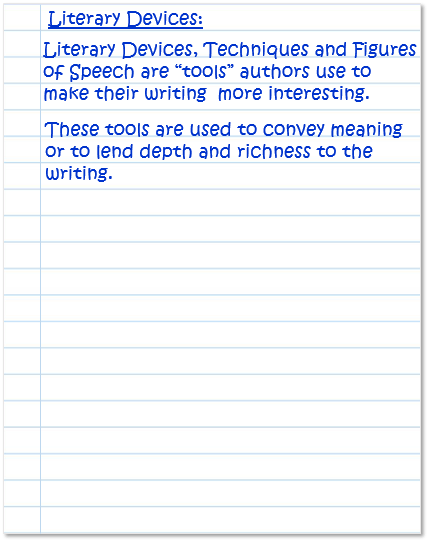
Here is a reminder of what we mean by “Literary Devices”, “Literary Techniques”, and “Figures of Speech”:
These are “tools” authors use to convey meaning or to lend depth and richness to their writing.
Writers use these “tools” to create text that is clear, interesting, and memorable.
Additional Information
Literary Devices help stimulate the reader’s imagination to visualize the characters and scenes more clearly.
Literary Techniques include the use of Figures of Speech (e.g. metaphor, simile, alliteration, hyperbole, allegory, etc.) and Imagery (which involves the use of the five senses to describe aspects to the reader).
In Figure of Speech writers use words out of their literary meaning or out of ordinary use.
Literary Devices include Literary Techniques and Literary Elements.
Literary Techniques vs Literary Elements
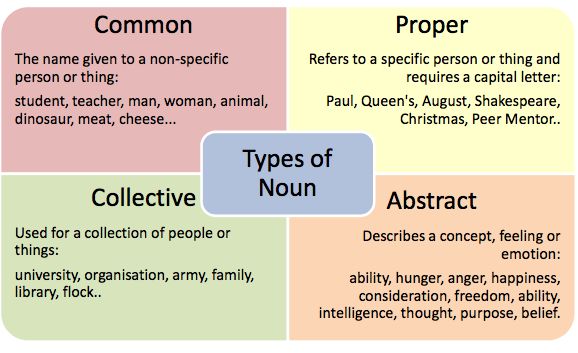
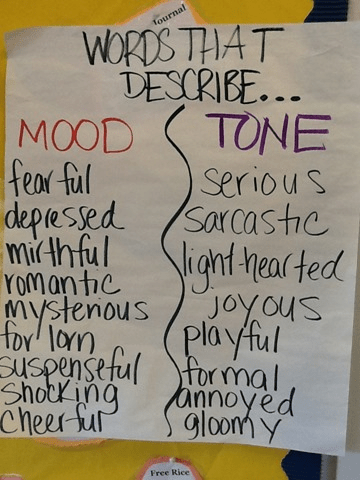
“Different methods are employed to make a piece of fiction more appealing to the reader, and all these methods are commonly known as literary devices. These devices are divided into two groups as literary techniques and literary elements. Literary elements are the basic elements such as plot, setting, and theme that are essential to a story. (Literary Elements are aspects of writing like plot, setting, protagonist, antagonist, narrator, dialogue characters, conflict,mood, theme, moral etc.) They are unavoidable characteristics of a story.”
“On the other hand, literary techniques arethe way language is used in order to add more beauty to the work. Literary techniques are also added to make the author’s message clear to the reader. Unlike literary elements, literary techniques are avoidable. That means, if the author chooses, he can avoid using literary techniques. Examples for literary techniques are metaphor, simile, personification, onomatopoeia, alliteration, etc.”
2.
Work in Pairs.
You will get a set of flashcards on
Make a set of flash cards on Literary Devices… Then test your class mates to help them memorise the different figures of speech and techniques.
(Or use the class set to test each other.)
Here is what you have to do:
Divide the cards between you and read the cards quietly, individually.
2. Swap your cards with your partner’s and read them individually.
3. Explain to each other any words or concepts that you did not understand. (If you get stuck, as your teacher for help.)
4. One partner now take all the cards and test the other partner.
On a new page in your exercise book, write the following heading, and copy the explanation…
4.
Now, divide the rest of the page into 6 boxes and copy down the details for each of the Literary Devices that you and your partner worked with.
5.
Your next task is to write an informative speech…
What is an informative speech? Watch video to find out…
Informative Speech. (0:47 minutes long)
6.
The video below gives useful advice for speech writing.
How to do an Informative Speech… (1:41 minutes long)
7.
Write a speech on “Literary Devices”.
The aim is to give your class mates useful information about the use of Literary Devices in writing. (Use the information and examples that you copied into your book.)
—TEXTBOOK—
You can access useful information in the Year 7 textbook!
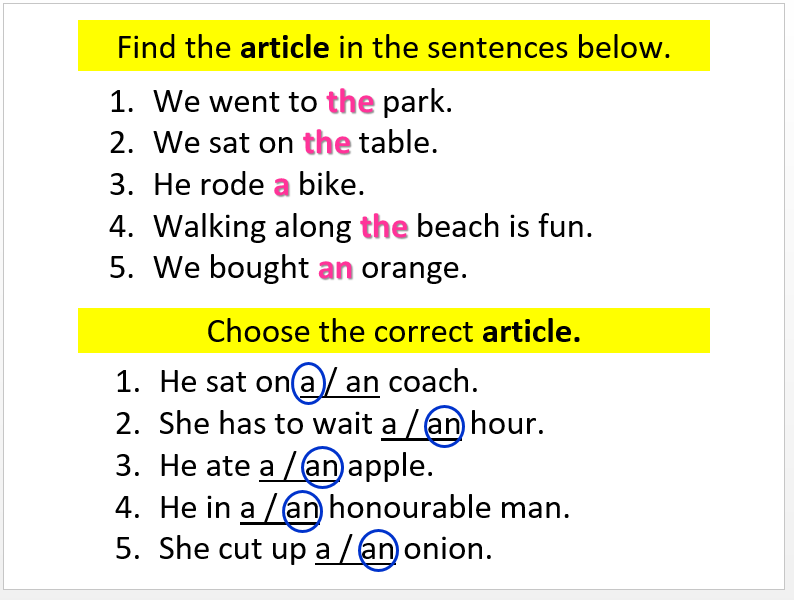
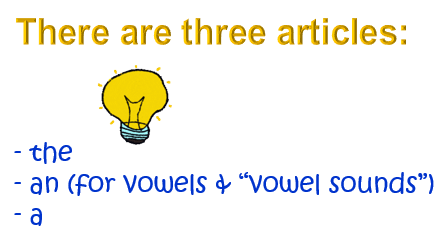
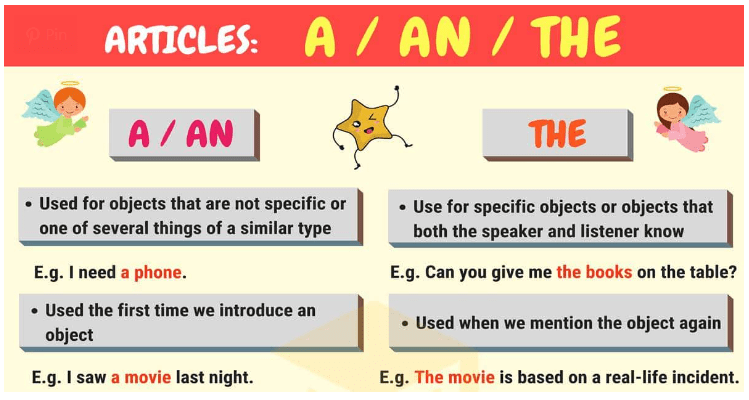
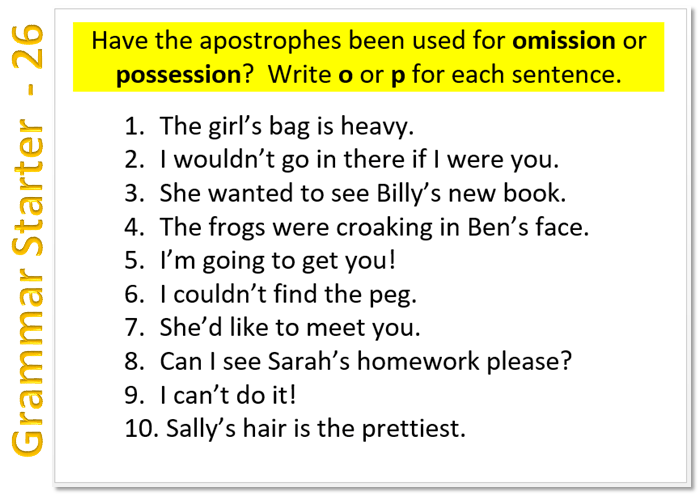
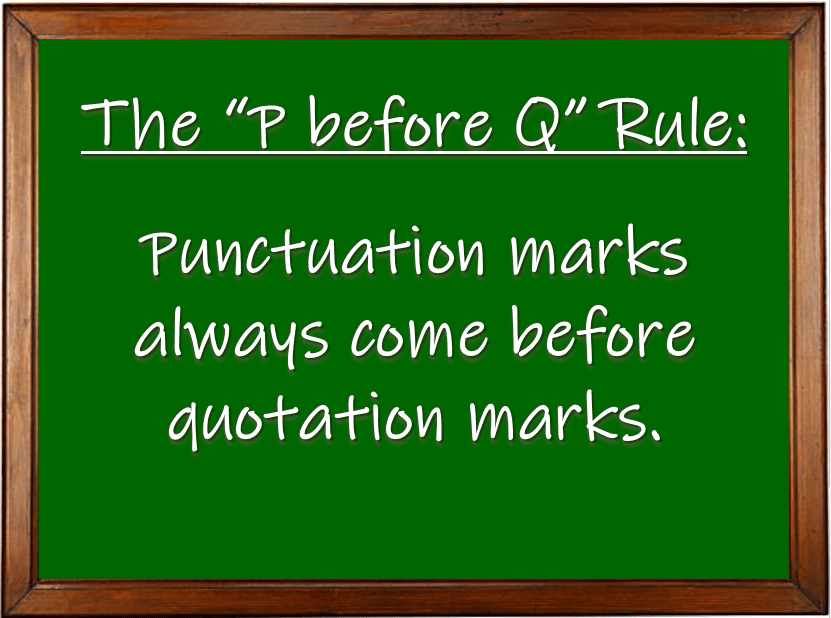
to understand how to use a range of punctuation accurately
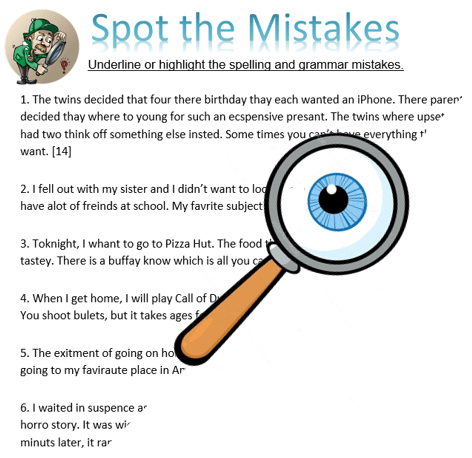
to practise proof-reading skills
1.
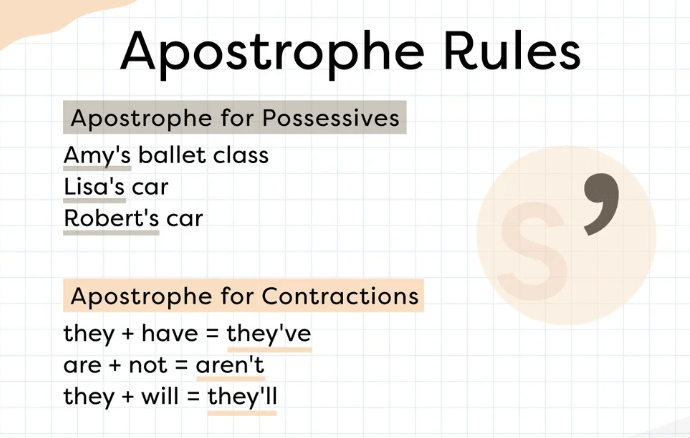
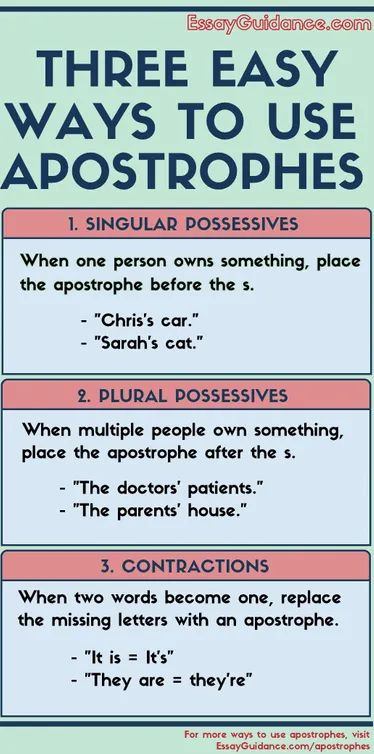
As an introduction, let’s refresh our knowledge of punctuation.
Punctuation Rules. (3:04 minutes long)
Here is another video for you to watch if you feel that you are still unsure…
Punctuation Rules. (2:59 minutes long)
2.
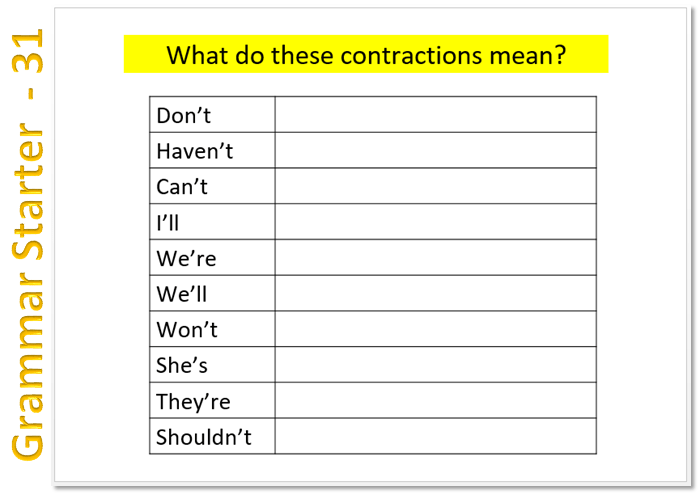
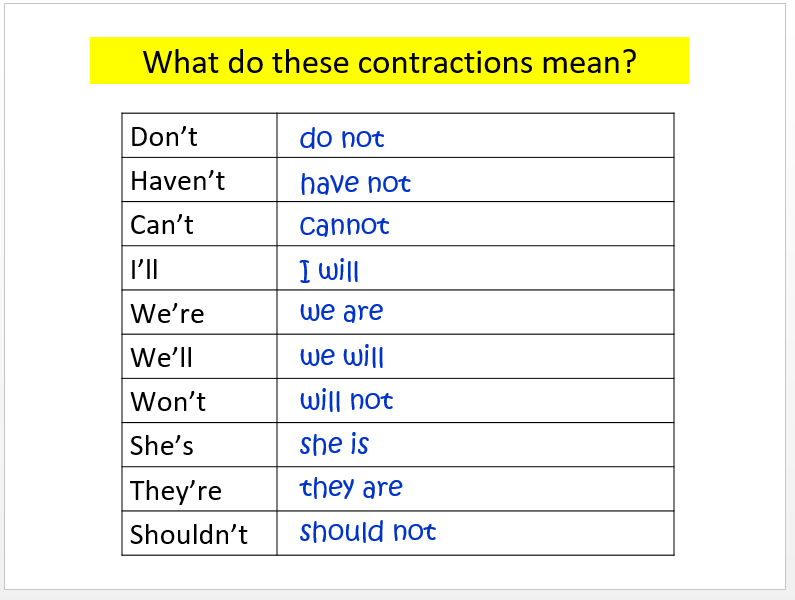
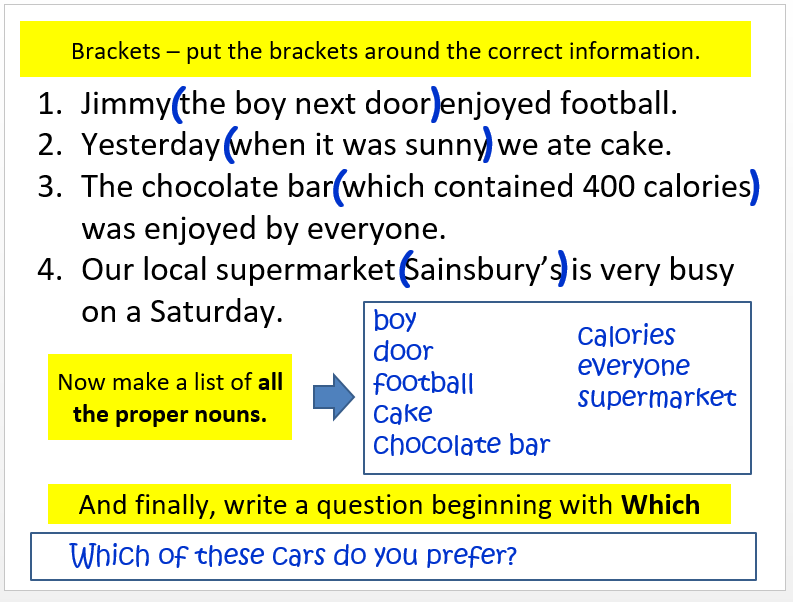
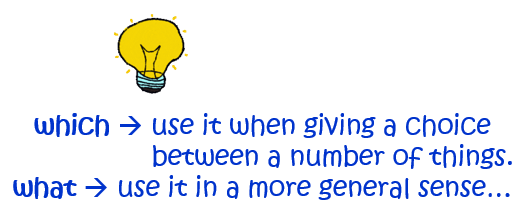
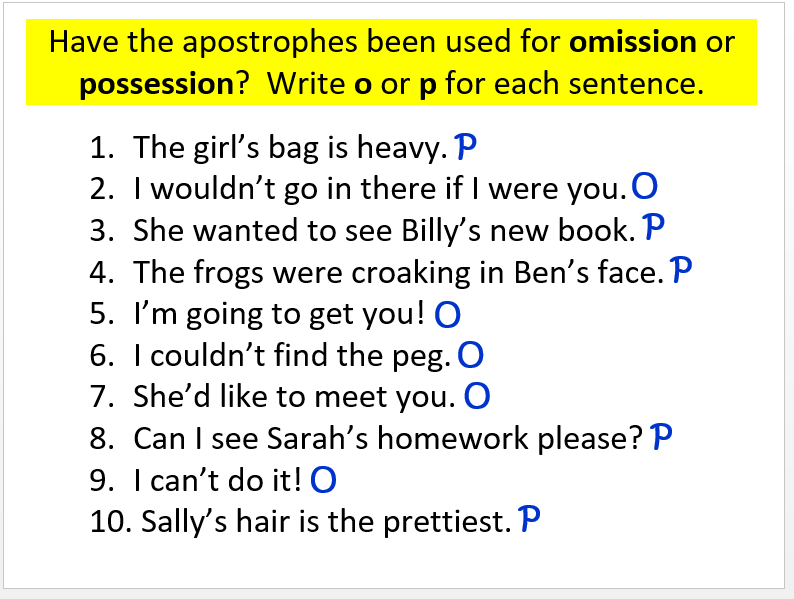
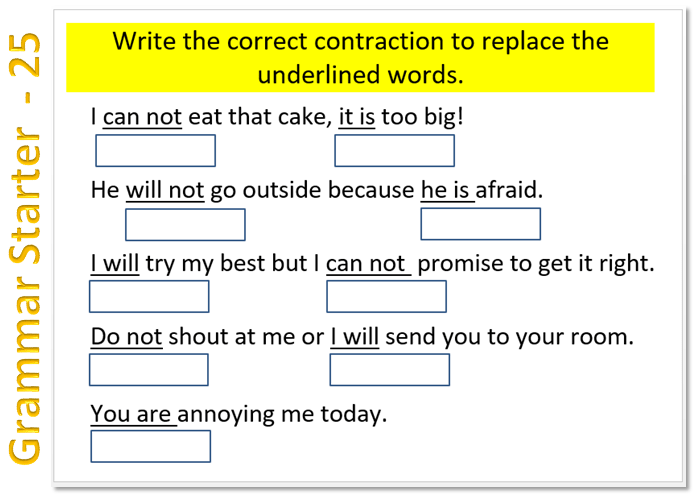
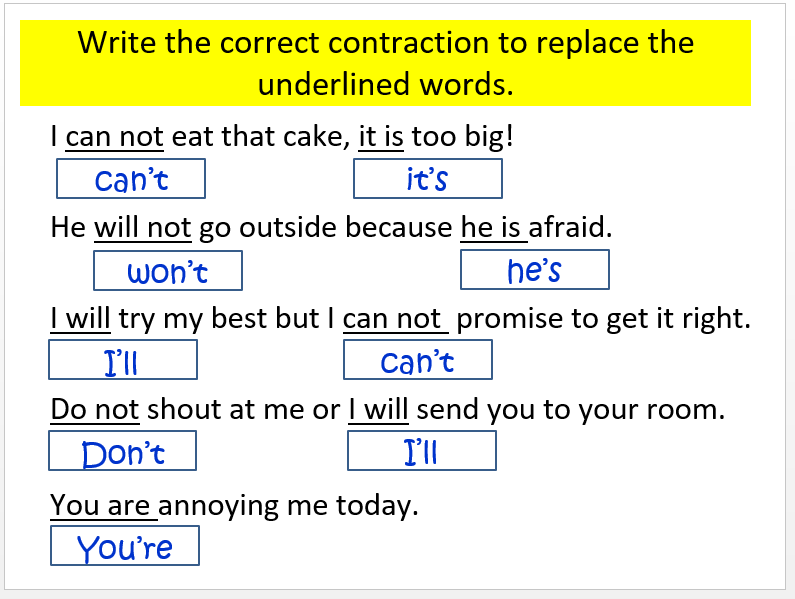
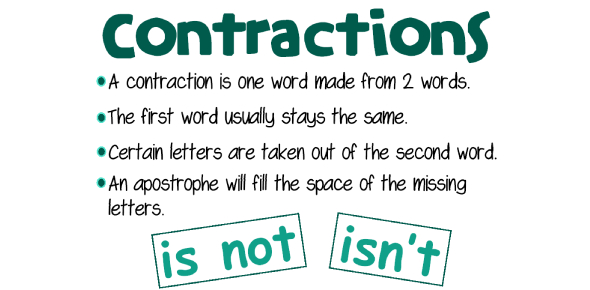
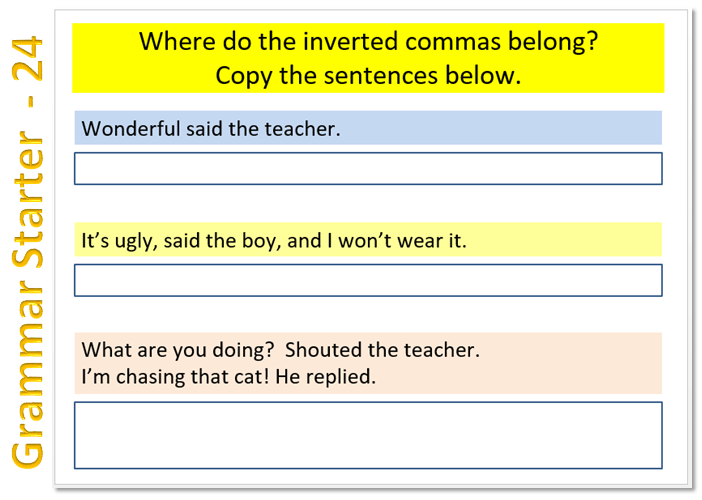
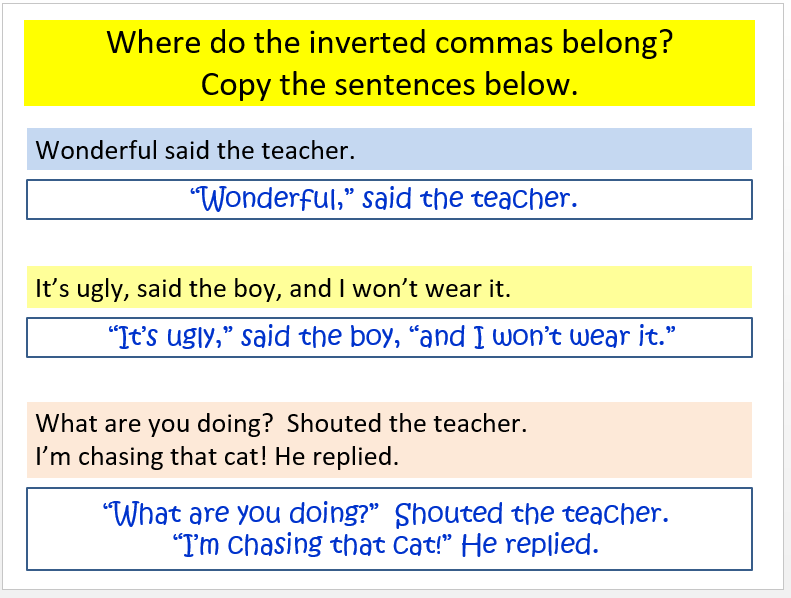
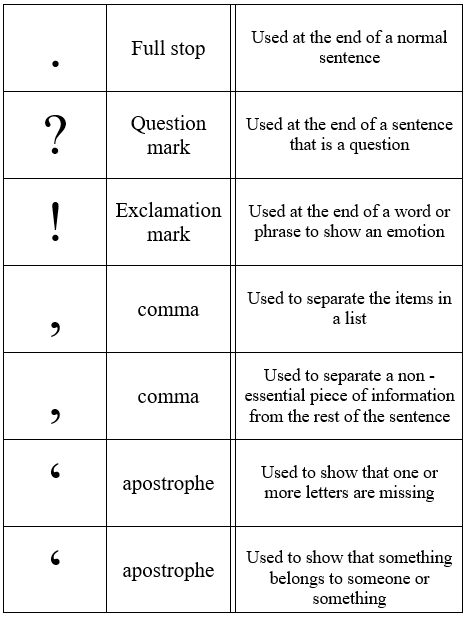
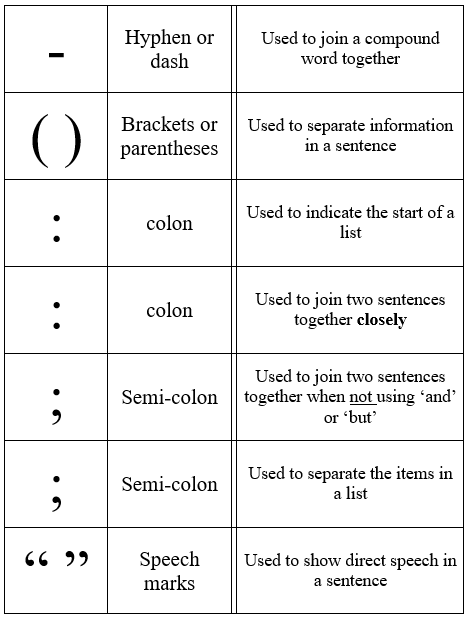
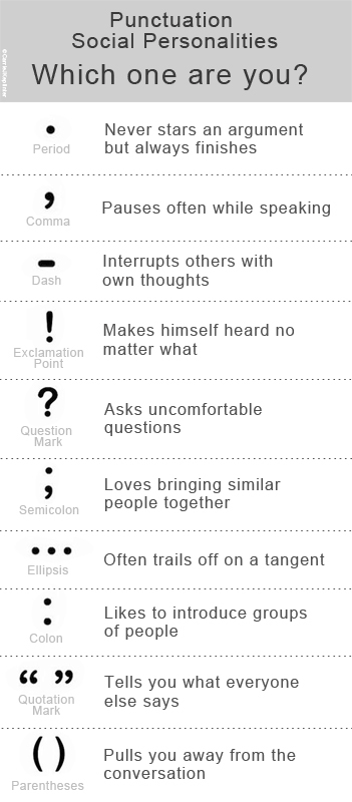
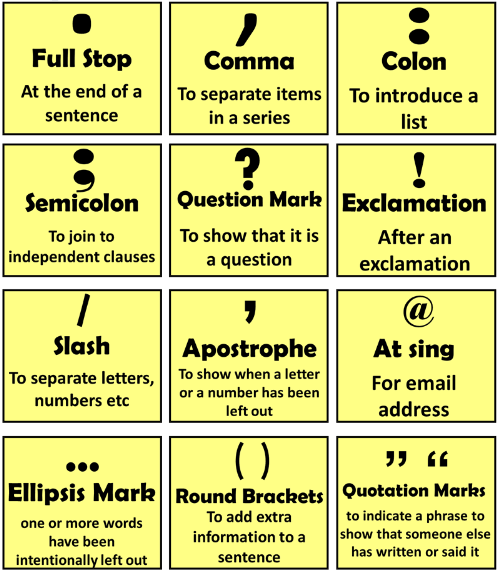
Below are a number of cards: some have pieces of punctuation drawn on them and some cards have an explanation of how we use them. Can you match the punctuation to its use?
to …begin to plan & create descriptive language choices for our next task
to …record relevant information for Chapter 2
1.
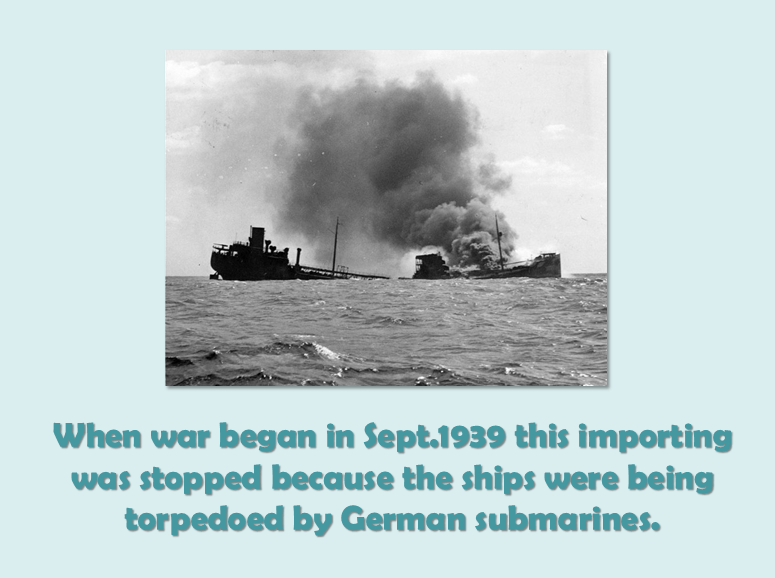
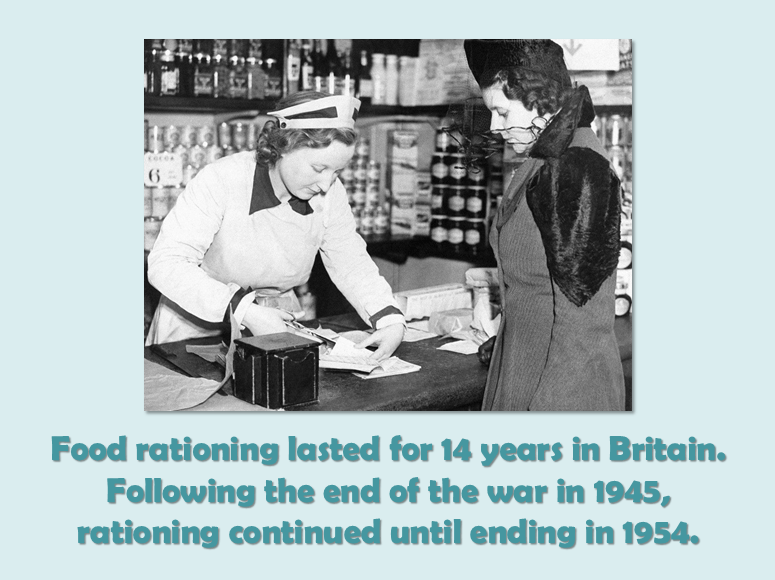
It wasn’t just food that was rationed during WWII.
petrol
clothing
coal
soap
gas
electricity
sweets
chocolate
2.
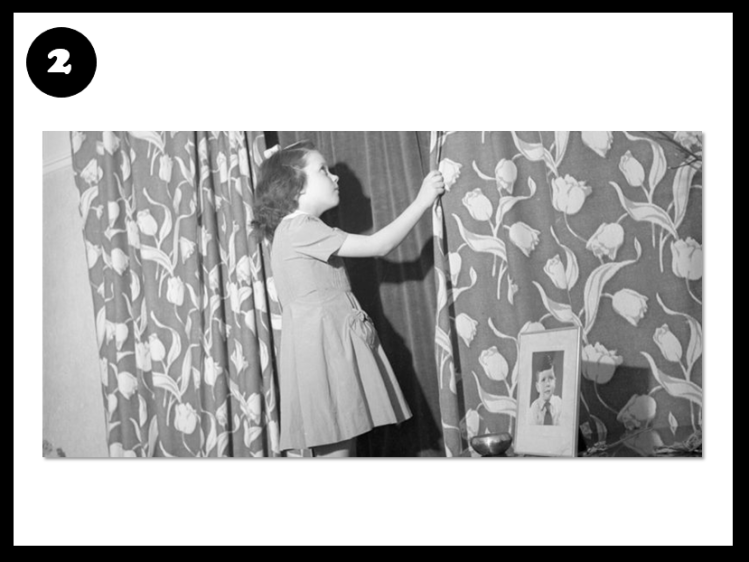
Let’s look at the rationing of clothes in more detail…
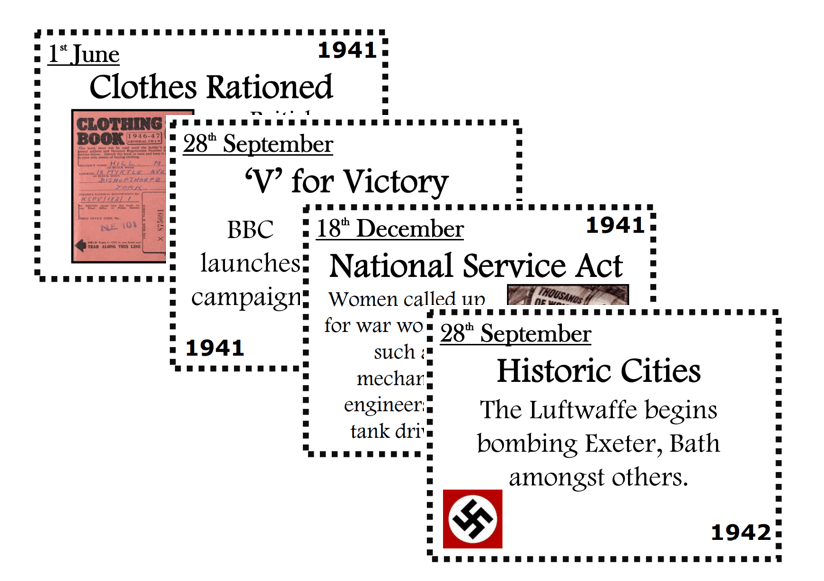
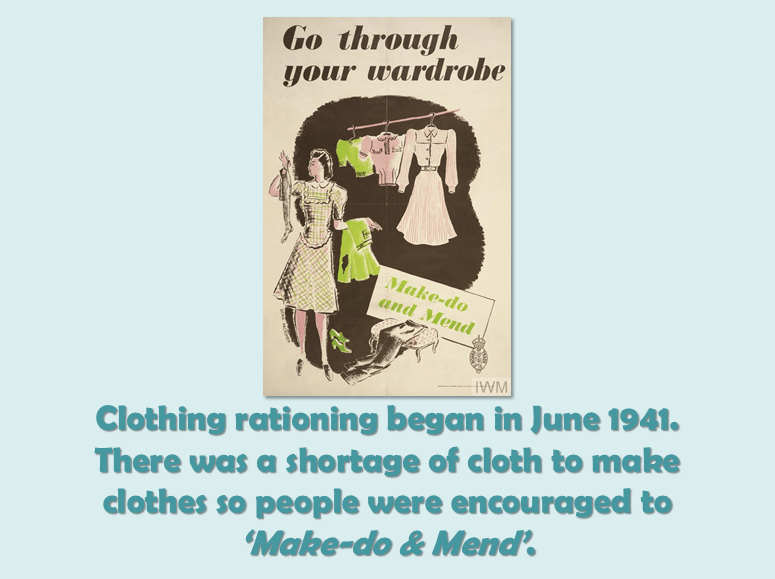
Clothing also became scarce. Clothes rationing began two years after food rationing started. The clothing Ration Books looked different from the Food Ration Books.
Clothes were rationed because:
there was a shortage of materials to make clothes
clothing factories (& workers!) had to be used to make items needed in the war (e.g. parachutes & uniforms)
3.
What was the practical implication…?
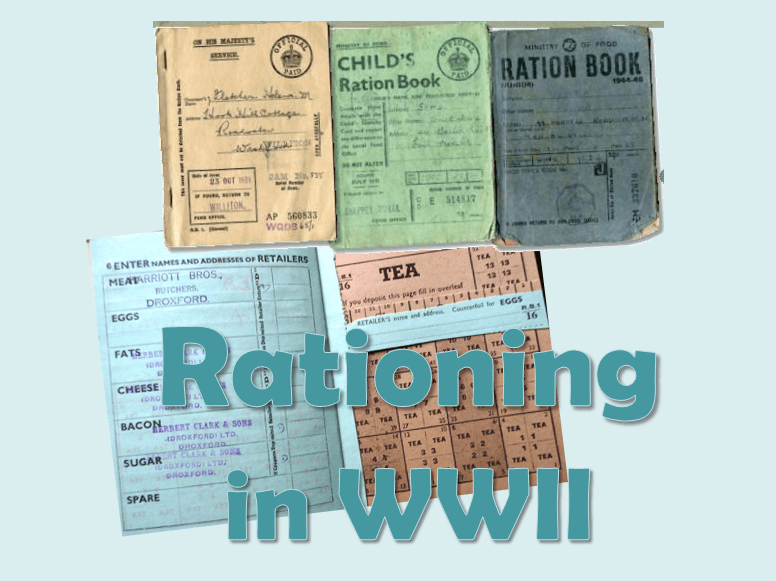
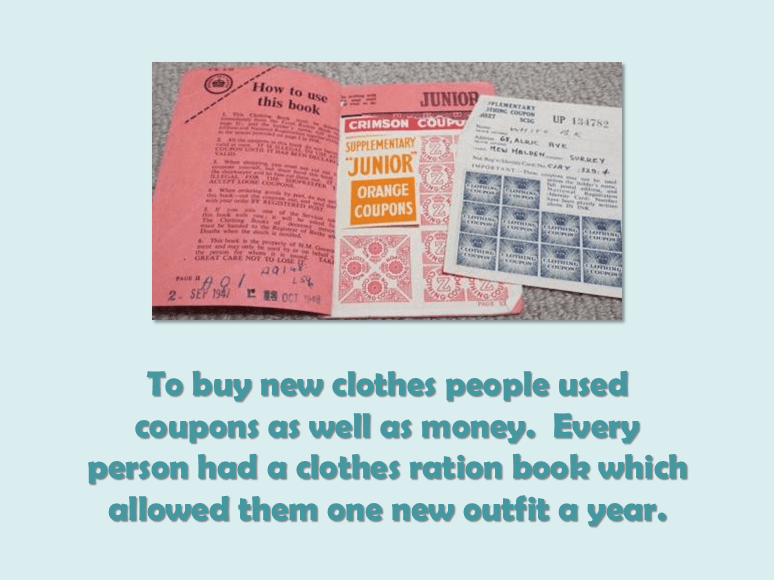
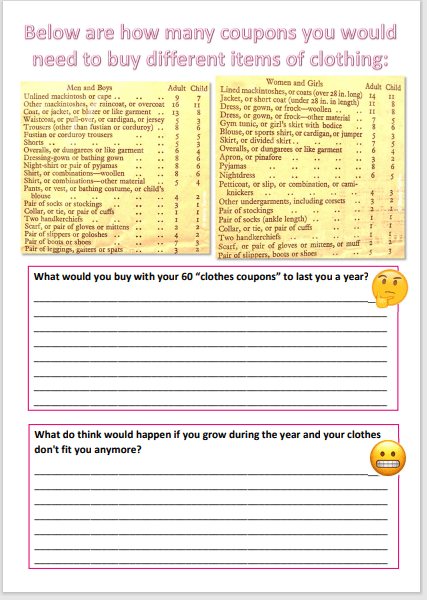
How did Clothes Rationing work?
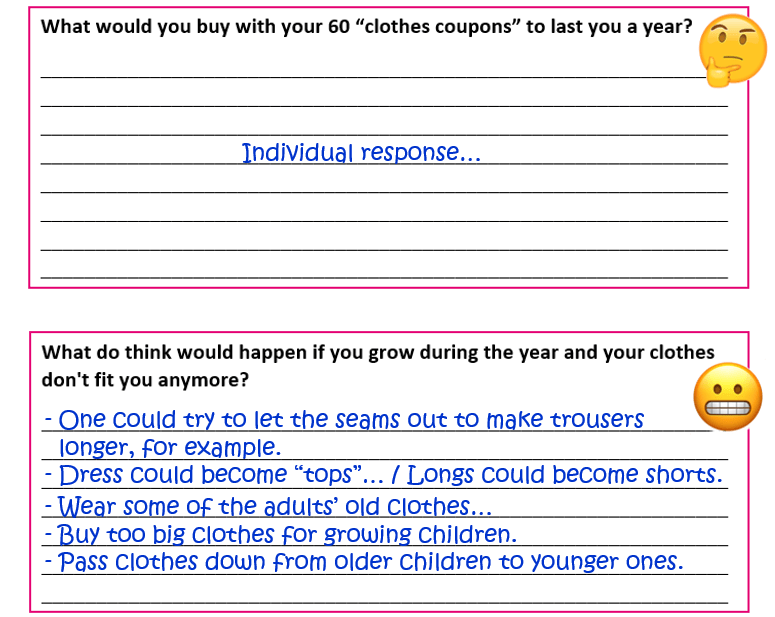
Everyone was given a Clothing Book with coloured coupons in it. At first each person was given 60 coupons to last them a year. (Children were given an extra 10 coupons to allow for growing out of clothes during a year.)
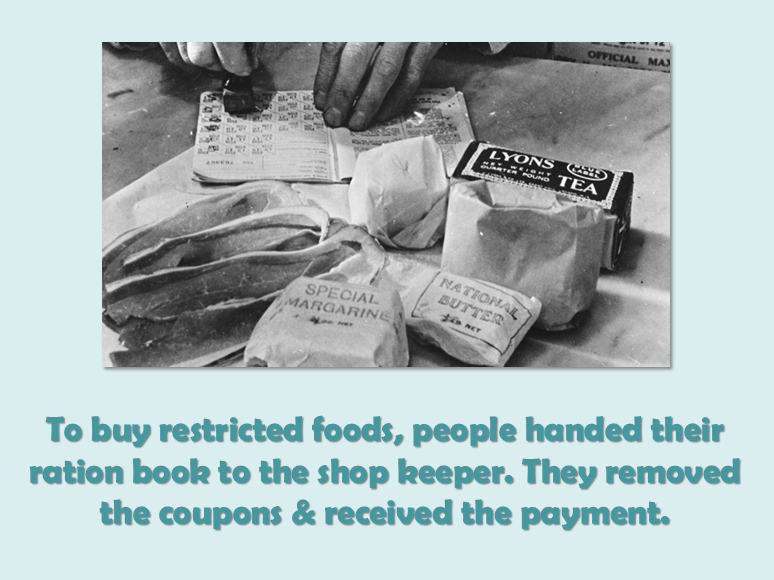
Every item of clothing was given a value in coupons. To buy clothes people handed over their Clothing Book to the shopkeeper, who cut out one of the coupons. Then they paid the shopkeeper for the clothes. The coupon system allowed people to buy one completely new set of clothes once a year.
“Make-Do-And-Mend”
The government also started a campaign known as “Make-Do-And-Mend” that urged people to repair and reimagine existing clothes. This meant that people were urged to fix or alter the clothes that they have.
4.
Perhaps you can learn more from the video clips below about clothes rationing.
-1-
Clothing Ration Book. (0:41 minutes long)
-2-
Clothes Rationing in Britain… (3:47 minutes long)
5.
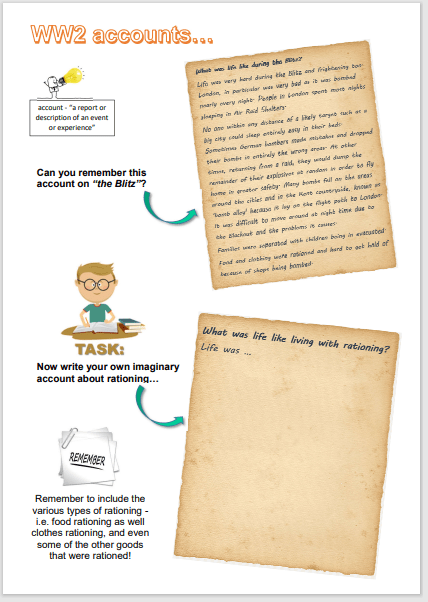
Revise what you have learnt so far about rationing…
6.
Complete the following task to have a look into the experience of having to live with clothes rationing…
to …begin to plan & create descriptive language choices for our next task
to …record relevant information for Chapter 2
1.
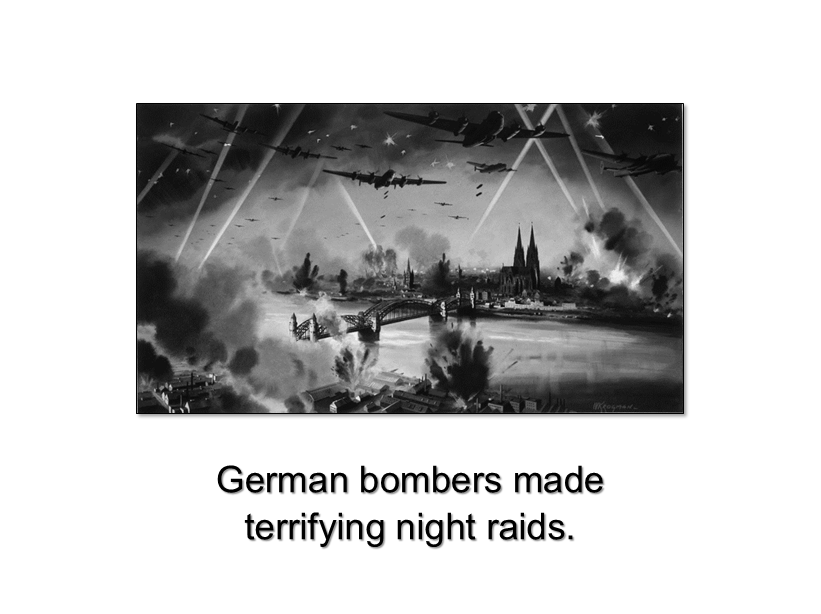
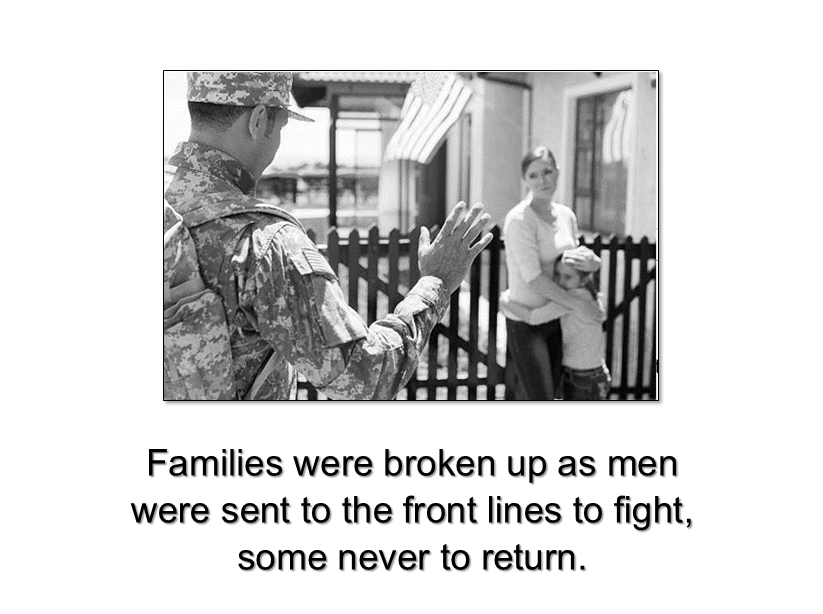
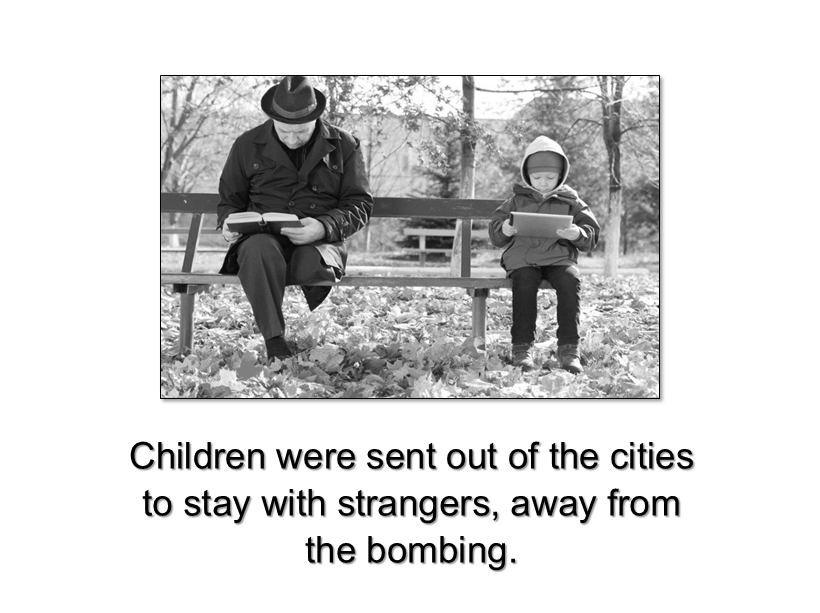
What do you think were the effects that WW2 had on people?
2.
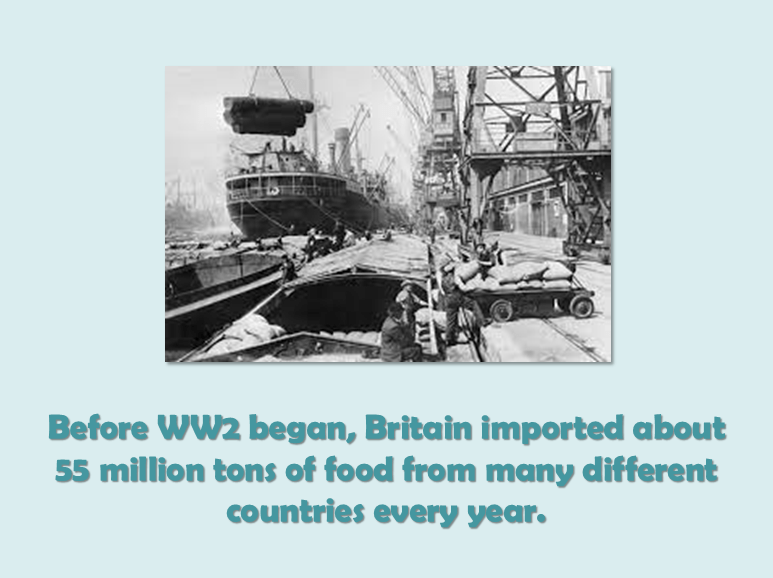
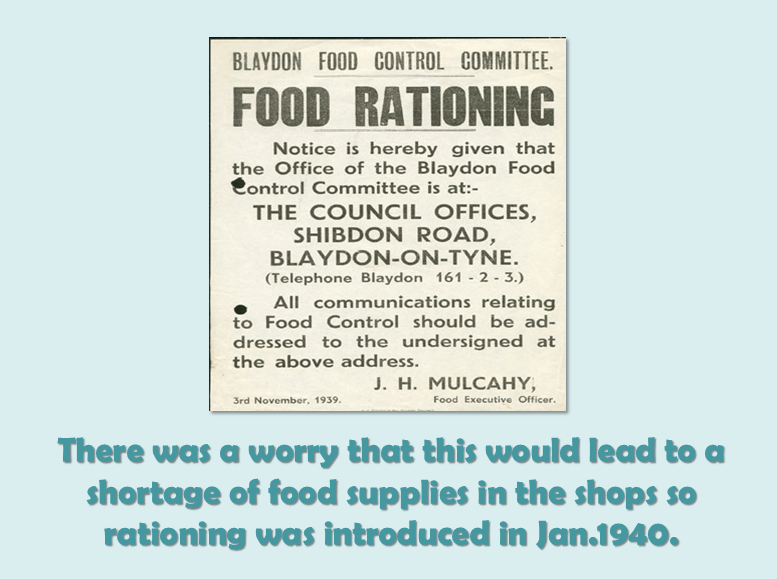
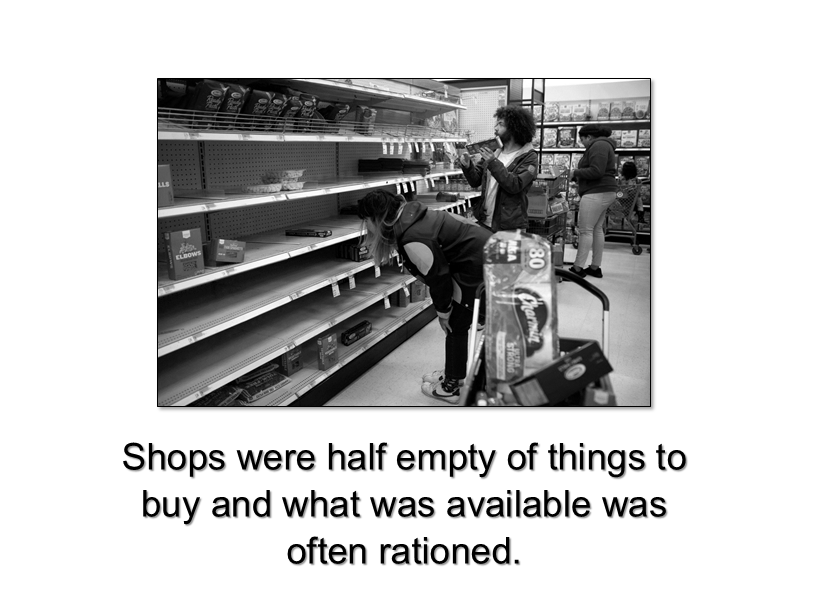
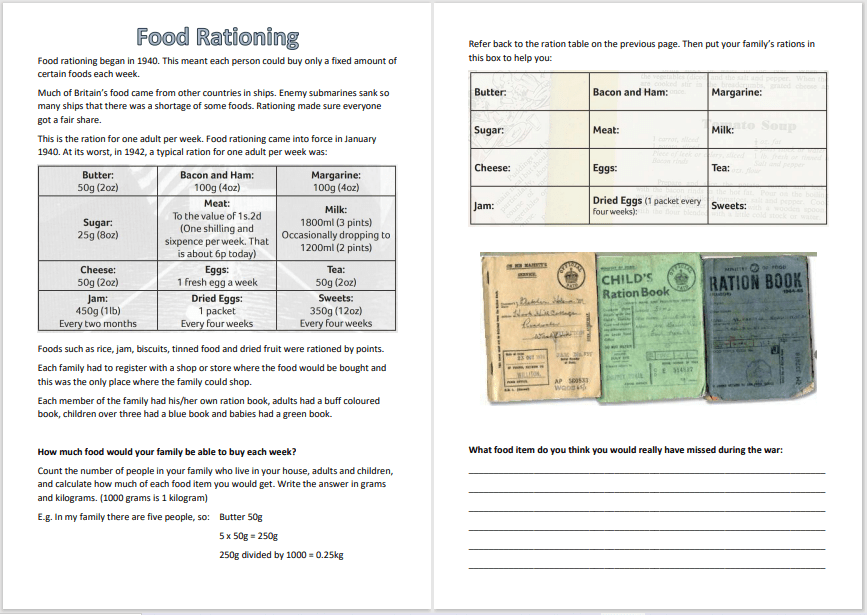
We’ve just seen that food and other goods were scarce and therefore, what was available, had to be rationed to make sure that everybody received a fair share.
We will now examine how rationing worked during the Second World War. The flow chart below explains why food was rationed.
3.
To learn more about Rationing, read the article below.
The video clip below explains how the Ration Books worked.
WW2 Ration Book. (1:06 minutes long)
5.
What do you think of the rations for 1 week? Would you have survived on these rations?
6.
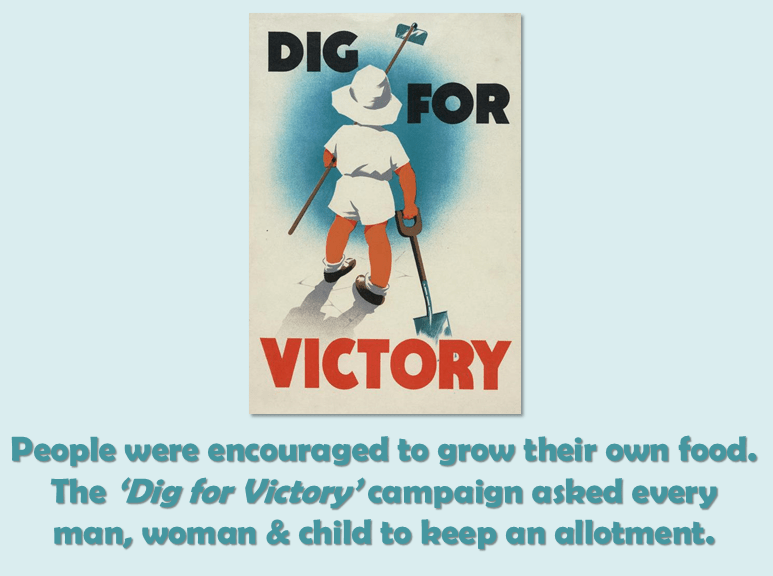
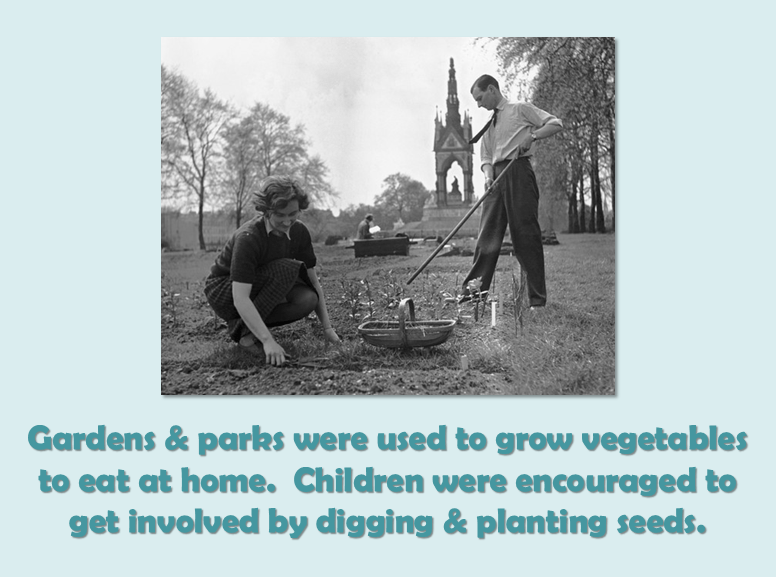
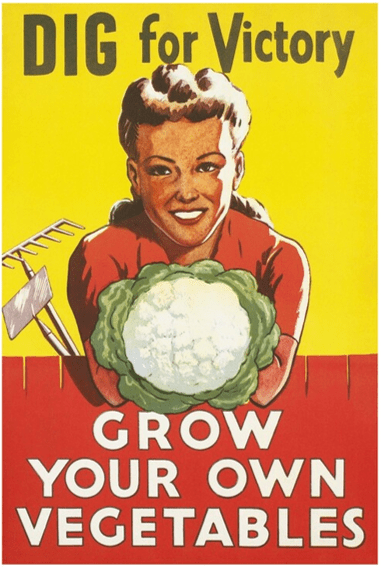
To make sure that families have additional food people were encouraged to plant fruit and vegetables. This was known as the “Dig for Victory” campaign.
People were encouraged to produce additional food at home. A ‘Dig for Victory’ campaign called for every man and woman to keep an allotment (a plot of land for growing vegetables). Lawns and flower-beds were turned into vegetable gardens.
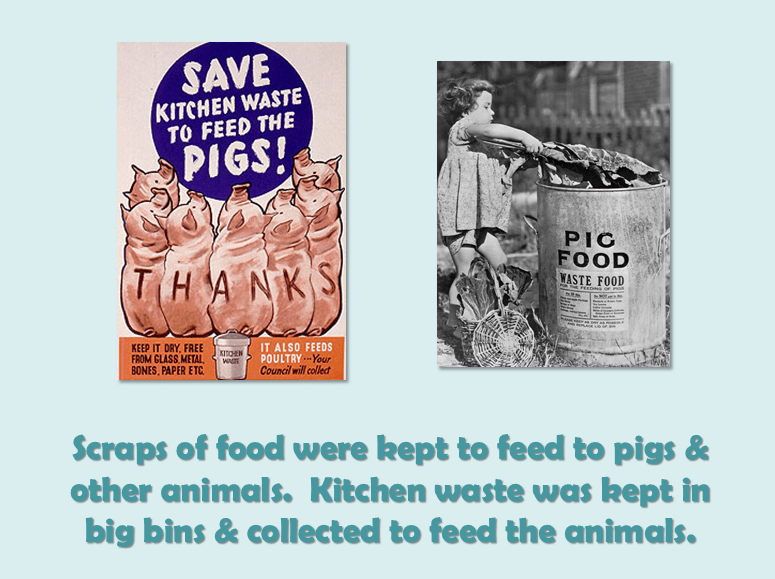
To ensure everyone had food chickens, rabbits, goats and pigs were also reared in town parks and gardens.
7.
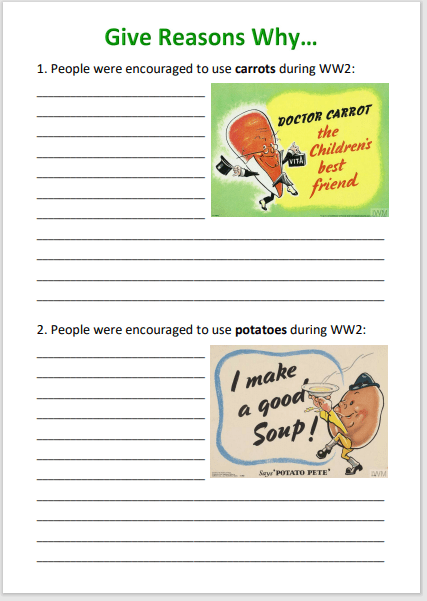
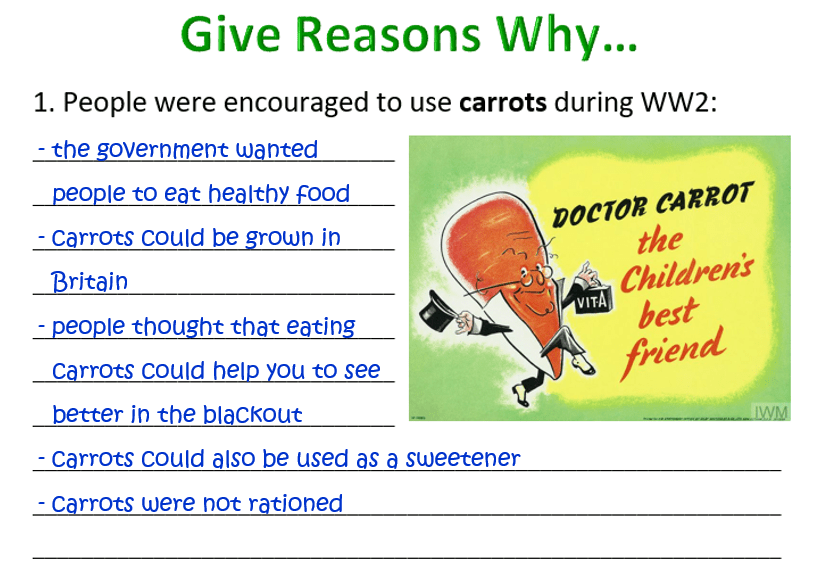
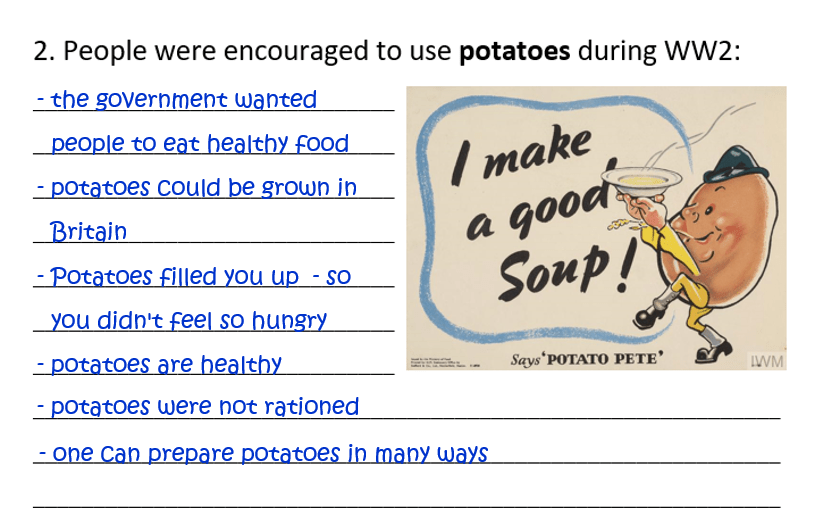
Food was in short supply but the government wanted people to eat healthy food. Carrots could be grown in Britain, so were not rationed. People thought that eating carrots could help you to see better in the blackout. Carrots could also be used as a sweetener.
Potatoes filled you up so that you didn’t feel so hungry, and were healthy too. Moreover, potatoes could also be grown in Britain. Therefore, the government made posters to advertise potatoes. Potato Pete was a cartoon character who was used on lots of posters.
8.
There was even a song about Potato Pete!
“Potato Pete” by Billy Cotton and his Band 1941. (3:33 minutes long)
9.
Let’s see what else we can learn about rationing from the video below:
How Much Food Were People Actually Rationed…? (4:23 minutes long)
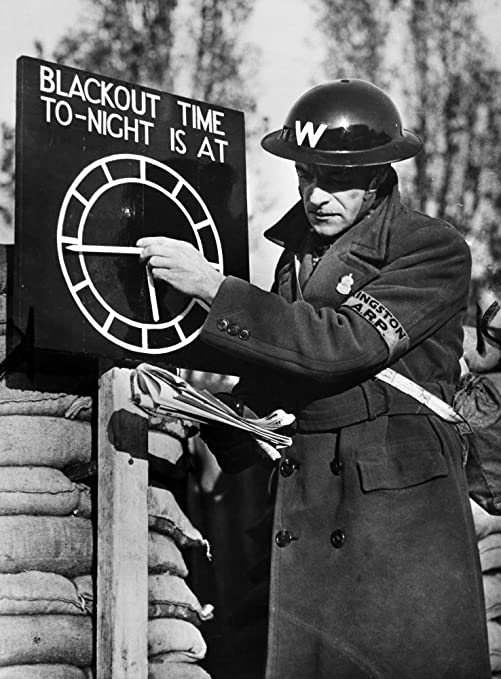
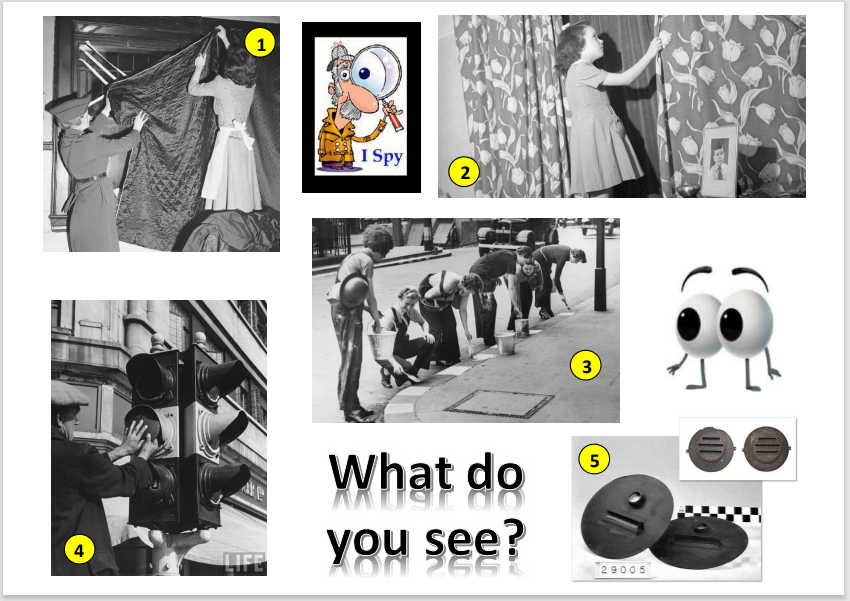
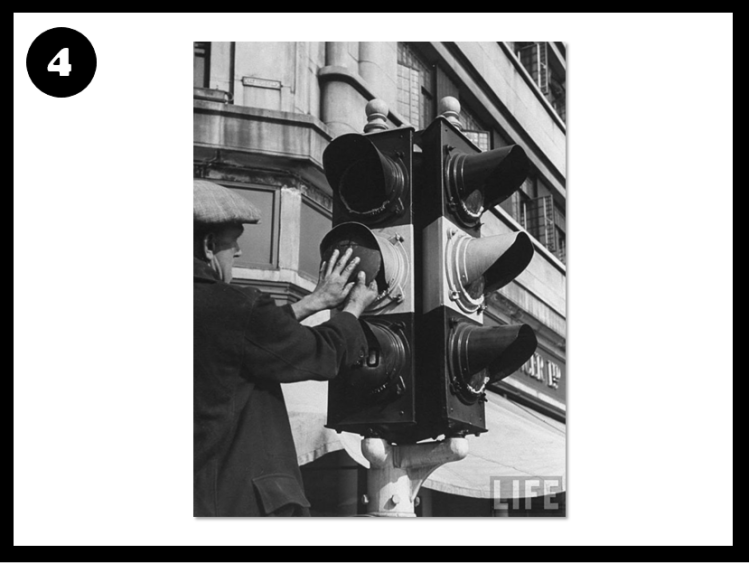
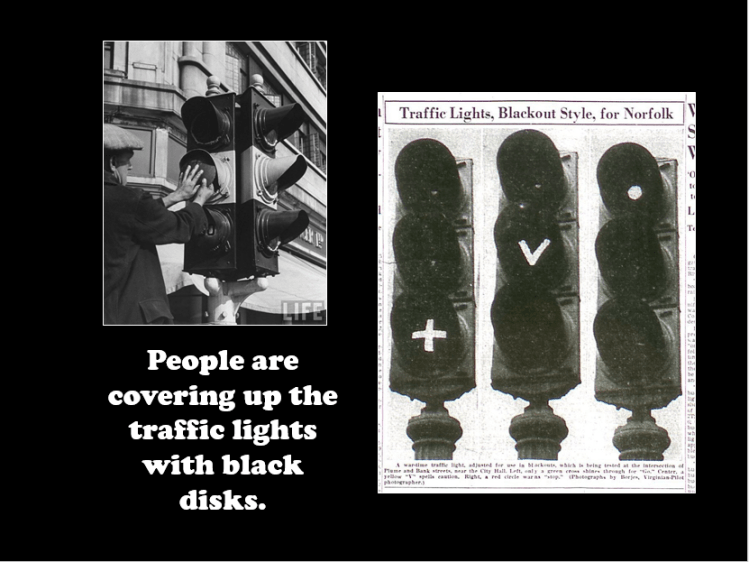
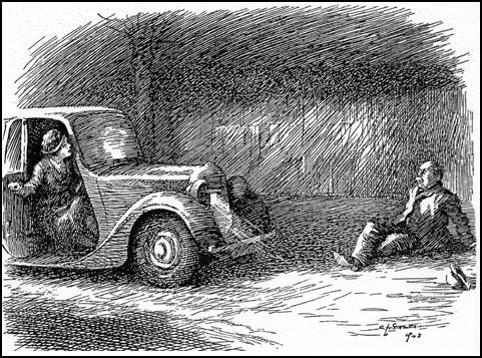
The number of road accidents increased because of the lack of street lighting and the dimmed traffic lights. Sadly, many people died in road accidents.
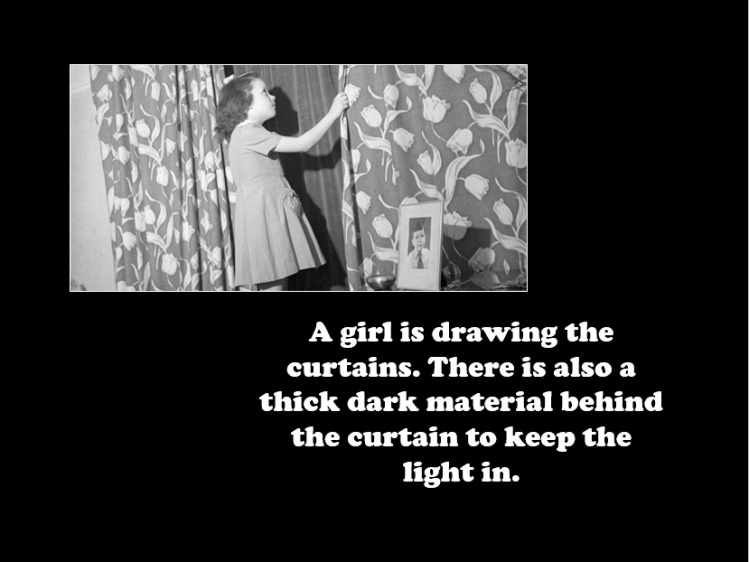
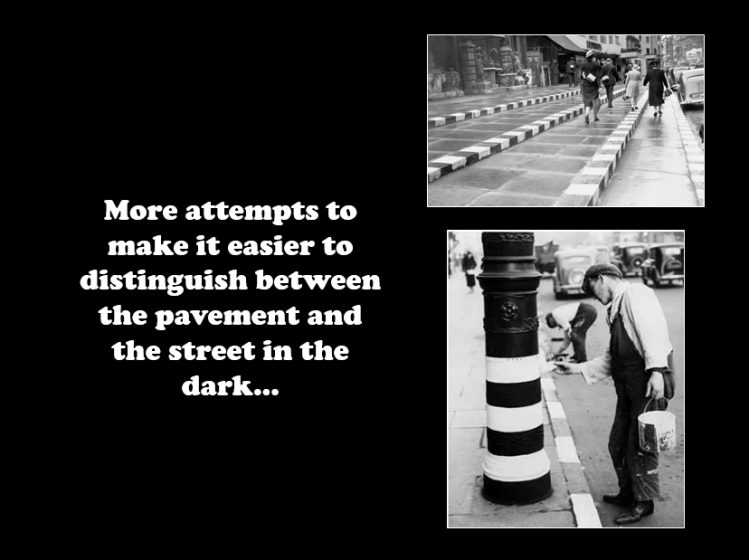
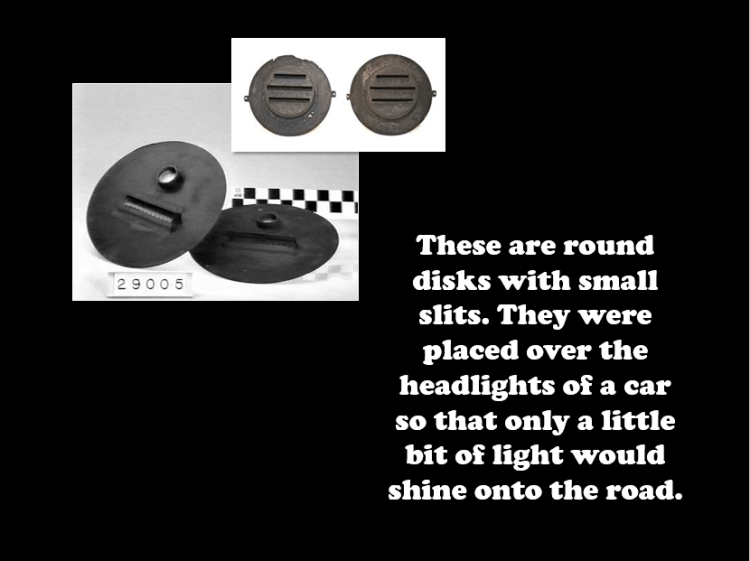
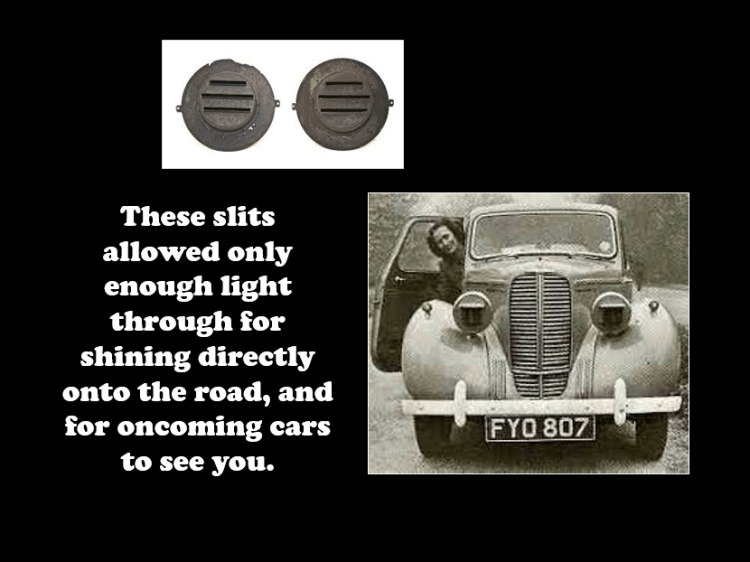
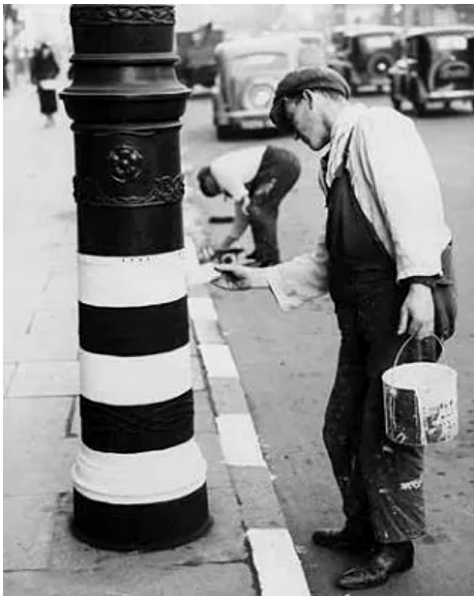
In addition, white stripes were painted on the roads and on lamp-posts, and men were advised to leave their shirt-tails hanging out so that they could be seen by cars with dimmed headlights.
People were injured during the Blackout because they could not see in the darkness. Many people were injured tripping up, falling down steps, or bumping into things.
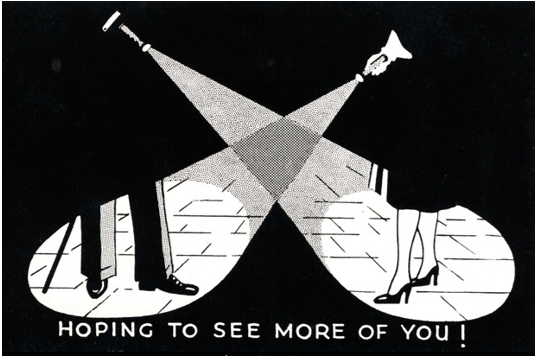
To help prevent accidents people were encouraged to walk facing the traffic.
5.
Let’s see what else we can learn about the Blackout from the following video clips…
-1-
The Blackout of WWII. (0:44 minutes long)
-2-
What was the Blackout? (3:20 minutes long)
-3-
Travel in the Blackout. (2:40 minutes long)
-4-
Fun in the Blackout. (2:51 minutes long)
-5-
The Blackout in Wartime Diaries. (3:22 minutes long)
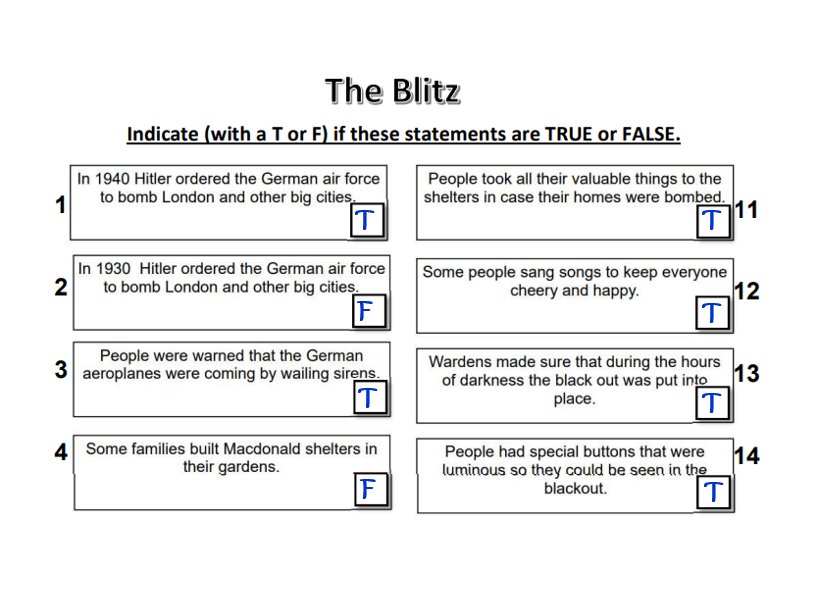
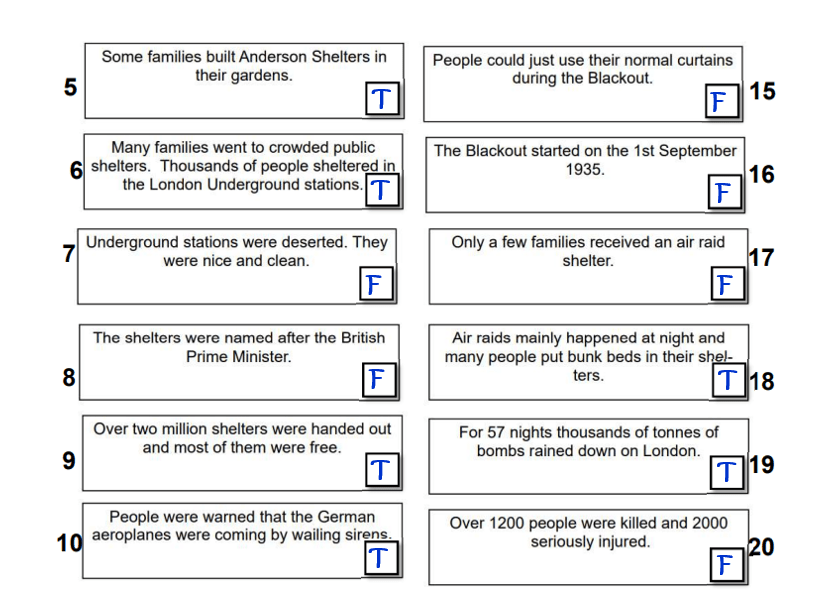
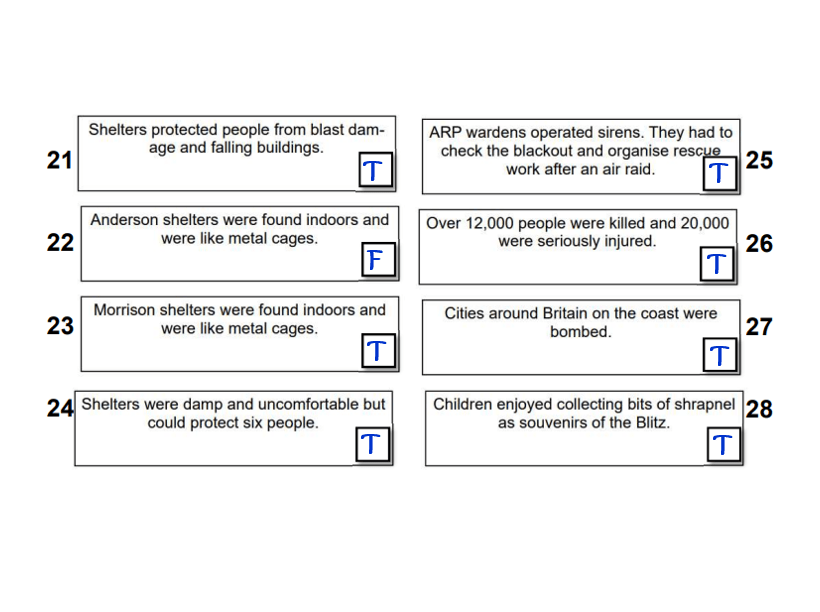
6.
Complete the following worksheet to test your knowledge of the WW2 Air Raids. You need to show which statements are true and which are false.